Bulk payments
This feature provides a fast way of paying multiple purchase invoices at once.
In addition to processing a bulk payment for purchases within a specific Legal Entity, it is also possible to process an interco bulk payment for multiple Legal Entities as part of the same payment batch. This requires some additional setup outlined in Interco bulk payment setup below.
Purchase invoices, Sales refunds and expenses can be included in Bulk payments.
It is possible to have more than one Bulk payment running in operation from the same bank account.
How to view Bulk Payments
Viewing Bulk Payments
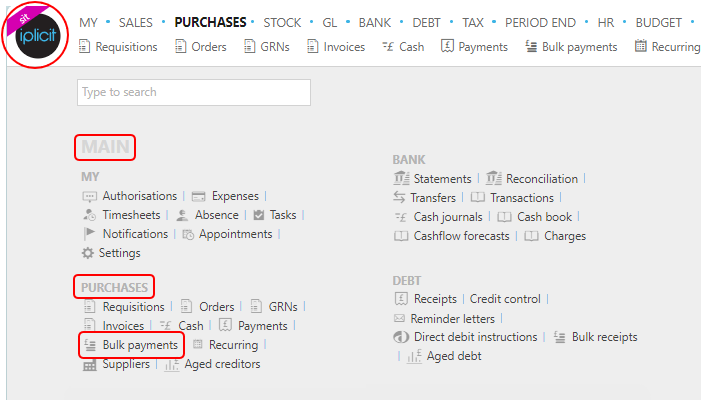
Select Purchases / Bulk Payments from the Main section of the Pulse menu -
Note
This is an example screen shot of the Pulse menu.
Position of the menu items within Pulse will vary according to available options and dependant on personal screen resolution.
or from the Main Menu select Purchases then Bulk Payments -

or enter Bulk payments in the Quick Launch Side Menu.

This will then show the Bulk payments on the system where normal customisation of Sets can be used.
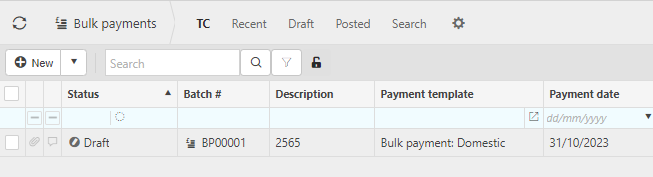
- Status: either draft, processed or waiting approval.
Tip
To modify the columns displayed, select  on the top right of the page, then tick/untick the information you want to hide or display.
How to create Bulk Payments
Create a Bulk payment
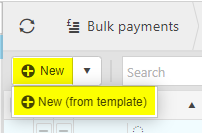
Press New or New (from template)
Tip
Select an Interco Bulk payment template if you wish to pay documents for multiple Legal Entities. See Interco bulk payment setup below.
Select a Legal Entity
Select a Bank account
This will default from the Bulk payment template if specified, change as appropriate.
If not defaulted from the Bulk payment template, the catalogue will be restricted to Bank accounts for the specified Legal Entity.
Select a Payment method
- This will be defaulted from the Bulk payment template.
Enter a Description.

Enter Our bank ref.
- This value will appear on the bank transaction created for the payment. If you leave this blank, this will default to the Batch # upon save.
Enter the Payment date
- This date will default to the date you create the batch but can be overwritten.
Note
The payment date is the date that will be used by the bank to make the payment. Whilst it is fine to enter a date in the future, if you enter a date in the past, this will fail when the bank tries to process the batch.
Enter due date to
- This date will default to the date you create the batch but can be overwritten.
Tip
Enter a date in the future if you wish to include purchases with a due date in the future e.g. end of the month.
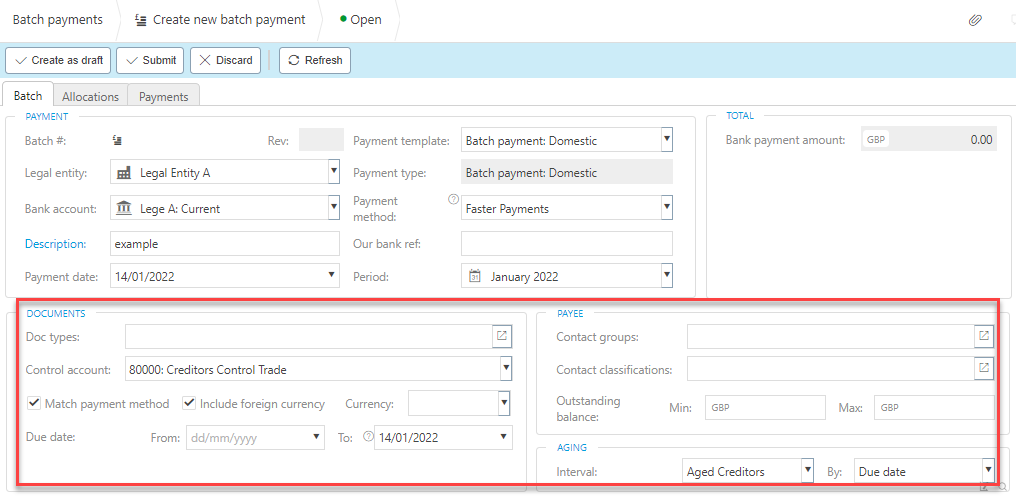
Enter any other selection criteria you wish to apply
Note
The remaining selection criteria are defaulted from the template; however you may override as appropriate.
Tip
If you are processing an Interco Bulk payment, then either select the Interco(s) you wish to include OR leave blank and all applicable Interco(s) will be included.
Document types: By selecting Document types, you will limit the batch to only be able to select documents which match that document type.
Control Account: This is the Control account used on the Purchase document(s) e.g. Creditors control. More than one account can be selected.
Match payment method: By unticking this checkbox, you will be able to select documents that do not match the selected Payment method (which is specified on the payee or as an override on the document itself).
Include foreign currency: Tick this checkbox if you wish to be able to select document(s) that do not match the Legal Entity base Currency.
Currency: By entering a Currency, you will restrict the selectable documents to be those that match the Currency.
Due date from: Enter a due date from if you wish to limit the purchase document(s) found to be only those with a due date >= the given date. Leave blank for all due dates in the past.
Contact groups: Select Contact Group(s) if you wish to restrict the selectable Payees to be those that match.
Contact classifications: Select Contact classification(s) if you wish to restrict the selectable Payees to be those that match.
Outstanding balance Min: Enter a minimum amount if you wish to restrict the selectable documents to be those with an outstanding amount >= the minimum specified.
Outstanding balance Max: Enter a maximum amount if you wish to restrict the selectable documents to be those with an outstanding amount <= the maximum specified.
Aging interval: Select an interval that you wish to use to show the Aged creditors on the allocations tab. This is used on the allocations tab.
Aging interval by: Select the column you wish to use as the basis of aging e.g. document due date. This is used on the allocations tab.
Tip
The Documents & Payee sections offer selection criteria to filter the invoices that will be shown. Completing the selection criteria out simplifies the next stage of allocating payments.
Select either Submit once happy with details or Create as draft to be able to edit further before submitting.
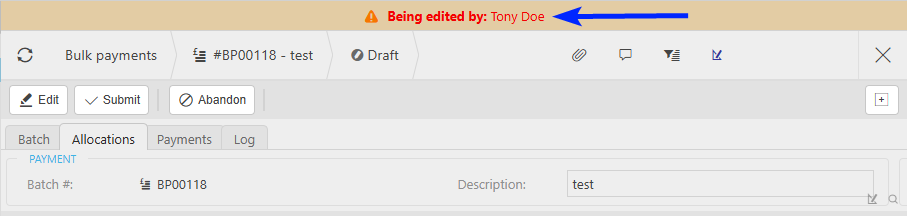
Note
Returning to this document via the Edit option will notify other users viewing the same document that it is being edited.
How to allocate Invoices
Allocate invoices to pay
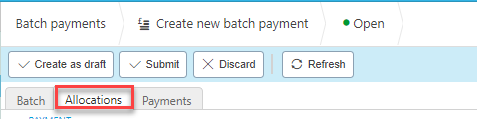
Click the allocations tab.
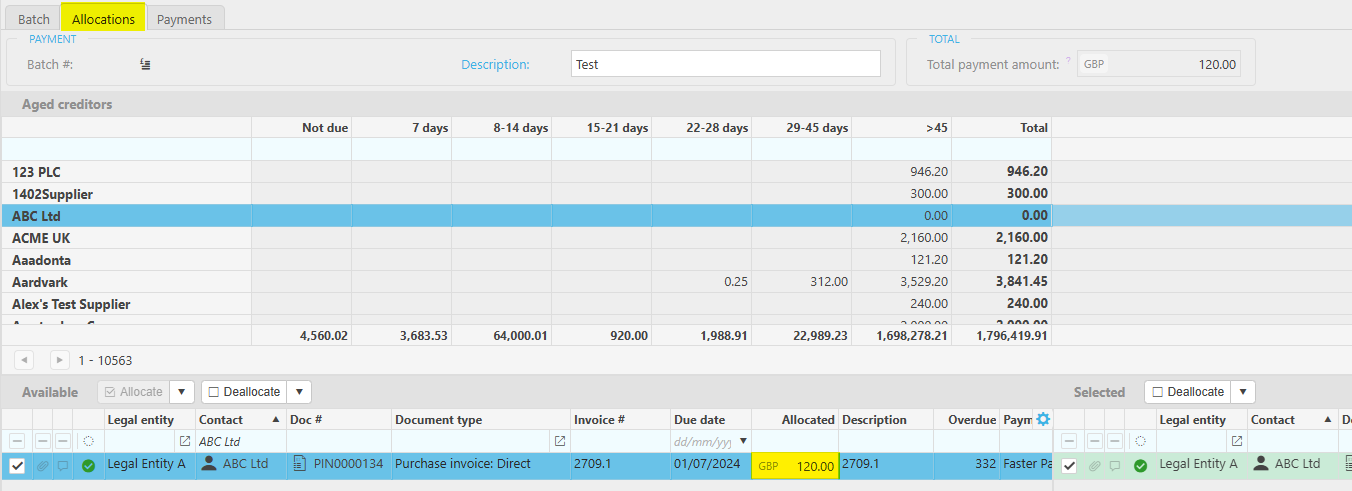
Purchase document(s) that match your selection criteria will be shown, available for selection.
Tip
Select the
 toggle to determine how the available invoices are shown, e.g. as a list, as per aged creditors, etc.
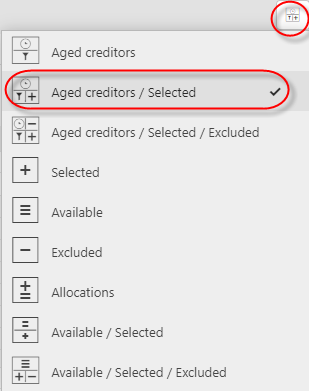
Select the purchase document(s) you wish to pay.
Tip
Part payments can also be made.
You can also allocate credit notes against open purchase documents.
The selected purchase document(s) will be allocated to the payment(s).
Note
To modify the columns displayed, select
on the right of the column heading line, then tick/untick the fields you want to hide or display.
Methods of viewing invoices to allocate
Select the invoices that you would like to see.
Tip
By pressing the columns (suppliers) or rows (aged creditor bracket) the invoices that are linked with the supplier or invoices in the aged creditor bracket will show.
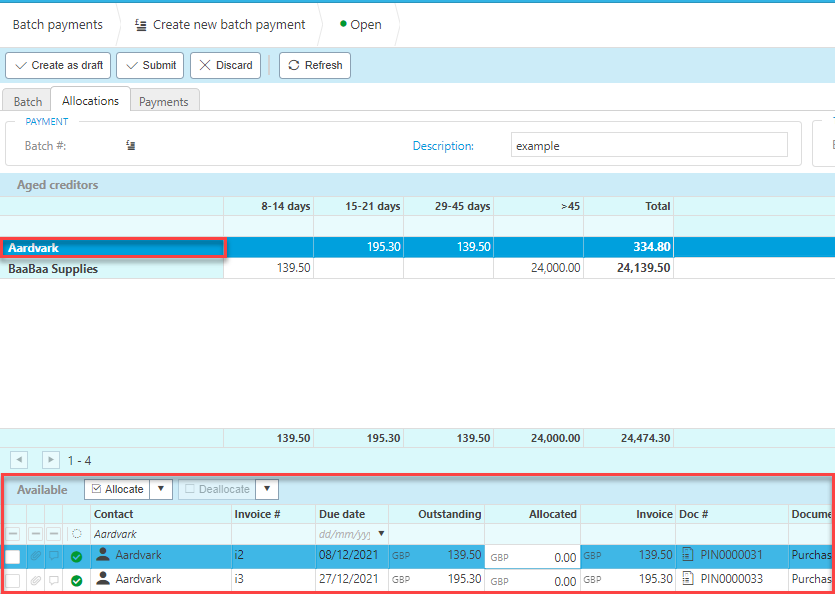

Allocate payments by selecting the invoices that you want to pay then press Allocate.

Note
The invoice will move over to the selected side once allocated. An invoice can be deallocated by selecting the invoice then pressing Deallocate.

How to view payments
View the payment(s)
Individual payments are created for each supplier.
Note
In all instances except cash / cheque, the account no, sort code, etc are stored against the payment itself. This is therefore available for any future audit requirement.
Note
In the instance of Interco Bulk payments, where purchase documents are included for a supplier from more than one originating Legal Entity, then a separate payment is created for each originating Legal Entity / Supplier combination.
For each Interco payment, an additional Interco payment allocation document is created. This is created in the originating Legal Entity and is allocated to the originating Purchase document(s) to reduce the outstanding balance.
How to authorise Bulk Payments
Submit for authorisation
Select Submit.
Upon Submit, if a workflow exists, the bulk payment batch will be submitted for authorisation, otherwise the batch will auto authorise.
Tip
Pressing Save as draft instead of Submit will save the bulk payment as a draft, allowing you to abandon it at a later date or edit it multiple times before submitting.
Once you submit, the bulk payment will be pending waiting authorisation. The Authorisation Workflows setup will decide who this authorisation is sent to.

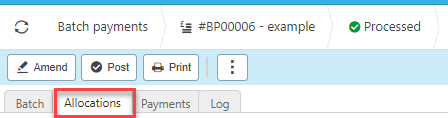
Once the bulk payment is authorised, select the bulk payment then go to the allocations tab.
How to process Bulk Payments
Process the Bulk Payments
Select Process. This will generate a payment file for your bank.
Tip
You can re-process a Bulk Payment.
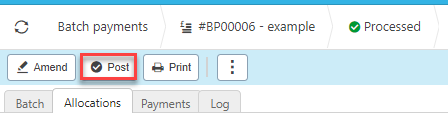
Once the payment file is accepted by the bank, press Post. This will post the payment to the GL.
How to post Bulk Payments
Post the payment
This should only be performed once the processing of the Bulk Payment has been successfully completed.
Select Post
Tip
If for any reason the Bulk Payment has failed and you have already posted to the General Ledger, you can Unpost the batch.
How to send Bulk Payment remittance
Send Remittance
Open the Bulk Payment
Select the Email or Print button
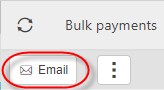
Note
The remittance must be setup against the payment document type(s) with the choice to email/ print. The Email/Print icons will only display if the setup has been done.

Tip
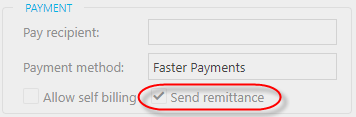
If you do not wish to send a remittance to selected Supplier(s), untick the Send remittance checkbox on the supplier record.
How to setup and send Interco Bulk Payments
Interco Bulk Payment setup
An Interco Bulk Payment allows the inclusion of purchases for multiple Legal Entities to allow Interco as part of the same payment batch.
For this selection to be available, the following steps must be completed.
Prerequisites -
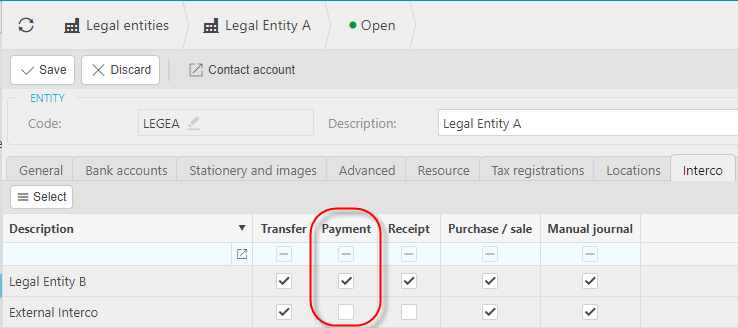
Legal Entity: Ensure Interco is ticked on each of the Legal Entities you wish to include on the Bulk Payment, that they are related to each other and the Interco; payment checkbox is ticked.
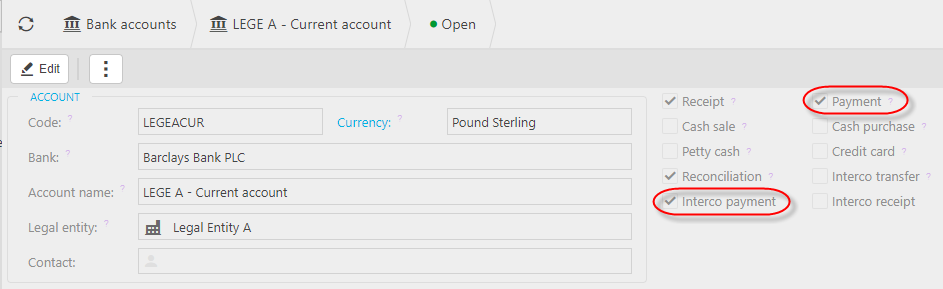
Bank Accounts to allow Interco bulk payment - Ensure Payment and Interco payment are ticked.
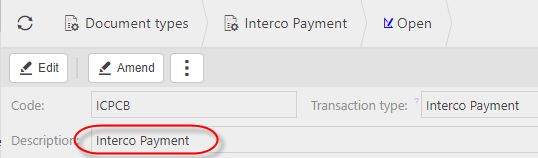
Document types: Unlock for Interco payments and relate to Document series.
Interco Payment
Interco payment allocation

Tip
Setup remittance on the Interco Payment document type if you want to send remittance.
Chart of Account: Set for Interco.
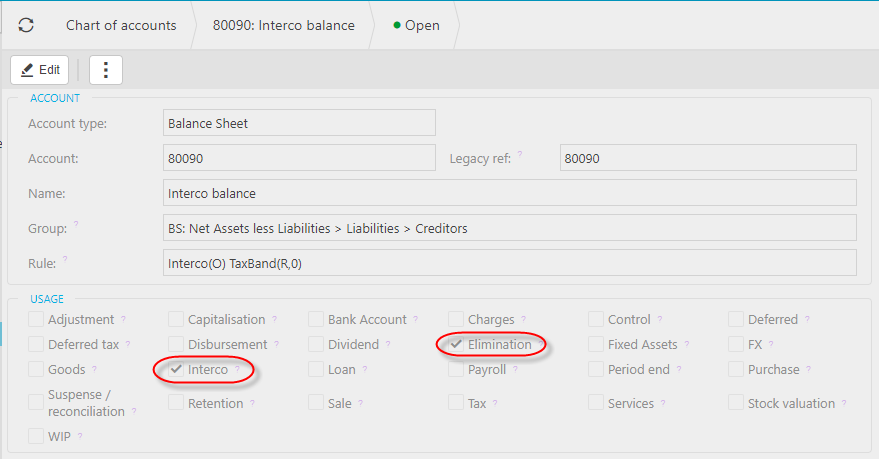
Tip
If the Elimination checkbox is ticked, GL posting lines using this account will be available to exclude/show only on financial statements.
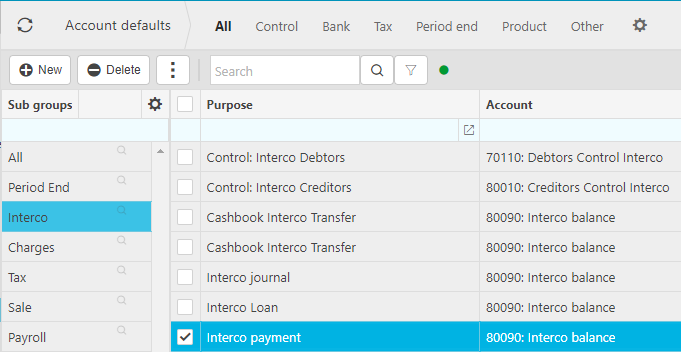
Set up the above Chart of Account in Account defaults.
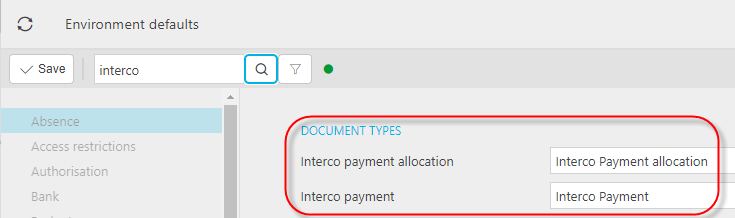
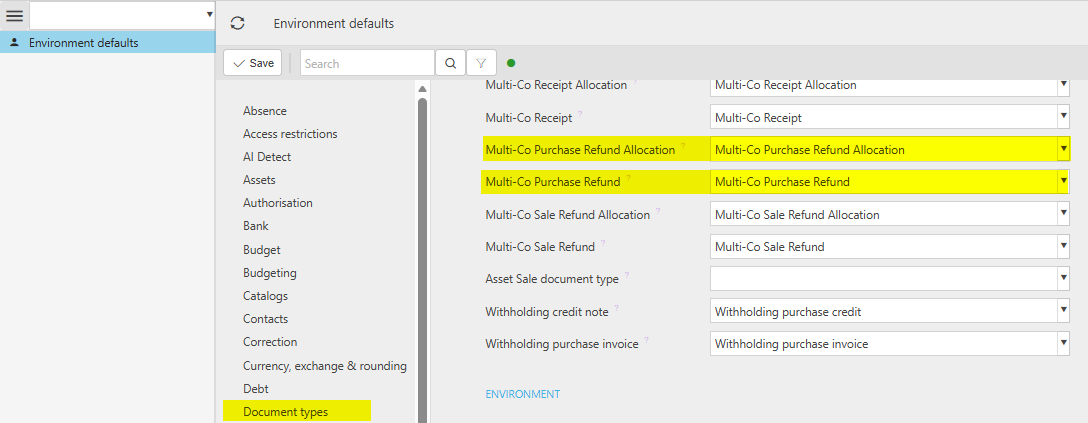
Environment default: Set document type(s) for the Interco payment and Interco payment allocation.
Select Bulk payments from one of the options as shown above in Viewing a Bulk payments.
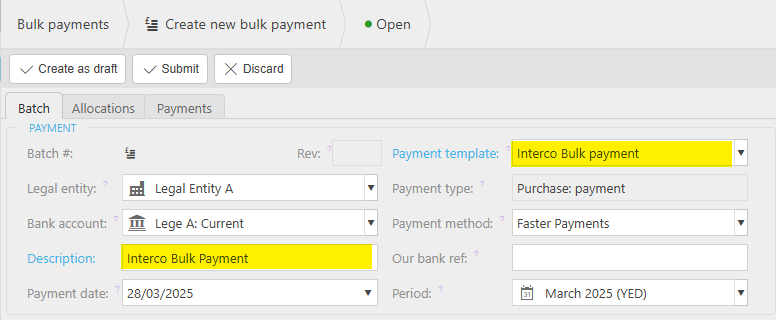
Select New.
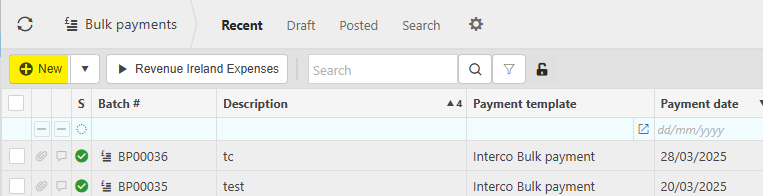
Enter a Description and Interco Bulk payment template.
Go to the Allocations tab and select the documents to pay.
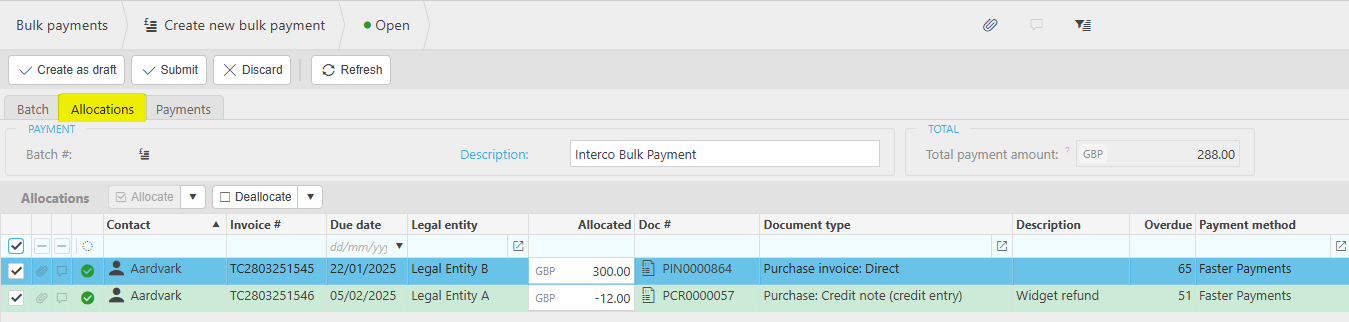
Note
These two documents are for different Legal entities but the same Supplier.
The Total payment amount takes into account the credit amount as well.
Select Submit.
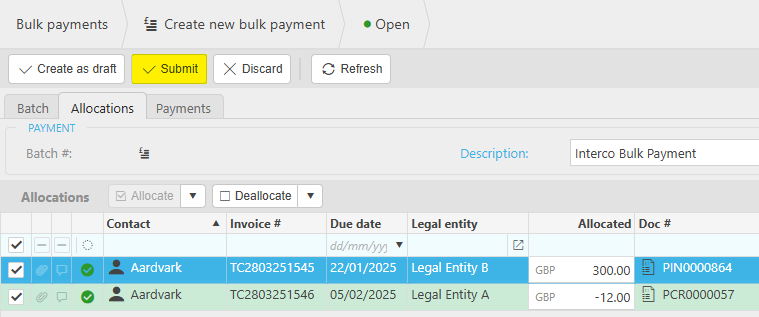
These payments are now showing in the Payments menu.

How to process a Multi-Co Purchase Refund
Multi-Co Purchase Refund
Prerequisites
Document types: Activate Multi-Co Purchase Refund (ICPRCB) and Multi-Co Purchase Refund Allocation (ICPRA) and have valid document series.
Environment defaults: Set Multi-Co Purchase Refund and Multi-Co Purchase Refund Allocation as valid document types.
Account default: Interco payment is set.
Valid Document type for Purchase Refund is active.
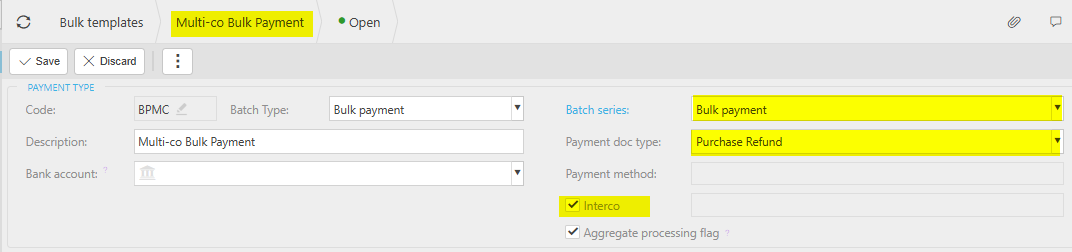
Bulk Template: Multi-Co Purchase refund created with a Batch Series, Doc type = Purchase Refund and Interco ticked.
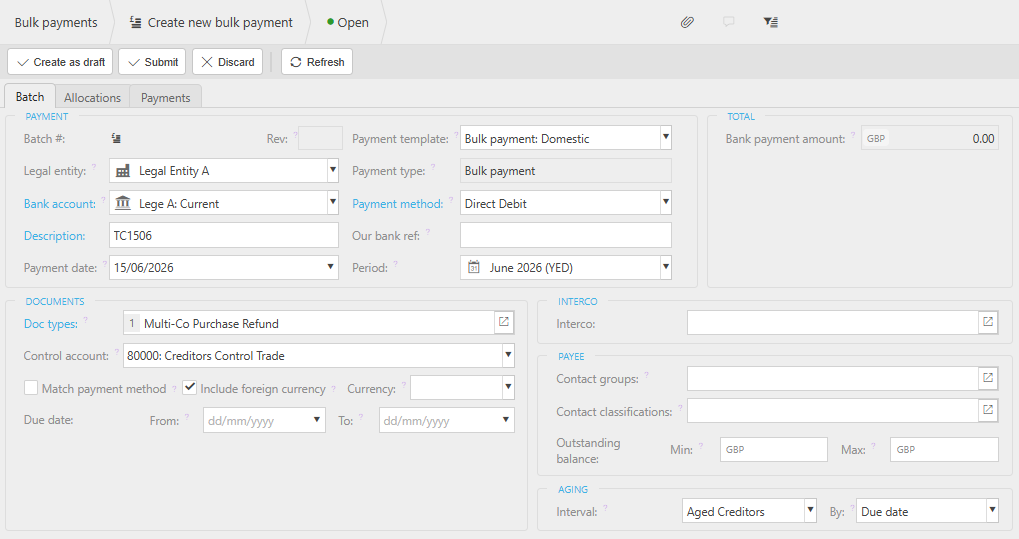
Create a Bulk payment with document type Multi-Co Purchase refund.
The allocations per supplier must have a total of Credit notes/payments allocations greater than invoice allocations (i.e. it constitutes a refund from the supplier not a payment to the supplier).
A validation message will be triggered if trying to save whilst over allocations.
The total of the batch will be a refund.
When the Bulk Payment is saved, the following documents are generated based upon the allocations -
Document type Purchase Refund:
- For each Supplier where the allocations are in the same Legal entity as the Bank Account legal entity.
- The document total is as per the allocations.
- The Legal entity of the document(s) is the same as the Bank account legal entity.
- Bank account as per the bulk refund.
- This document has allocations to the credit notes/payments.
Document type Multi-Co Purchase Refund:
- For each Supplier where the allocations are in a different Legal entity to the Bank Account legal Entity.
- The document total is as per the allocations.
- The Legal entity of the document(s) is the same as the Bank account legal entity.
- This document type has no allocations to the credit notes/payments.
- The document has a Payment tab for the Bank account of the bulk payment.
- The document has a default tab where the account is the Account default Interco payment, and the Interco value is the legal entity where the allocations were made for the supplier.
- Document has a link to corresponding Multi-Co Purchase Refund Allocation document.
Document type Multi-Co Purchase Refund Allocation:
- For each Supplier where the allocations are a different Legal entity to the Bank Account legal Entity.
- The document total is as per the allocations.
- The legal entity of the document(s) is the same as the allocations Legal entity.
- This document type has allocations to the credit notes/payments.
- The document has a Lines tab where the account is Account default Interco payment, and the Interco value is the legal entity for the bank account.
- Document has a link to corresponding Multi-Co Purchase Refund document.
All documents generated can be found in the payment finder with the Batch reference for the Bulk Payment.
Process, Authorisation Workflow and Posting follow the same process as normal Bulk Payments.
How to process a Multi-Co Sale Refund
Multi-Co Sale Refund
Prerequisites
Document types: Activate Multi-Co Sale Refund (ICSRCB) and Multi-Co Sale Refund Allocation (ICSRA) and have valid document series.
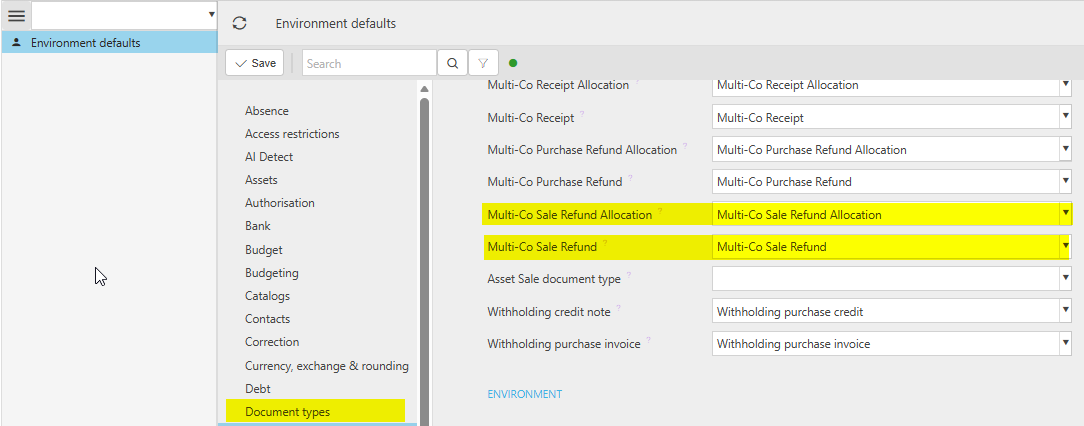
Environment defaults: Set Multi-Co Sale Refund and Multi-Co Sale Refund Allocation are set with valid document types.
Account default: Interco receipt is set.
Valid Document type for Sale Refund (e.g. SREF_DR) is active.
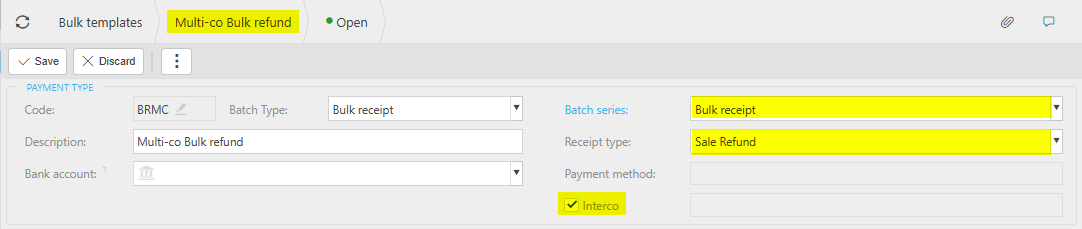
Bulk Template: Multi-Co Sale refund created with a Batch Series, Doc type = Sale Refund and Interco ticked.
Create a Bulk payment with document type Multi-Co Sale refund.
The allocations per Customer must have a total of Credit notes/payments allocations greater than invoice allocations (i.e. it constitutes a refund to the Customer not a payment to the Customer).
A validation message will be triggered if trying to save whilst over allocations.
The total of the batch will be a refund.
When the Bulk Receipt is saved the following documents are generated based upon the allocations -
Document type Sale Refund:
- For each Customer where the allocations are in the same Legal entity as the Bank Account legal entity.
- The document total is as per the allocations.
- The Legal entity of the document(s) is the same as the Bank account legal entity.
- Bank account as per the bulk refund.
- This document has allocations to the credit notes/payments.
Document type Multi-Co Sale Refund:
- For each Customer where the allocations are in a different Legal entity to the Bank Account legal Entity.
- The document total is as per the allocations.
- The Legal entity of the document(s) is the same as the Bank account legal entity.
- This document type has no allocations to the credit notes/payments.
- The document has a Payment tab for the Bank account of the bulk payment.
- The document has a default tab where the account is the Account default Interco receipt, and the Interco value is the legal entity where the allocations were made for the customer.
- Document has a link to corresponding Multi-Co Sale Refund Allocation document.
Document type Multi-Co Sale Refund Allocation:
- For each Customer where the allocations are a different Legal entity to the Bank Account legal Entity.
- The document total is as per the allocations.
- The legal entity of the document(s) is the same as the allocations Legal entity.
- This document type has allocations to the credit notes/payments.
- The document has a Lines tab where the account is Account default Interco receipt, and the Interco value is the legal entity for the bank account.
- Document has a link to corresponding Multi-Co Sale Refund document.
All documents generated can be found in the payment finder with the Batch reference for the Bulk Payment.
Process, Authorisation Workflow and Posting follow the same process as normal Bulk Receipts.
How to correct Bulk Payments
Correction unpost
Once a Bulk Payment is complete and posted into the General Ledger (GL), it may be required to unpost the batch.
To do so, select the payment, then press Corrections then Unpost.
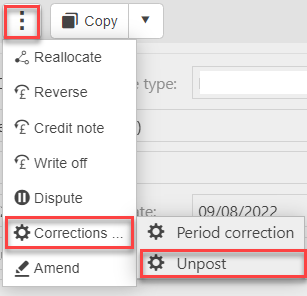
Press Unpost
Tip
An alternative is to Reallocate individual payments which can be performed directly from the payment.
Updated June 2026