Chart of Accounts
The full set of Chart of Accounts (COA) reflects the accounting structure (aka Chart of Accounts tree) of an organisation and describes how each organisation wishes to view and record their financial transactions with each Chart of Accounts code belonging to either the Profit & Loss or Balance Sheet financial statement.
How to view Chart of Accounts
Viewing Chart of Accounts
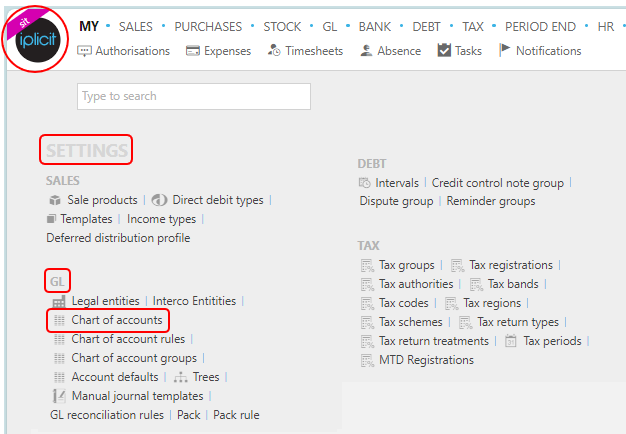
To enter the Chart of accounts menu, either select Chart of accounts in the Settings - GL section from the pulse menu -
Note
This is an example screen shot of the pulse menu.
Position of the menu items within pulse will vary according to available options and dependant on personal screen resolution.
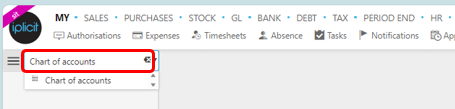
or enter Chart of accounts in the Quick Launch Side Menu.
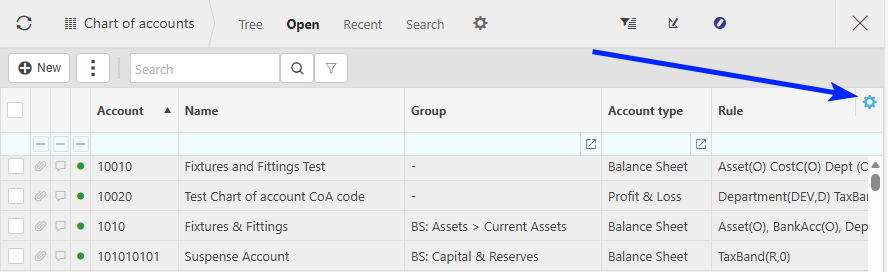
Once you have entered the appropriate menu for Chart of accounts, the screenshot below shows a sample grid of accounts, which includes some key information.
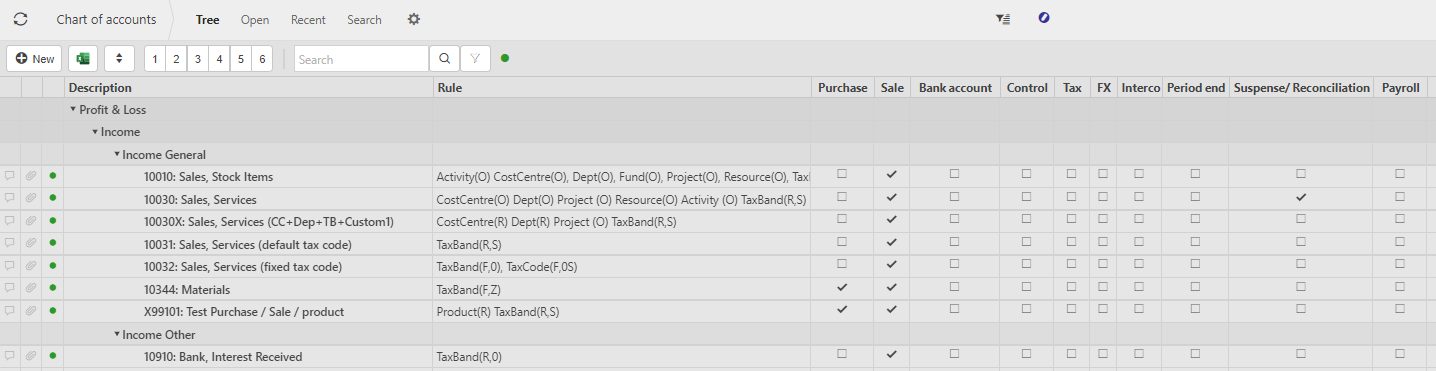
Use the navigation keys
 to expand the view to give more details, or to compress the view to summarise the headings.
Select the
 filter button to expand the options to enable you to select fields to limit the values in the Chart of Accounts.
Each Chart of Accounts (COA) has a unique code and description which describes it.
Chart of Accounts codes are required on all General Ledger (GL) postings.
For each Chart of Accounts, flags must be set to identify and support the usage of the Chart of Accounts within the system, including:
Catalogue restrictions to ensure that Chart of Accounts usage is restricted to minimise the risk of incorrect postings.
Availability as a default e.g. Control account.
The Chart of Accounts is shared across the Environment, but individual Chart of Accounts codes can have Legal Entity (LEGE) restriction place upon them. e.g. Bank account Chart of Accounts code only available for matching Legal Entity.
How to create Chart of Accounts
Create Chart of Accounts
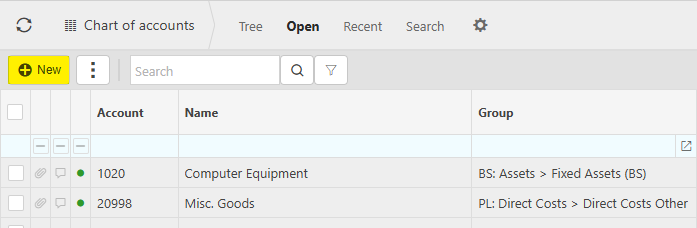
Select Chart of Accounts from one of the options as shown above in Viewing Chart of Accounts.
Select New.
Tip
To create a new account that is very similar to one already created -
Select and open the account to Copy.
From the
 icon, select Copy.
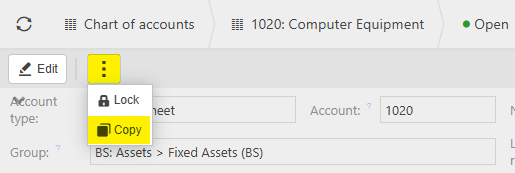
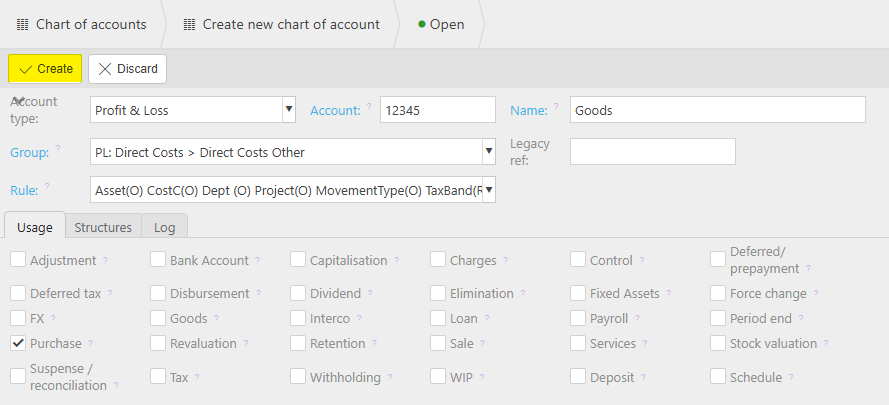
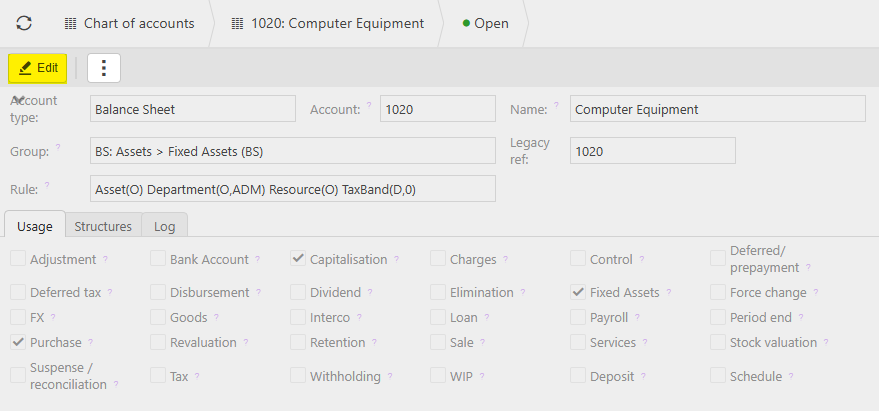
Enter the fields as required -

Account type - Either Balance Sheet or Profit & Loss.
Account - Enter a unique code.
Name - Enter a unique description.
Group - This identifies the parent group where the Chart of Account sits within the account hierarchy.
Legacy Ref - Enter if applicable.
Rule - This determines the posting attributes on the rule, including whether they are mandatory, defaulted, etc.
Tip
Ctrl-Click to quickly navigate (CMD on a MAC)
You can quickly navigate around the system by pressing and holding down the Ctrl button. According to your access, links will be shown as highlighted (underlined) captions or data. You can then Ctrl-Click on one of these links, you will be taken to the related data record or finder e.g. account type, chart of account group, chart of account rule.
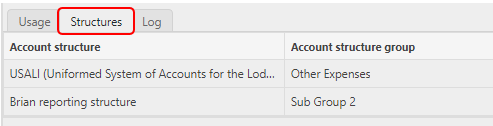
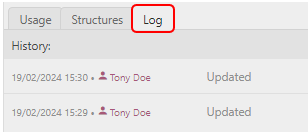
Other Tabs -

Adjustment: tick if account is to be available for corrections, such as Penny difference.
Bank Account: tick if account is to be available to populate the cash book and thus available for Bank reconciliation. (Not for Bank charges).
Note
If Bank Account is selected, then this Chart of Accounts will not be an option for the Cashbook FX Revaluation default accounts.
This will prevent Cashbook FX revaluation postings being incorrectly posted directly to Bank accounts and Year‑end revaluation figures will remain accurate.
Capitalisation: tick if account is to be available for Capitalisation of related expenses to Fixed Assets (only selectable for Profit & Loss accounts).
Charges: tick if account is to be available for charges. e.g. Collection charges.
Control: tick if account is to be used to Purchase (Creditor) or Sale (Debtor) Ledgers - (only for Balance Sheet accounts).
Deferred/prepayment: tick if account is to be available for Prepayments or Deferred Income (only for Profit & Loss accounts).
Deferred tax: tick if account is to be available for deferred tax (cash accounting).
Disbursement: tick if account is marked as Purchase and available for disbursement.
Dividend: tick if account is to be available for Dividends.
Elimination: tick when documents created using this account may be individually treated as an Interco elimination. Note: if the document type is identified as an elimination, then the line will be treated as an elimination in the GL regardless.
Fixed Assets: tick if account is to be available for Fixed Assets and populate the Asset register and associated movements.
Force change: ticking this checkbox will force the description to be changed upon use of the account. (NB. if a Product is used, this is ignored).
FX: tick if account is to be available for Foreign Exchange (FX), FX Realised or FX Unrealised.
Goods: tick this checkbox if you want lines coded to this account to be treated as Goods for Postponed VAT accounting treatment. The Product Type takes precedence over this setting when coding by Product. If neither Goods nor Services are ticked, the treatment is defaulted as Services.
Interco: tick if account is to be available for Inter Company movements.
Warning
If the Interco box is ticked and account type is set as Profit & loss, then a warning message will show.
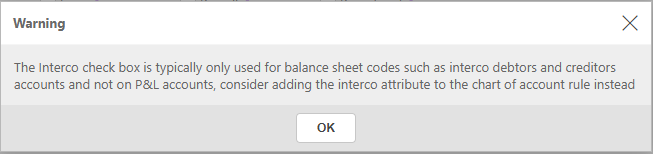
This will only be a warning, and you can continue and tick the interco check box if required.
Loan: tick if account should populate the loan sub ledger.
Payroll: tick if account is to be available for Payroll.
Period end: tick if account is to be available for period end adjustment.
Purchase: tick if account is to be available for Purchases.
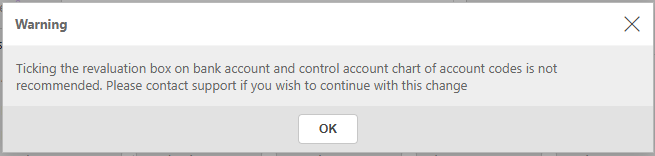
Revaluation: tick if account is to be available for Balance Sheet FX revaluation
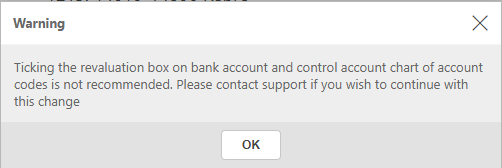
Warning
If the Bank account or Control account options have been selected, then selecting Revaluation option is not recommended, and the following warning message will show.
Retention: tick if account is to be available for retentions to be repaid or demanded, in conjunction with Sale or Purchase.
Sale: tick if account is to be available for Sales.
Services: tick this checkbox if you want lines coded to this account to be treated as Services for Postponed VAT accounting treatment. The Product Type takes precedence over this setting when coding by Product. If neither Goods nor Services are ticked, the treatment is defaulted as Services.
Stock valuation: tick if account is to be available for Stock valuation.
Suspense/reconciliation: tick if account is to be available for GL reconciliation.
Tax: tick if account is to be available for tax postings and the population of the tax sub ledger and, thus, inclusion in tax returns.
Withholding: tick to enable the account to be used in the Withholding Tax process.
WIP: tick to identify accounts for Work in Progress.
Deposit: tick if account to be available for deposit creation.
Schedule: tick if account to be scheduled for document creation e.g. Billing schedule.
Note
Pre-requisite for Deposit and Schedule options to be available -
Billing schedule feature flag must be enabled in the General section in your Environment defaults.
Select Create.
How to edit Chart of Accounts
Edit Chart of Accounts
The Edit option allows the user to edit one account at one time.
Select Chart of Accounts from one of the options as shown above in Viewing Chart of Accounts.
Select and open the account to Edit.
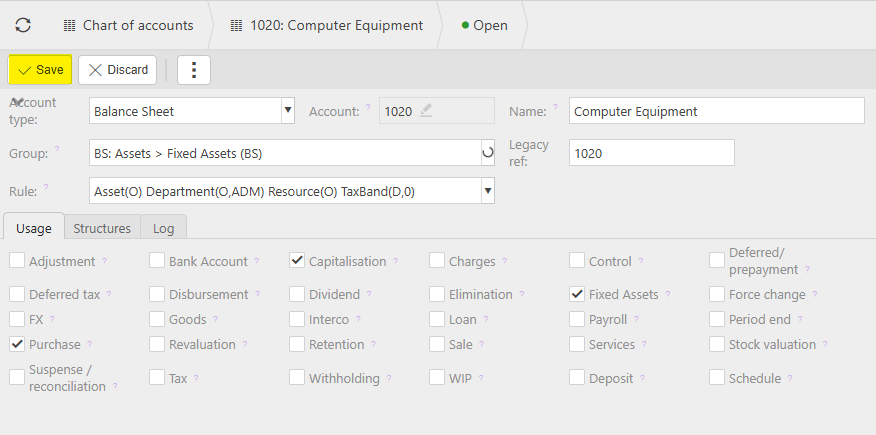
Select Edit option.
Note
If editing a Chart of Accounts code that is also an Account default and is not a Bank account default, then a message is displayed advising that the Chart of Accounts code will need to be removed from Account defaults before it can be changed.
Make the changes, then select the Save button.
Warning
Warning messages will be displayed if the following options are Unticked and the Chart of accounts already have documents posted to it -
Bank account option -
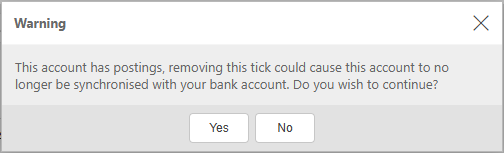
Select Yes or No to continue.
Control option -

Select Yes or No to continue.
Revaluation -
Select OK to continue.
How to amend multiple Chart of Accounts
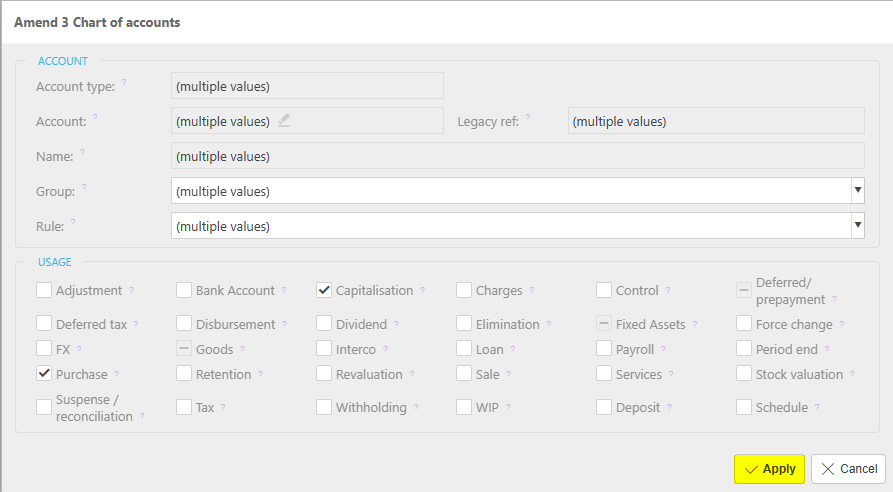
Amend multiple Chart of Accounts
The Amend option allows the user to amend the codes for multiple accounts at one time.
Select Chart of Accounts from one of the options as shown above in Viewing Chart of Accounts.
Select the Accounts to Amend.
Select Amend from the
icon.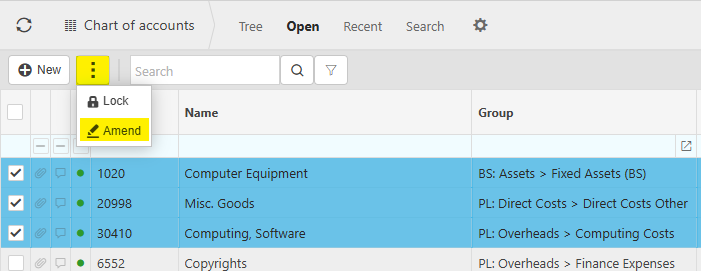
Make amendments - see above for field descriptions.
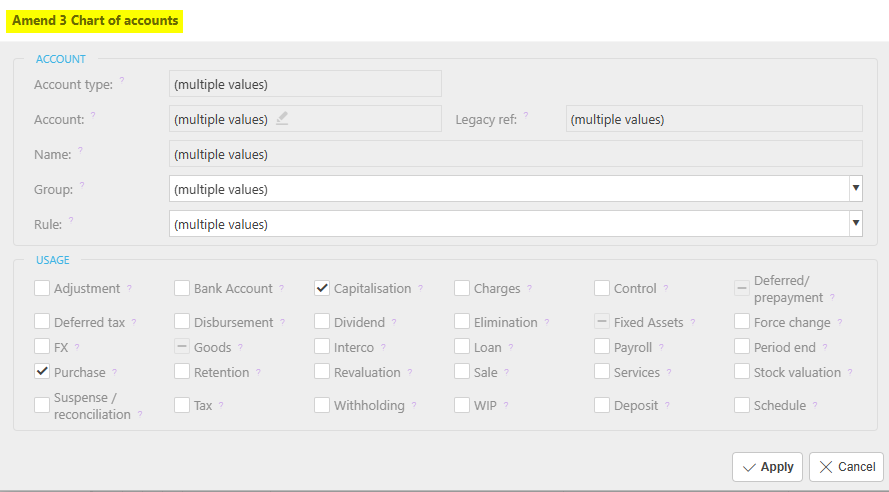
Select Apply to save changes.
How to Import Chart of Accounts
Importing Chart of Accounts
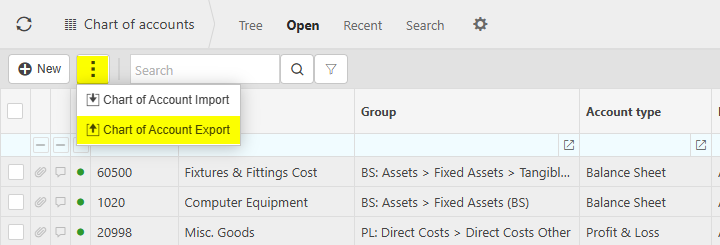
Select Chart of Accounts from one of the options as shown above in Viewing Chart of Accounts.
Select Chart of Account Import from the
icon.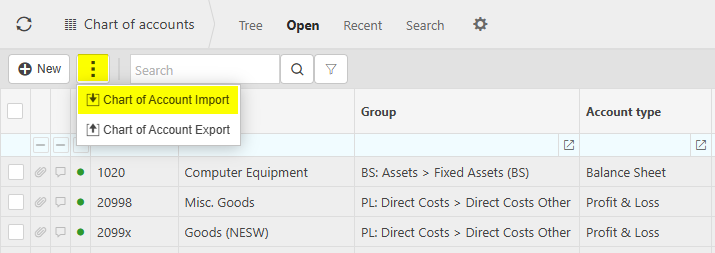
Enter the filename to Import.
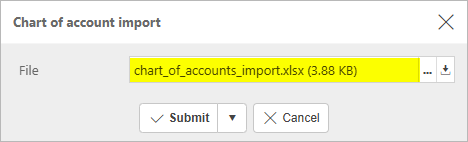
Tip
To create an Import file with the correct formatting, Export a file first and save to your external source. Then use this file to add updated Chart of Account details.
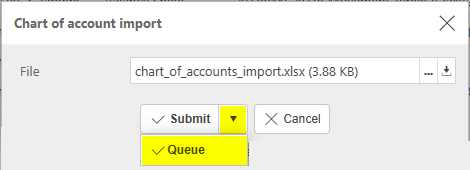
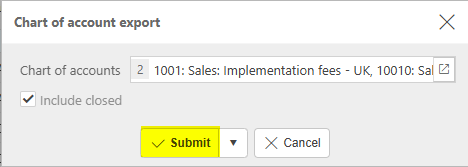
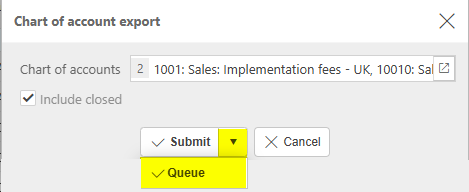
Select Submit.
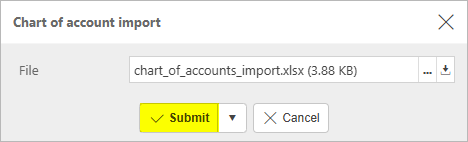
Selecting Queue from the dropdown option will queue the import process until other actions in iplicit are completed.
Warning
iplicit allows a maximum of 5,000 rows in a single Import.
If your Import is too large, an error message will tell you that the Import cannot be processed and will advise you to create smaller Import files.
If the latter is not possible, please contact Customer support.
How to Export Chart of Accounts
Exporting Chart of Accounts
Select the Chart of Accounts from one of the options as shown above in Viewing Chart of Accounts
Exporting all Chart of Accounts to Excel and keeping the tree structure.
Select Tree.
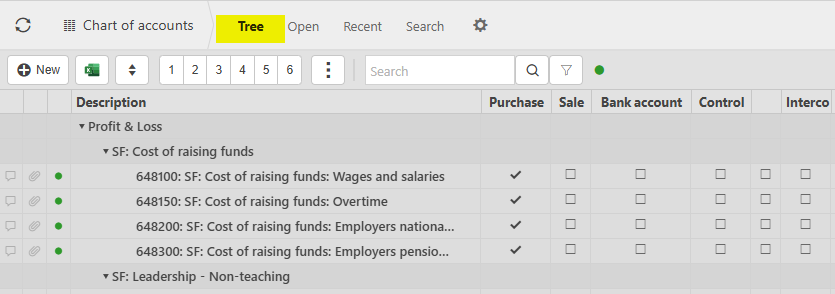
Either
Select the
 icon on the action bar.
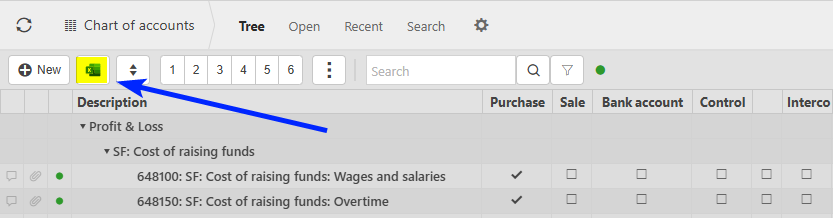
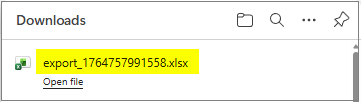
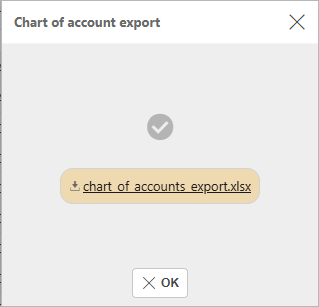
Data will now be downloaded to an Excel file on the local system.
or
Select the
icon on the righthand side of the attribute columns.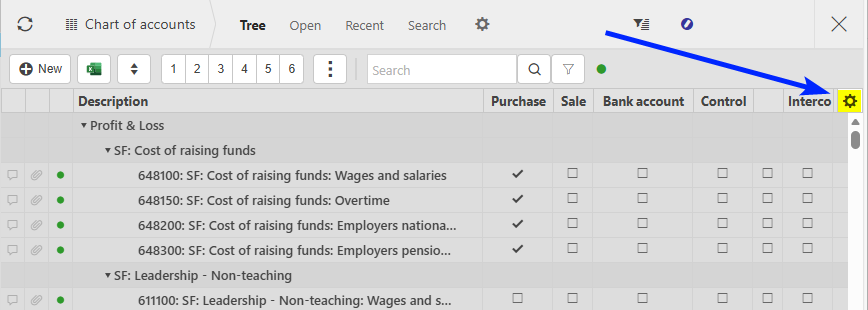
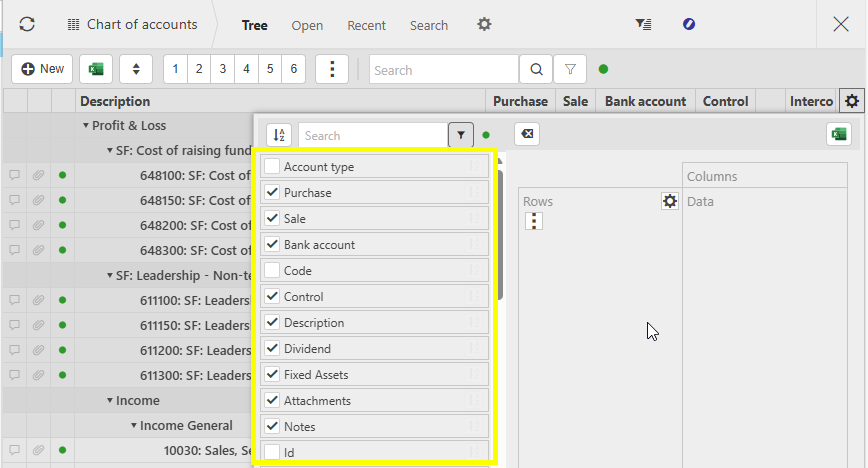
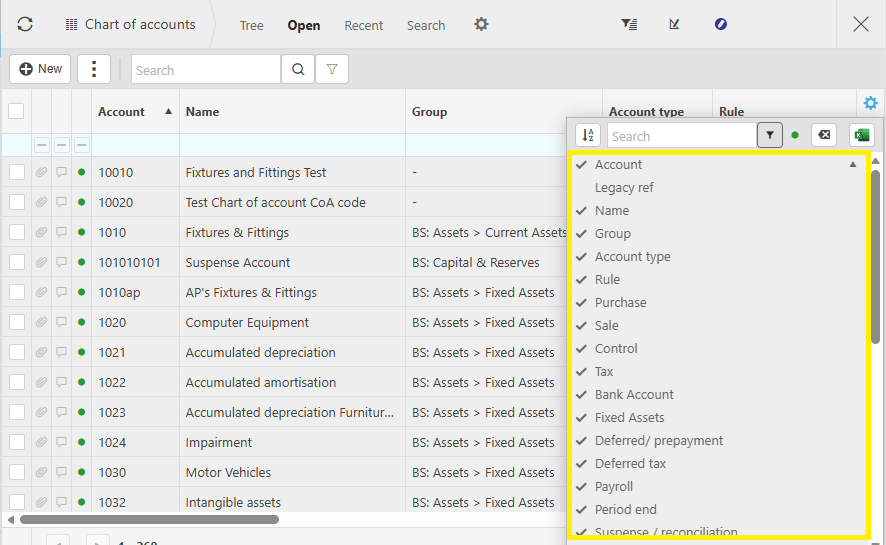
Tick the attributes to display and which will be exported.
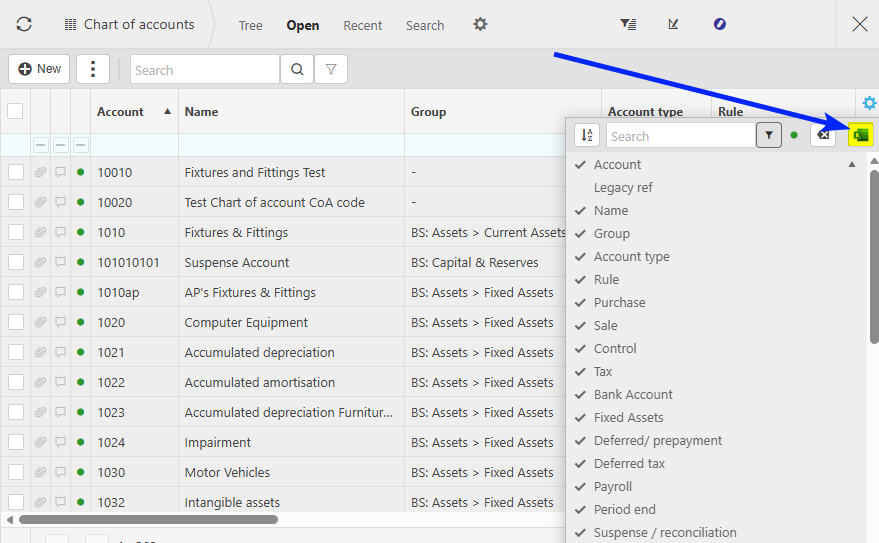
Select the
 icon to Export the selected data to an Excel file on the local system.
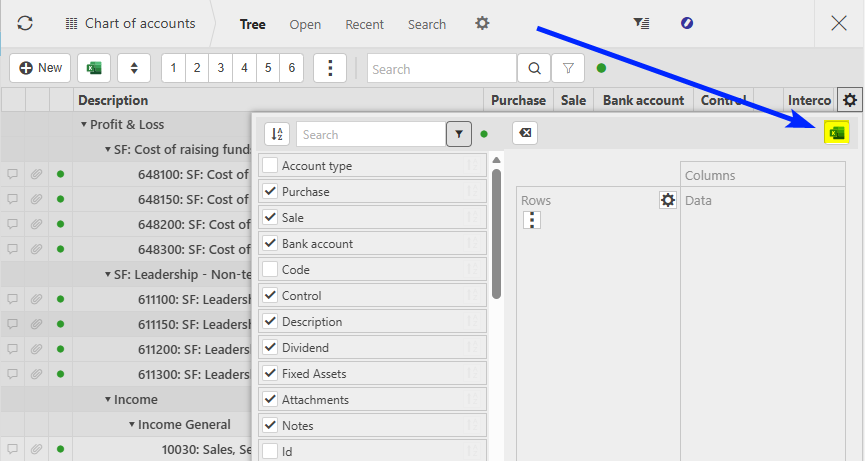
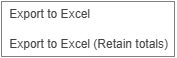
Select either Export to Excel or Export to Excel (Retain totals).
Data will now be downloaded to an Excel file on the local system.
Updated June 2026