Prepayments
Prepayments are used where a Purchase Invoice or Purchase Order has been created in advance for purchase amounts that are spread over future periods. e.g. paying for the next 12 months insurance in a lump sum in the first month.
Prepayments can be automated, for more information please see Prepayment automation.
To use this feature, the Invoice type and the Account must allow Prepayments.
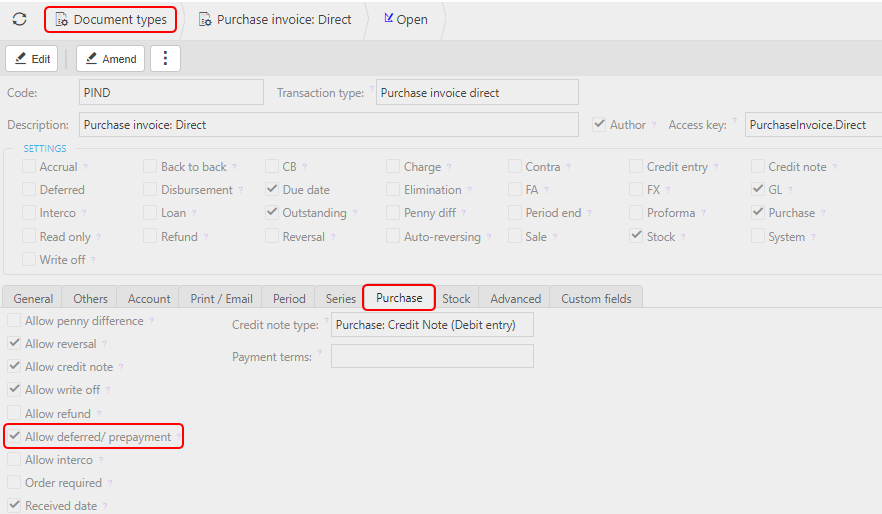
To check Invoice type, go to Document types, go to Purchase tab and tick Prepayment option.
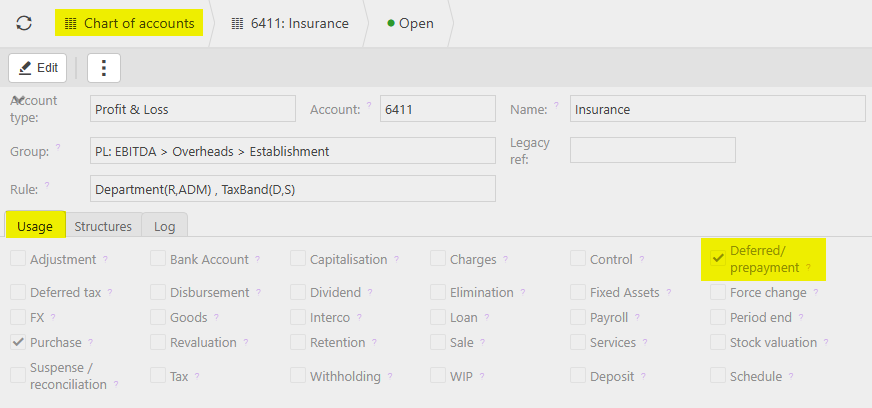
To check Accounts, go to Chart of Accounts, go to Usage tab and tick the Deferred/prepayment option.
Tip
To go to one of the above options directly from the Purchase invoice entry screen, hold down the Ctrl button, and then select either Invoice type or Account.
This will task you directly to the appropriate document.
How to view Prepayments
Viewing Prepayments
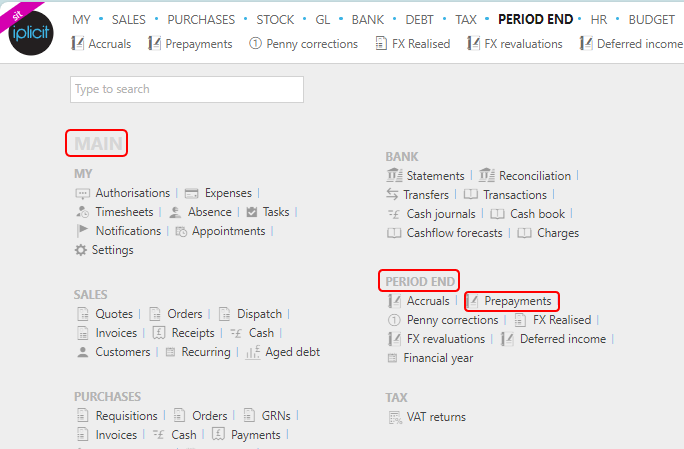
Select Period End / Prepayments from the Main section of the pulse menu -
Note
This is an example screen shot of the pulse menu.
Position of the menu items within pulse will vary according to available options and dependant on personal screen resolution.
or from the Main Menu select Period End then Prepayments -

or enter Prepayments in the Quick Launch Side Menu.

This will then show the Prepayments on the system where normal customisation of Sets can be used. Also, depending on User roles, the My/All option will be showing.
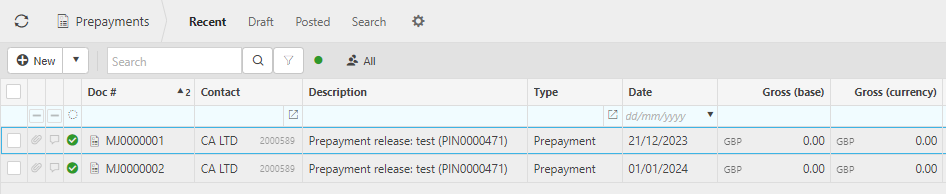
Doc #: This is the unique document code.
Contact: The Supplier that is being ordered from.
Gross: The gross cost of the request.
Tip
To modify the columns displayed, select  on the top right of the page, then tick/untick the information you want to hide or display.
How to use Prepayments
How to use Prepayments
Following the User Guides for Create a Purchase Invoice in Purchase Invoice or Create a Purchase Order in Purchase Order.
Note
The invoice type selected must allow for Prepayment - see notes above.
At step 8, add a line, selecting a Product that allows Prepayment - see notes above.

If it's not already selected, tick the Prepayment option on the Posting attributes line.

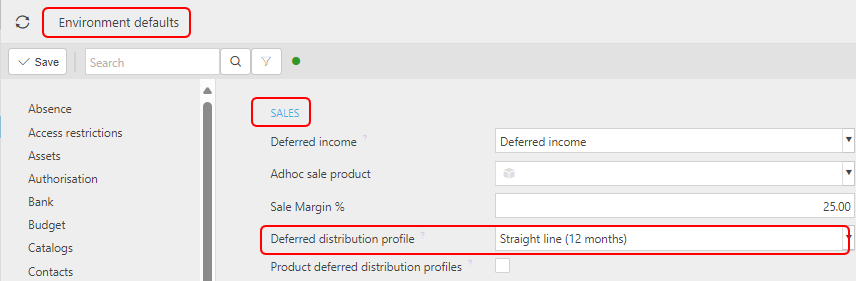
If not already populated, select the appropriate Distribution profile in the Profile option.

Note
The default value can be saved in Environment defaults.
The Date from will default, depending on what profile you enter e.g. if you enter English Quarter Day Q1, the Date from defaults to 25/12/YYYY.
The Periods and Date to fields are not always editable.
If a Weekly profile is selected e.g. Straight line (4 weekly), then the Periods option will not show.

Accounting period profile, Date from and Date to will be enabled and marked as mandatory - see Accounting period for more details.

Press Submit.
The new Purchase invoice or Purchase order will now have a Prepayment tab.

Selecting this tab will display the following options -
Summary -

Detail - when the Prepayment journals get created, the doc numbers appear in the Doc no column and these are linked to the PIN, as seen when selecting the
 link icon.
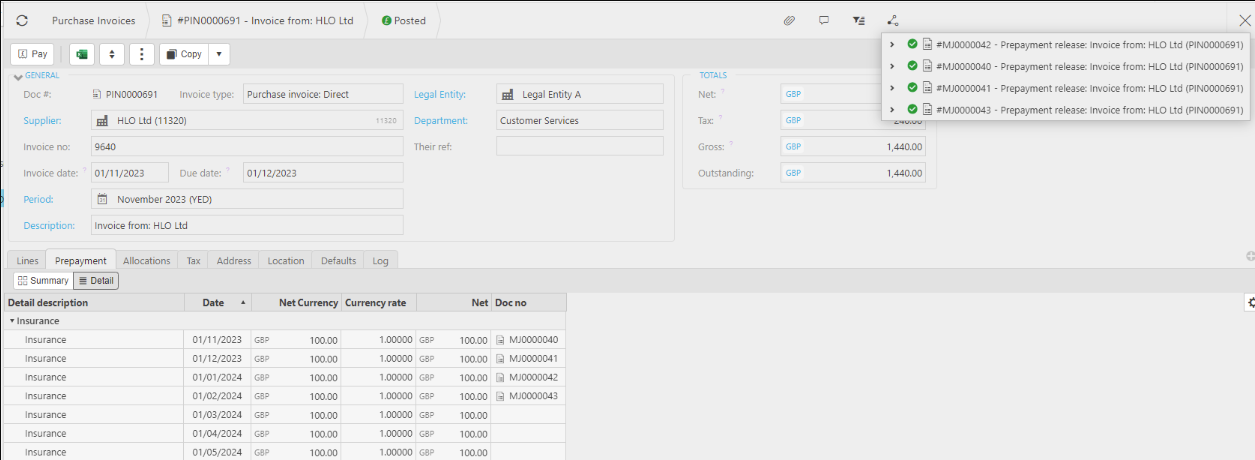
Status: Status of the document that has been created to show whether it has been posted, still in draft or abandoned.
Doc period: The period from the Prepayment document.
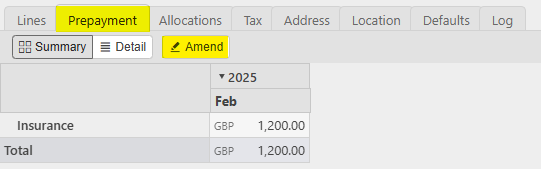
Amend: This gives the User the option to edit the dates and amounts in the Prepayment schedule so that the User can use a non-standard period for these values to coincide with business accounting rules.
Note
Amend will only show while the Invoice is in a Draft state.
Selecting Amend presents the Date and Net Currency editable fields.
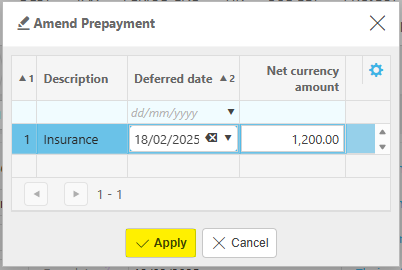
There is a Total on this screen which is the total of the amounts above and will update as any amount is changed. This is to check that the total agrees to the total on the document line for the prepayment. This will show whether these changes will be accepted - as the total on this screen needs to agree to the total on the document line before it can be accepted.
Make any updates, then select Apply.
Warning
You cannot Amend a date to be earlier than the Start date.
The total must match the value on the line item.
Negative amounts are not allowed.
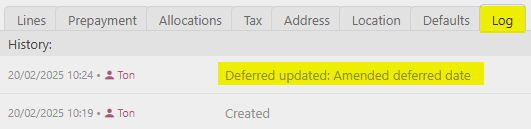
Any amendments made will show in the Log tab showing details of who made the amendments and the time and date of the change.
Updated April 2026