Purchase Orders
This feature is used to order Purchase products. Orders can be created from Requisitions or from scratch.
The screenshot below shows a sample grid of purchase orders, which includes some key information.

The icons
 = Draft.
 = Approved.
 = Error.
Doc #: This is the unique document code.
Supplier: The Supplier that is being ordered from.
Order type: This will be the order Document type.
Gross: The gross cost of the request.
Tip
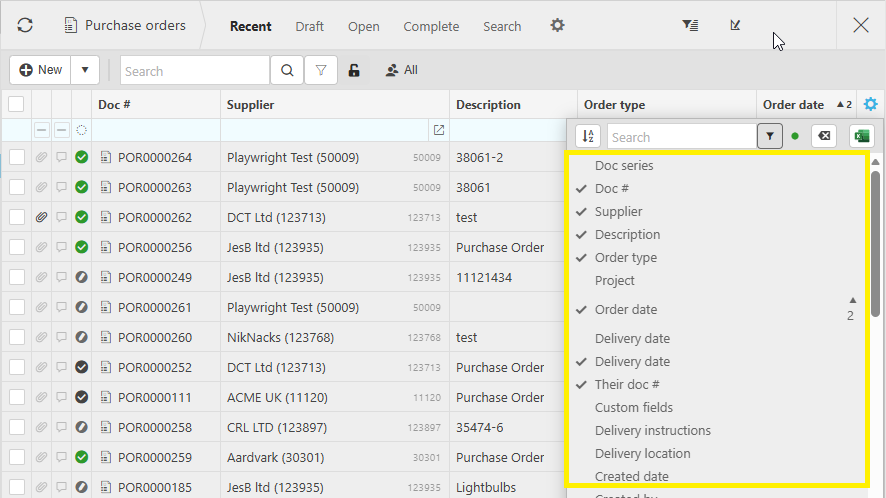
To modify the columns displayed, select
 on the top right of the page, then tick/untick the information you want to hide or display.
How to view Purchase Orders
Viewing a Purchase Order
Select Purchases / Orders from the Main section of the pulse menu -
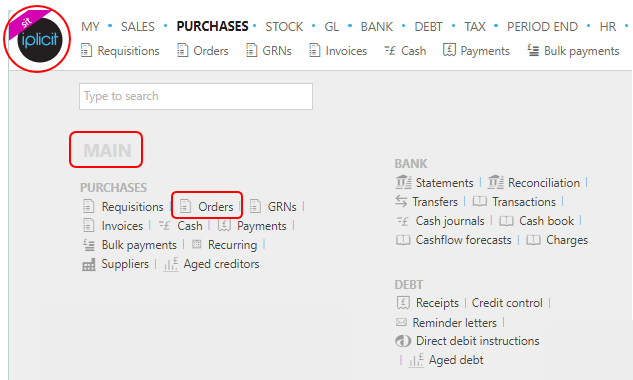
Note
This is an example screen shot of the pulse menu.
Position of the menu items within pulse will vary according to available options and dependant on personal screen resolution.
or from the Main Menu select Purchases then Orders -

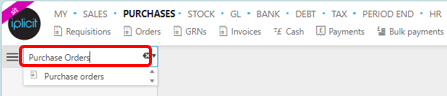
or enter Purchase Orders in the Quick Launch Side Menu.
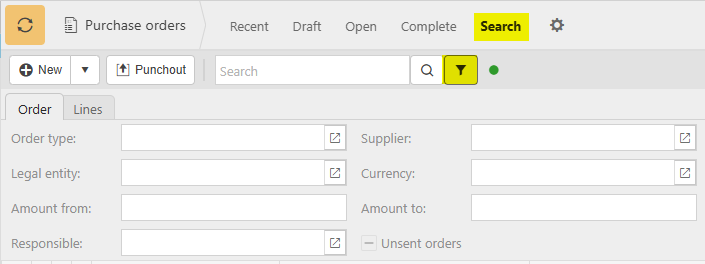
This will then show the Purchase Orders on the system where normal customisation of Sets can be used. Also, depending on User roles, the My/All option will be showing.

Tip
To modify the columns displayed, select on the top right of the page, then tick/untick the information you want to hide or display.
Select the Search option or the ![]() icon to display the fields which will enable you to filter the results.
icon to display the fields which will enable you to filter the results.
How to create Purchase Orders
Create a Purchase Order
Select Purchase Orders from one of the options as shown above in Viewing a Purchase Orders.
Select New or New from Template.
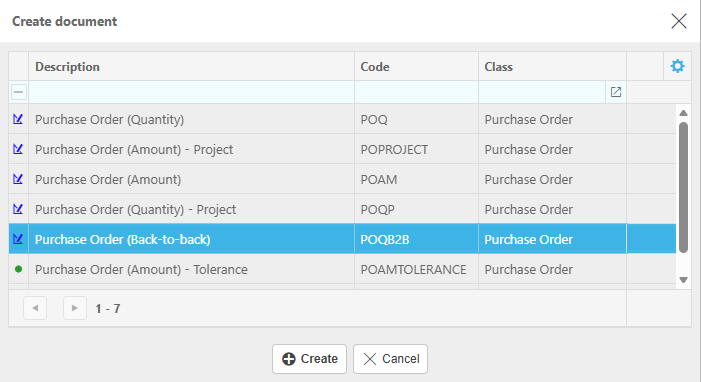
This will display the available Document types as per the system settings.
Select the required document type then press Create.
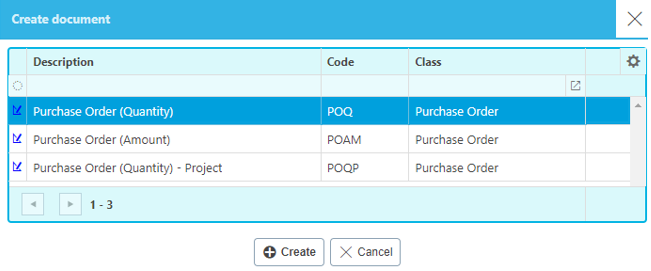
The Orders listed above differ slightly in their operations:
- Purchase Order (Quantity): Allows for part deliveries based on the quantities per line.
- Purchase Order (Amount): Allows for part deliveries based on the value per line.
- Purchase Order (Quantity) -Project: Allows for part deliveries based on the quantities but must have a Project in the Heading section of the transaction before it can be Saved.
- Purchase Order (Back-to-back): Allows raising a Purchase order for goods to a Supplier on the back of a Sales order.
Enter a Supplier.
Note
If Authorisation workflow is enabled, then the Supplier must be authorised before it can be used within the Purchase Order.
Enter a description. If Description required option has been ticked in the Document type, then this field will be mandatory. It will be automatically entered if a Default description was entered in the Document type.
Fill in the remaining fields based as required.
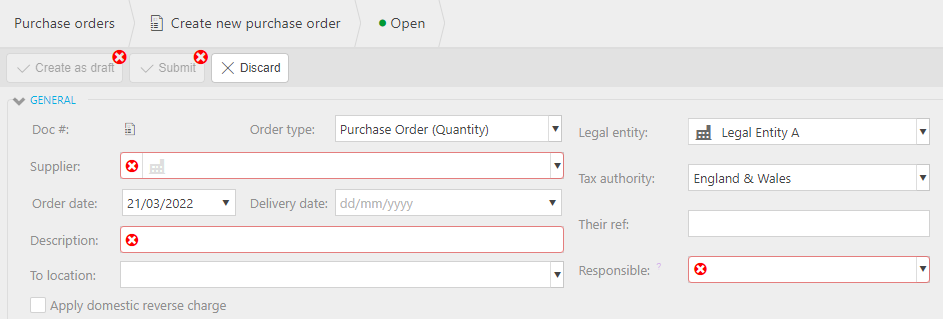
Order Type: This will be auto filled with the Document type selected in step 2.
Order Date: The date of the order.
Note
This date will default to the current date unless the Don't default current date option is ticked in Others tab within the Document type. In this case, when a user creates a new document, this date is left blank.
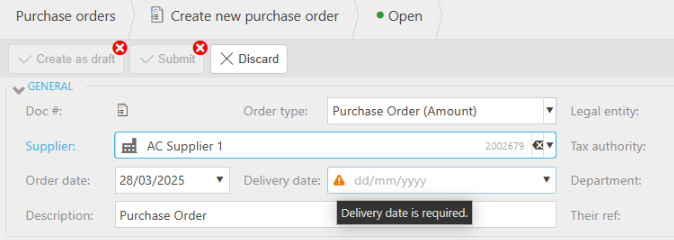
Delivery date: The date of the delivery. If Delivery date required option is ticked for the selected Document type, then this date is mandatory.
To location: This is the Stock location that the Purchase products are being ordered to.
Legal entity: Pre-populated with the default Legal entity set within Document types, but this can be overwritten.
Department: Select a Department from the dropdown list.
Stock date: This date will default to the Invoice date. It can be changed but will reset to the Invoice date if the latter is changed. If this date differs from the Invoice date, then a
 icon will show with a warning message saying Stock date / document date mismatch.
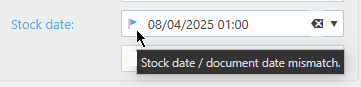
Note
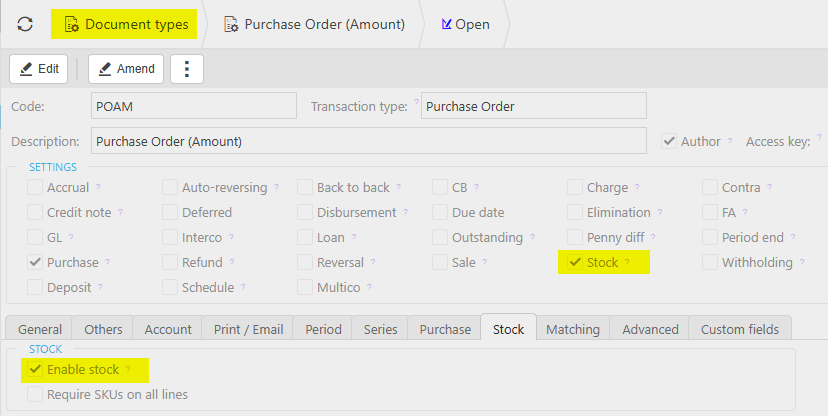
Stock date date will only show if the Document type has Stock option selected and Enable stock selected in the resulting Stock tab.
Their Ref: The unique reference given to identify the document. If Their ref required option has been ticked in the Document type, then this field will be mandatory.
Responsible: You can select a Resource to be responsible for the order.
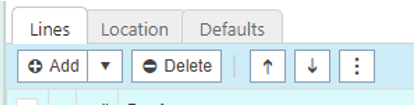
Tip
To modify the columns displayed, select
on the right of this section, then tick/untick the information you want to hide or display.Stock date: If this date differs from the Stock date in the header section, then a
icon will show with a warning message saying Line stock date / document stock date mismatch.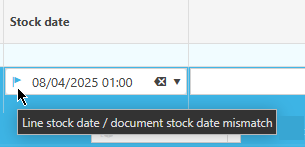
Product: This is the Product being ordered.
Account: If a Product is being used, this will be auto-completed otherwise select an Account from the available list.
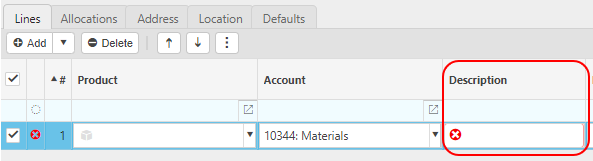
Description: Depending on the Force change setting in Chart of Accounts

If the Force change is not ticked, then the Description field will be auto-filled ...
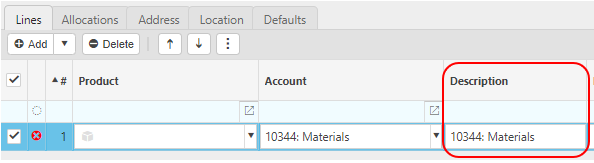
... however, it can be edited.
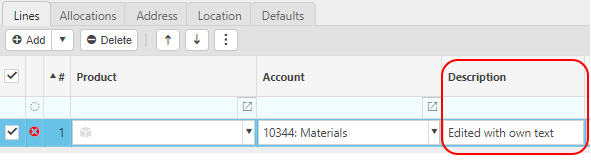
If the Force change is ticked, then the Description field will be blank and you will be forced to enter a description.
Project: Select the Project to allow more detailed tracking. Select Project from the
option if the attribute is not already present.Tax Band: The Tax band can be selected here.
Unit: This is the Unit to measure the Product.
Qty: This is the quantity of the Product.
Unit price: This is the price per unit of the Product.
Warning
If the Budget is finalised and is marked for budget checking, then a Budgeting tab will appear.
If the line items exceed the Budget for the Project, then the Budgeting tab will show the exceeded amount.

When Save is selected a warning message shows to warn the user that the Budget limit has been exceeded.
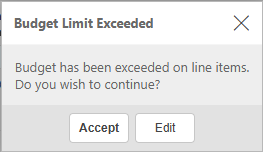
The User can either Accept the figures or return to the Purchase Order by selecting Edit.
Posting attributes
- The posting attributes are derived from the Chart of account rules related to the Account code. Common attributes include Cost centre and Department but can also include custom attributes.
If there is a requirement to buy from a Supplier and have the goods delivered where the tax authority treatment is different, then set the Supplier up as a Multi Tax Authority Supplier.
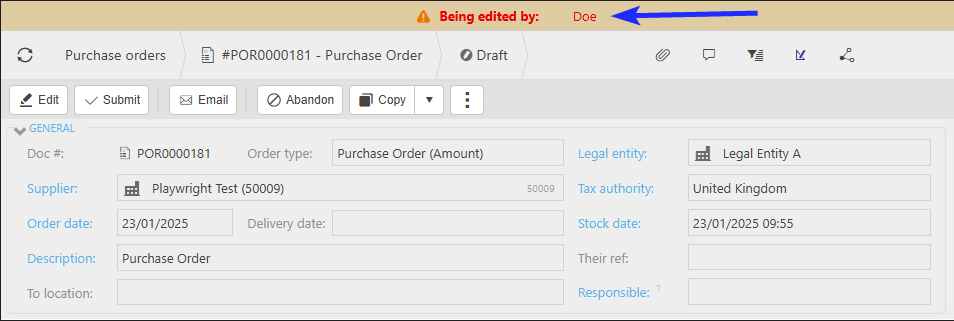
Select either Submit once happy with details or Create as draft to be able to edit further before submitting.
Note
Returning to this document via the Edit option will notify other users viewing the same document that it is being edited.
- Once the order is submitted it can be Received.
How to create a Purchase Order via Punchout
Create a Purchase Order via Punchout
Punchout is a way for a company’s procurement system to connect directly to a supplier’s online shop.
How Punchout works
- User opens iplicit Purchase Orders
- Selects Punchout option and then the Supplier
- Gets redirected to Supplier’s website
- Shop like normal (adds items to basket etc.)
- Clicks Checkout
- Items in basket are sent back into iplicit, creating a new Purchase Order
- Approval workflow + PO is created internally and order sent to Supplier
Prerequisites
In the Environment defaults, on the Features option under General, enable Punchout.
Important
To add this feature, please contact the Support Team via support@iplicit.com.
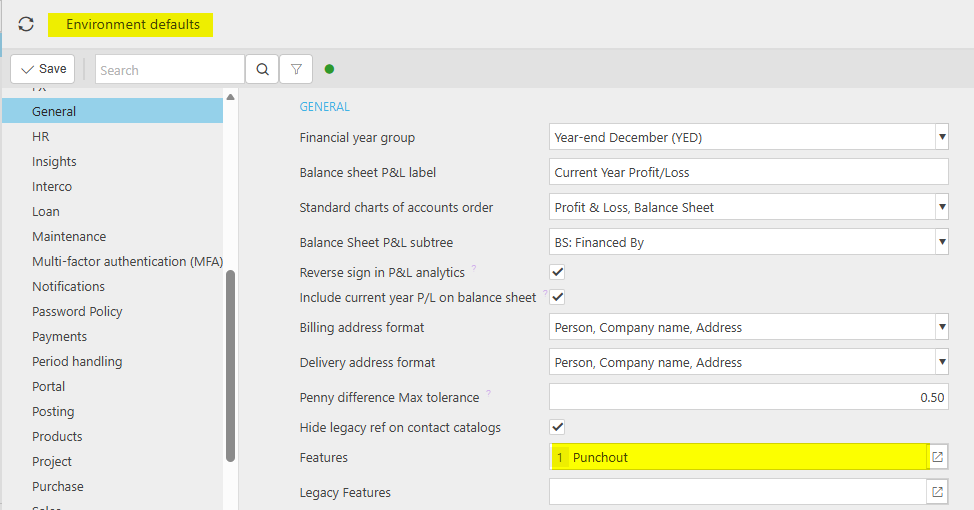
Note
Once any changes have been made in Environment defaults, these will only take effect once the system has been reloaded.
Select Purchase Orders from one of the options as shown above in Viewing a Purchase Orders.
Select the
 option.
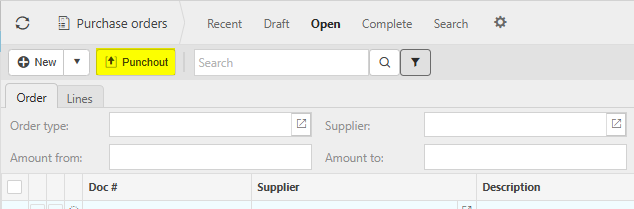
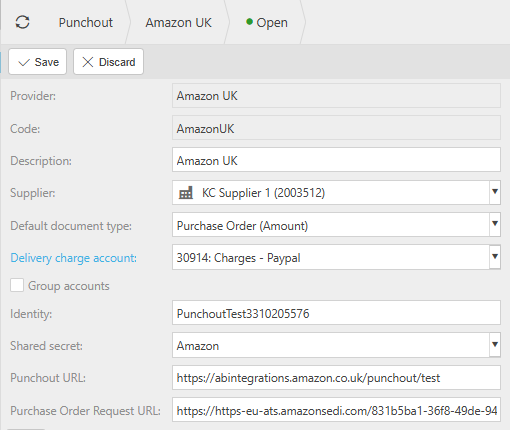
From the dropdown options, select the Punchout Provider and the Legal Entity.
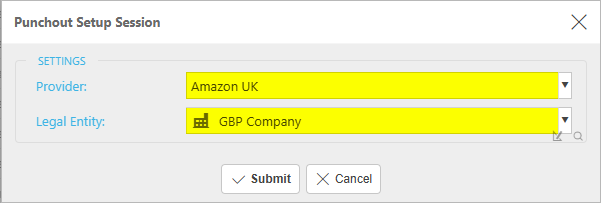
Note
If the Punchout supplier you wish to use is not an option, please contact the Support Team via support@iplicit.com.
Select Submit.
This will take you to the Supplier's on-line ordering website.
Select the items to purchase and add to the "basket". Add any extra info such as promotional codes.
Finish the order by viewing the "basket" and then proceed to checkout.
If the order is successful, the following message will be displayed with a Reference showing the Purchase Order number.
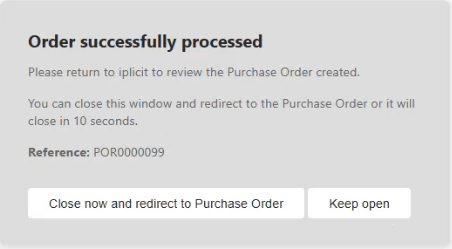
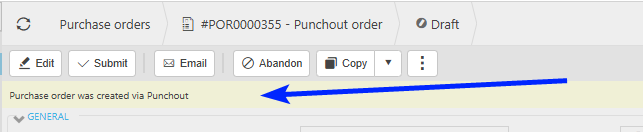
Select Close now and redirect to Purchase Order to return you to iplicit with the draft Purchase Order open. A banner below the menu items will display Purchase order was created via Punchout.
Note
If the message closes after 10 seconds, then you will be returned to iplicit to wherever you were previously.
The draft Purchase Order will still be created but you will have to select and find manually.
The draft Purchase Order will have most of the required details already entered with each individual item ordered on separate lines.
A separate line for delivery charge will show (if appropriate). The User will have the ability to manually amend this account code prior to submission of the purchase order.
Complete any required fields that are missing data e.g. Department and Account on the individual lines.
Select Submit.
The Purchase Order will then process as per normal rules.
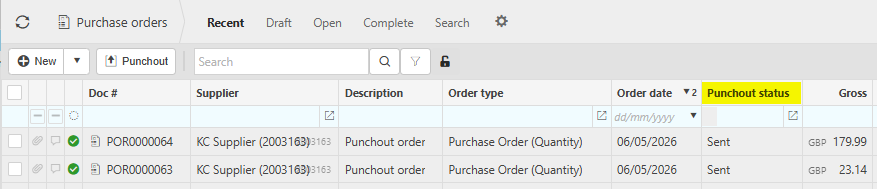
Once approved, the Punchout status column will show Sent - indicating that the order has now been sent to the Supplier for them to proceed.
Tip
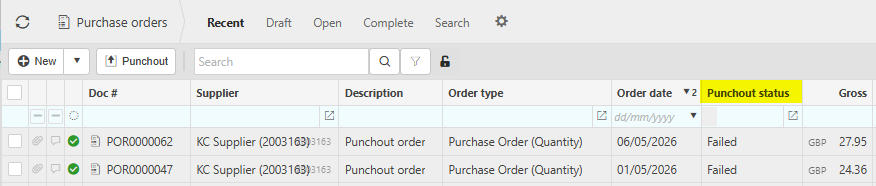
If Punchout status column is not displayed, select
on the top right of the page, then select to display.If the approved order fails whilst it is returned to the Supplier, then the Punchout status column will show Failed - indicating that the order tried to be sent to the Supplier, but it was not received.
To prevent losing the order from the Supplier, there is an option to try to resend the order.
Select (or select and open) the order and, via the
 option, select Retry punchout order.
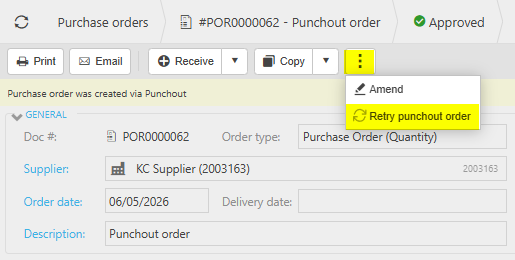
How to create a back-to-back Purchase Order
Create a back-to-back Purchase Order
To perform a back-to-back Purchase order first start by creating a Sales Orders then Submitting it.
Select Purchase Orders from one of the options as shown above in Viewing Purchase Orders.
Select New.
Select the Purchase Order (Back-to-back) document type then select Create.
Enter data in similar way as above in Create a Purchase Order.
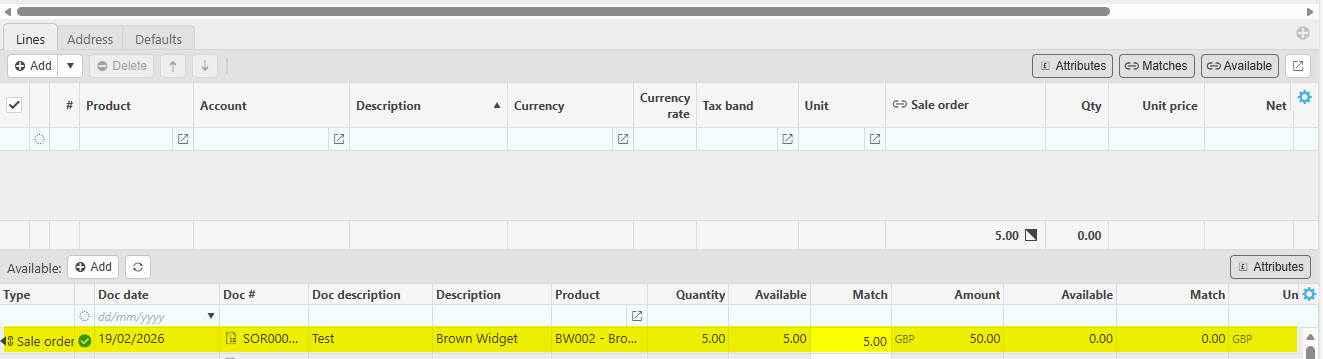
Selecting the Supplier that is the same Customer in the Sales Order created will show the Sales Order details available to add to this Purchase Order.
Note
If the Document type is set as Quantity matching, then you are able to edit the Currency in the header section on this Back-to-back Purchase Order.
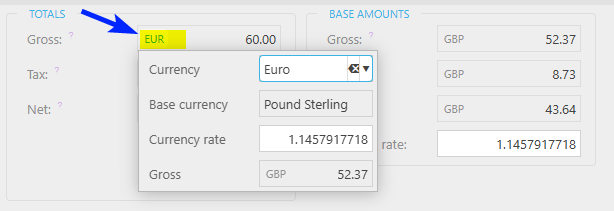
When the currency is changed the line information will be updated to the new currency and the unit price recalculated based on the Exchange rate in the header of the doc.
Select Create as draft or Submit.
How to invoice, receive or write-off Purchase Orders
Invoice, receive or write off a Purchase Order
Orders can be converted to Invoices, GRNs or Written off by selecting the purchase order then selecting the action needed.
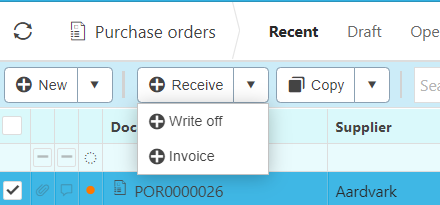
Note
These dropdown options will be the options selected in Matching tab in Document types.
How to copy Purchase Orders
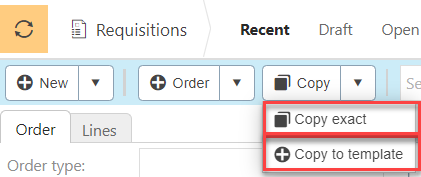
Copy a Purchase Order
Rather than filling out a new purchase order, you can copy pre-existing ones to speed up the process. This is particularly useful when you are creating the same purchase order frequently.
Select the pre-existing order that you would like to copy.
Press either Copy Exact or Copy to template.
How to export Purchase Orders
Exporting Purchase Orders
Select Purchase Orders from one of the options as shown above in Viewing a Purchase Orders.
Select the
icon on the righthand side of the attribute columns.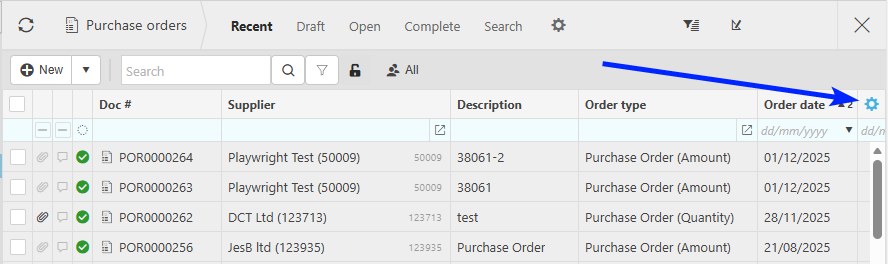
Tick the attributes to display and which will be exported.
Select the
 icon to Export the selected data to an Excel file on the local system.
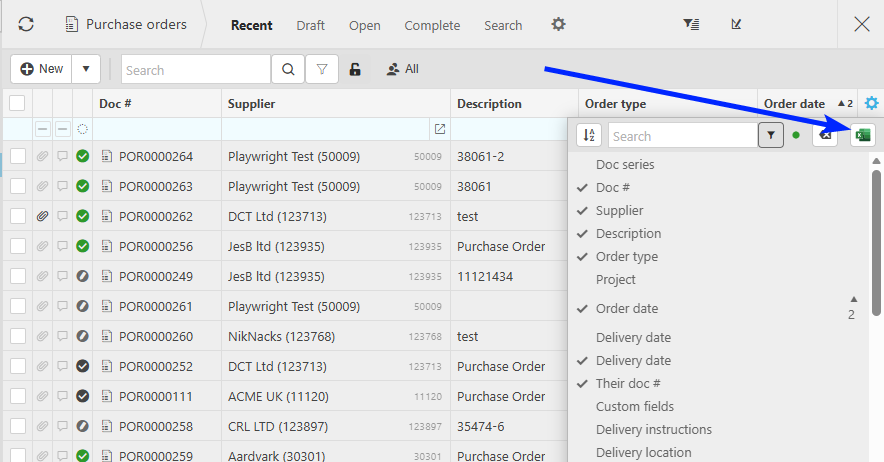
Updated June 2026