Departments
Departments can help split the reporting between major parts of an organisation. Department is a posting attribute, setting up a department can be useful for absence management and reporting purposes.
How to view Departments
Viewing Departments
Select HR / Departments from the Settings section of the pulse menu -

Note
This is an example screen shot of the pulse menu.
Position of the menu items within pulse will vary according to available options and dependant on personal screen resolution.
or enter Departments in the Quick Launch Side Menu.

This will then show the Departments on the system where normal customisation of Sets can be used and the Tree option is also available.

Code: A short, capitalised and unique code.
Description: Unique name for the department.
Manager: This is the Resource who is identified as the Department Manager (NB. this is frequently used for workflow authorisation).
Legal entity: When entered, the use of the Department can be restricted to the specified Legal entity.
Parent department: Departments can be assigned to a parent department.
Legacy reference: Identifies previous codes under the department names.
Order index: The order of Departments that will display on posting lines.
Tip
To modify the columns displayed, select  on the top right of the page, then tick/untick the information you want to hide or display.
Resources
- Resources can be assigned to departments, this will default the department field upon Document entry. These resources will also appear within the absence manager department groups.
Sub departments
- The sub departments consist of all other departments with a parent department set to the current selected department.
Order of evaluation
Document header:
- Fixed contact account (customer / supplier)
- Fixed account setup (chart of account rules)
- User entered value / saved value
- Contact account default
- Default account setup (chart of account rules)
Document detail lines:
- Fixed contact account (customer / supplier)
- Fixed product
- Fixed project
- User enter value / saved value
- User default settings
- Product default (accounting)
- Project default
- Contact account default
- Document header default
How to Import Departments
Importing Departments
Select Departments from one of the options as shown above in Viewing Departments.
Select Import from the
 button.
Enter options for Import.

- File: The source file created and saved previously.
Tip
To create an Import file with the correct formatting, Export a file first and save to your external source. Then use this file to add updated Department details.
Select Submit.
Warning
iplicit allows a maximum of 5,000 rows in a single Import.
If your Import is too large, an error message will tell you that the Import cannot be processed and will advise you to create smaller Import files.
If the latter is not possible, please contact Customer support.
How to Export Departments
Exporting Departments
Select Departments from one of the options as shown above in Viewing Departments.
Select Export from the
 button.
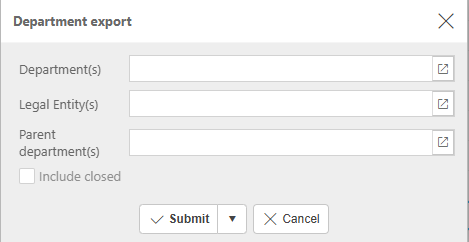
Enter options for Export.

Enter Department(s), Legal Entity(s) and Parent department(s) as appropriate or leave blank to include all.
Include closed: Tick to include closed items.
Select Submit.
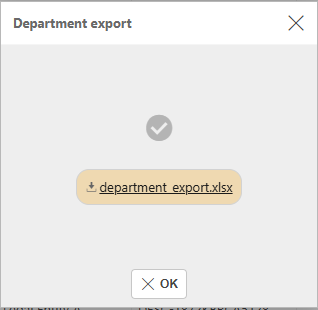
The Export file is created as an Excel spreadsheet.

This file can now be opened.
Updated October 2025