Trees
Trees are accessed via the Quick Launch panel or the Pulse icon.
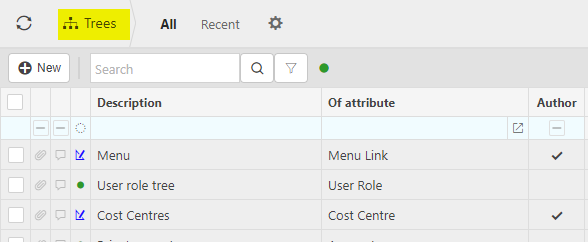
Only users with access to the ‘COA Tree Admin’ user role will be able to add or edit the trees.
A ‘Tree’ overlays an enquiry. In the case of Chart of Accounts this is the Trial Balance, Profit & Loss or Balance Sheet. iplicit has an ‘author based’ Standard for each of these based on the Chart of Accounts Group & Account codes.
As an alternative to the Standard enquiries additional tree layouts can be created providing the means to see the accounts in various displays.
Creating a New Account Tree
Note
There are technical settings required to create an accounts tree from scratch, therefore, to simplify this for the end user the approach used should be to copy an existing Standard tree where the technical settings are completed. The display can be amended without the need to understand the technical aspect. This is the approach taken for this help file.
Highlight an existing author based Standard tree that is the nearest in design to the requirements. Select Copy.

The option to Copy the tree either As query (this should only be selected by a MS Sequel programmer) or As user defined tree.
Select As user defined.

Enter a new Description for the tree.

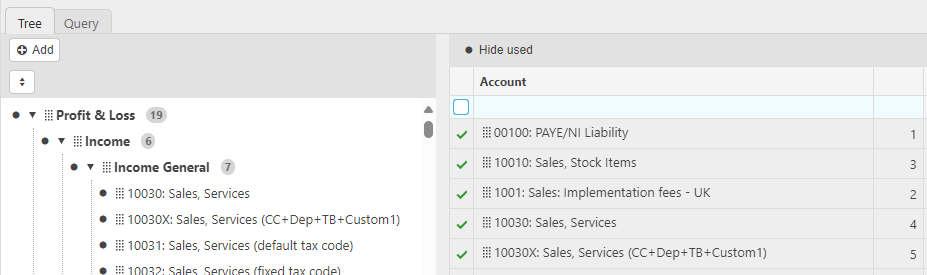
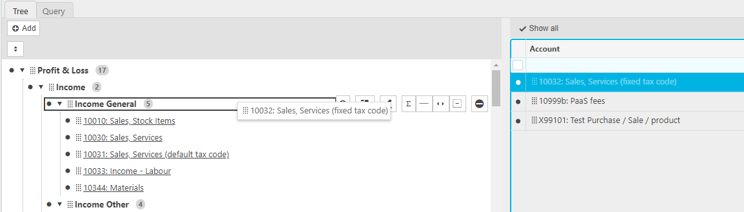
The Tree tab displays two panels, the left-hand side shows the structure of the tree, by default the right-hand side lists any Chart of Accounts not included on the tree.
Tip
Toggle between Show all/Hide used to alter the display of the right hand panel, codes with a green tick are included on the tree.
Any highlighted Chart of Account can be Removed if not required.
Note
If you Remove a Group the codes below it will also be removed.
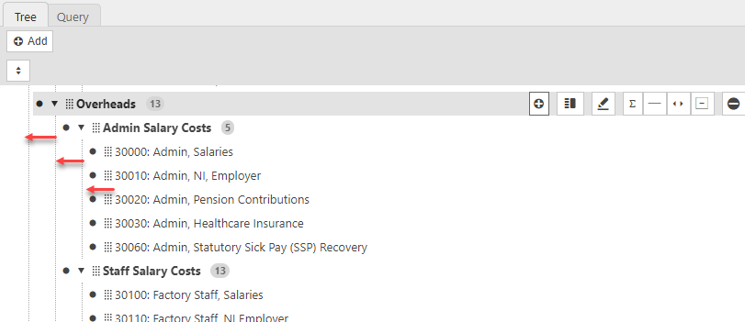
To bring codes into the tree from the right hand panel drag them across to the heading the code will be included in.
Lines can simply be dragged around for display purposes either within the same group or to another group. The Hierarchy positions are an important factor when moving lines, drag the line being moved to the correct hierarchy position before releasing it.
Tip
Sometimes it can be quicker to remove the code then add it back into the correct position.
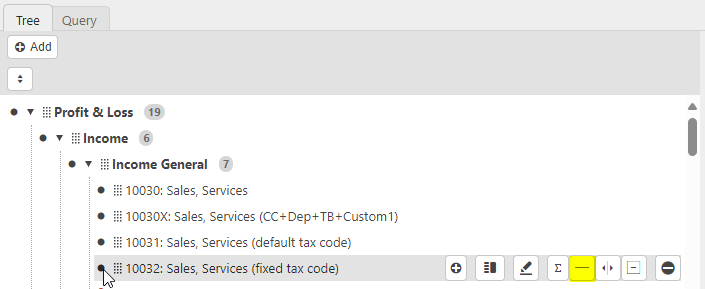
For display purposes ‘lines’ or ‘spaces’ can be entered above the currently highlighted row.

Groups can be created to provide additional display & sub-totals to those on the Standard Chart of Accounts.
In the example below a Group has been created for the Services income, there is no group on the Chart of Accounts for this it is simply for this tree display.

Note
Groups automatically are sub-totalled. However, this will be an optional feature on later versions. Once operational, where required with the Group highlighted the Sub-totals icon works as a Toggle to Add/Remove the sub-totals for the Group.

Tip
The + symbol is also a means of adding a Group but with the position at the lower level, therefore it is not as efficient as using the Group icon.
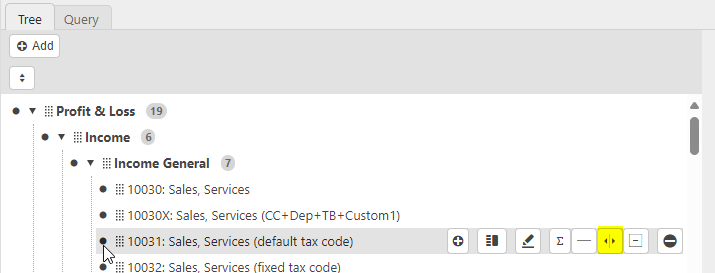
Reverse sign.
Once the design is complete select Create.
Using the Tree
Select one of the standard Balance Sheet, Profit & Loss or Trial Balance enquiries.

By default this will open with the Standard layout, selecting the cog on the right-hand side displays the options available for the enquiry.
Clicking on the arrow displays the tree designs available for selection.

Tip
Clicking on the
 icon displays tree items with no data or non tree items.
Note
If the My settings is set to Remember user layout changes the next time you run the enquiry it will display using the last tree selected.

Updated February 2024