Absence Manager
- The primary role of Absence Manager is to enter absence on behalf of other resource(s).
- Users can enter their own absence using My absence.
- This requires the user to be delegated responsibility on behalf of named resource, see User delegation setup for instructions on how to set this up.
- NB. The responsibilities of Absence Manager are for the entry of absence. The setup of Absence e.g. Absence Groups, periods, etc require the Absence: Admin user role.
How to view Absence Manager
Viewing Absence Manager
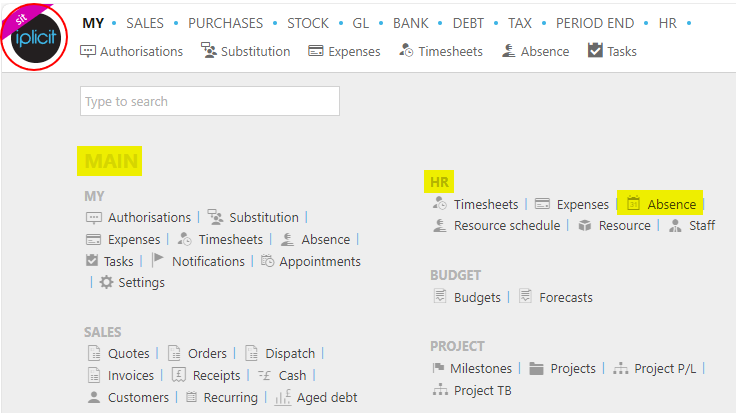
Select HR / Absence from the Main section of the pulse menu -
Note
This is an example screen shot of the pulse menu.
Position of the menu items within pulse will vary according to available options and dependant on personal screen resolution.
or from the Main Menu select HR then Absence -

or enter Absence manager in the Quick Launch Side Menu.

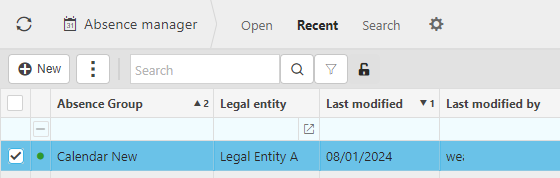
This will then show the Absence manager items on the system where normal customisation of Sets can be used.
Tip
To modify the columns displayed, select  on the top right of the page, then tick/untick the information you want to hide or display.
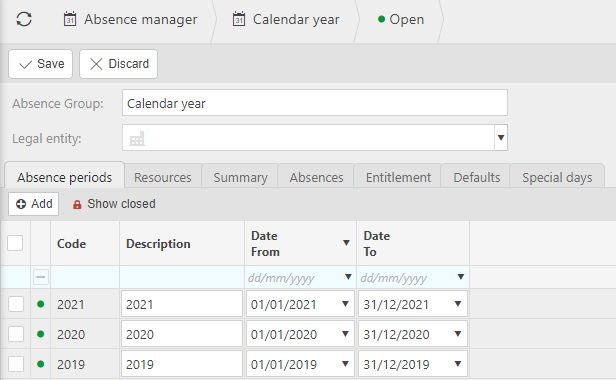
When selecting and opening an absence group, you will see the following tabs.

This tab will present your absence period description e.g. 2022 and the date each absence period runs from and to.
- Absence: Admin access is required to change the Absence periods.
What are the prerequisites to entering Absences
Absences creation prerequisites
Absence setup
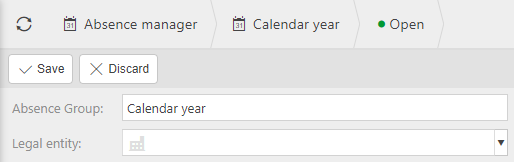
Create an Absence Group.
Tip
Identify the Absence Group with a name that describes it's scope. If for example, your Absence Period is Calendar Year then use this as the name. If you wish to create an Absence Group per Legal Entity then you would probably like to include the Legal Entity in the name.
An Absence Group may be associated with a Special Calendar.
Absence Period
Absence periods reflect the periods of absence (typically annual) for the Absence Group. In this example, we are using Calendar year (January - December).
Select Add to create Absence Period(s).
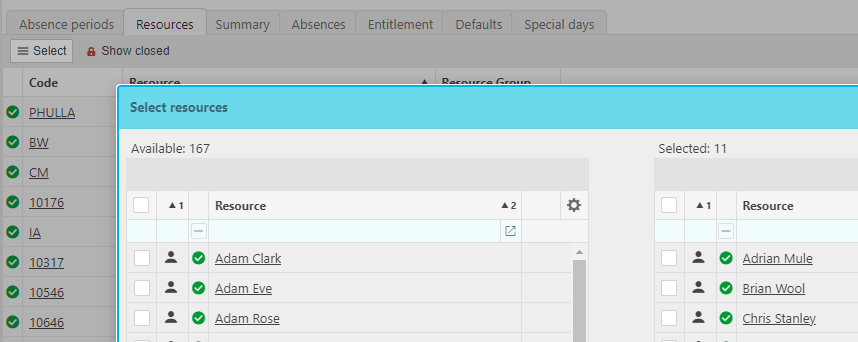
Absence Group Resource
Assign Resource to the Absence Group.
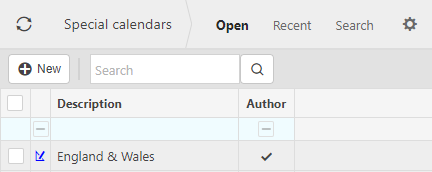
Special Calendar
If you wish to see special days (e.g. bank holidays) on your resource schedule, assign the Absence Group to a Special Calendar. This is set on the Absence Group 'defaults' tab.
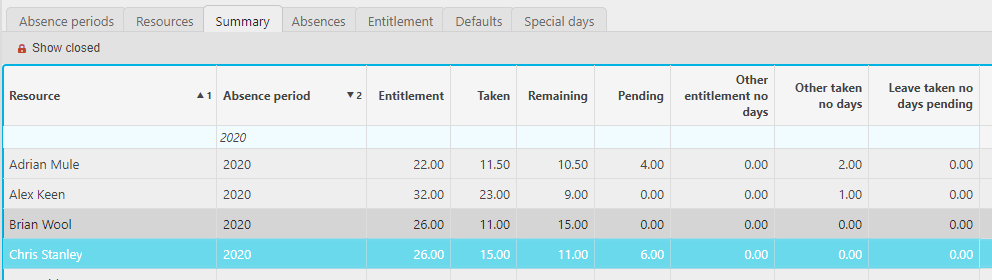
Absence Summary
This shows a summary of entitlement & absence per Resource. By Default, it will include all open Absence Periods and active Resource.
Note
Select "Show closed" to see Resource which has had Entitlement / Absence assigned to the Absence Group but the Resource is no longer active or has been moved to another Absence Group.
Entitlement tab
This tab shows Absence Entitlement that has been awarded for the selected Absence Period(s).

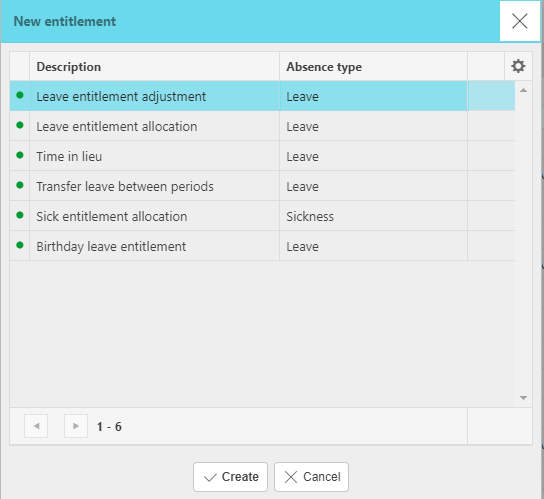
Select Entitlement to create Absence Entitlement on behalf of Resource.
Select the appropriate Entitlement Document Type and press Create.
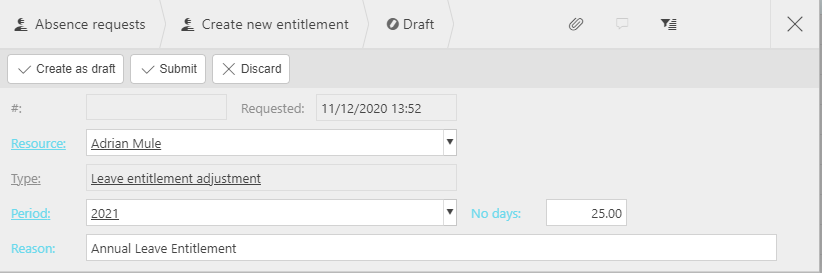
Select the Resource, Absence Period, the Entitlement allocation, reason for awarding the Entitlement and select Submit to send for authorisation.
Note
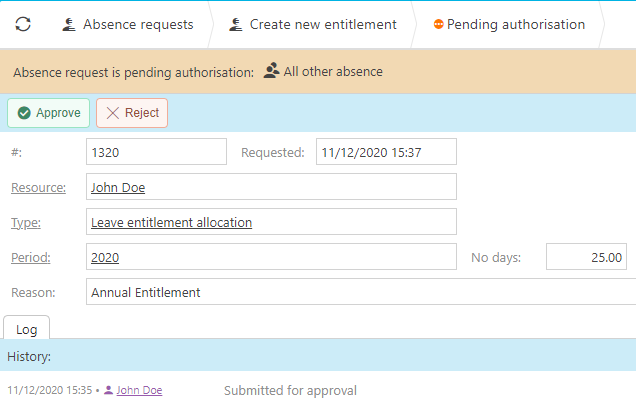
Authorisation Workflow is available for Absence Entitlement e.g. send to Resource, Line Manager for authorisation. If no workflow is setup, the Entitlement will be auto authorised.
View the Absence Group Summary to check allocations.
Defaults tab
Set the Special Calendar which will enable e.g. Bank holidays to be shown in the Resource Schedule.
Identify the max days carry forward and hours in day to reflect the policy for this Absence Group.

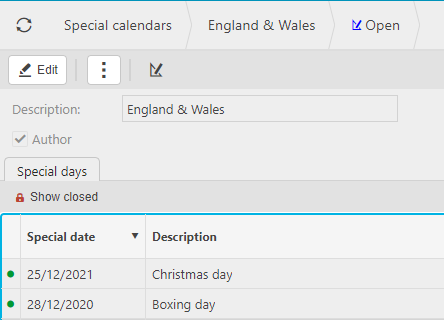
Special days tab
Special days is a read only grid of special days entered against the Special Calendar.

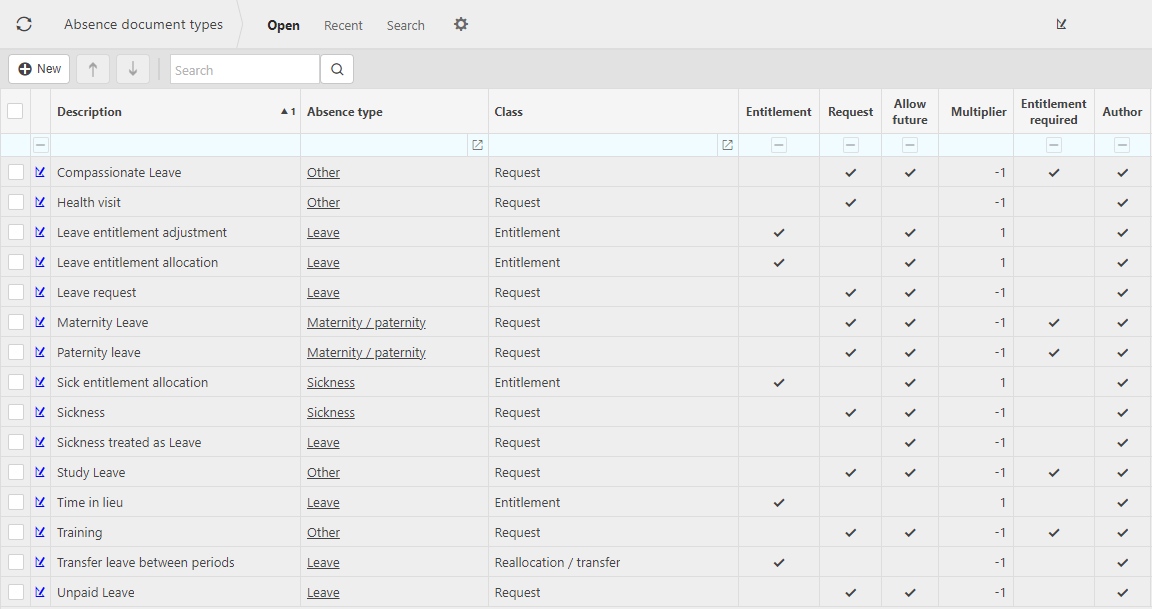
Absence Document types
The table below shows the author Absence Document Types. If this set does not reflect your needs, select +NEW to create your own.
For help see Absence Document Types.
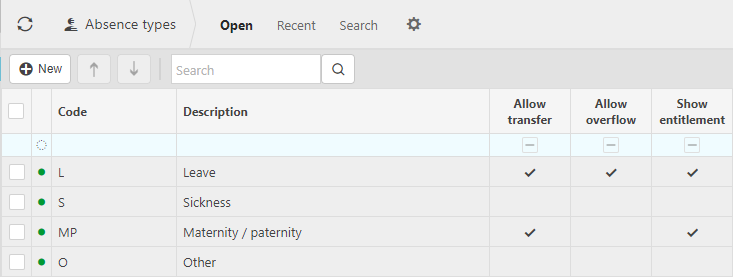
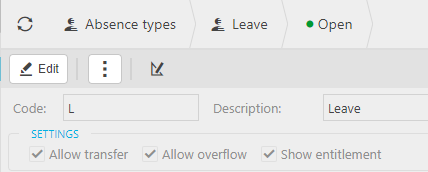
Absence Types
Absence types are generic groupings for use in Absence Entitlement and Absence Requests.
Entitlement and Requests which share the same Absence Type are used on the Absence Summary to reflect usage and remaining.
Setting up an absence admin
Open user accounts in the finder.
Find the user that you want to grant permission.
Press Select under the permission tab.
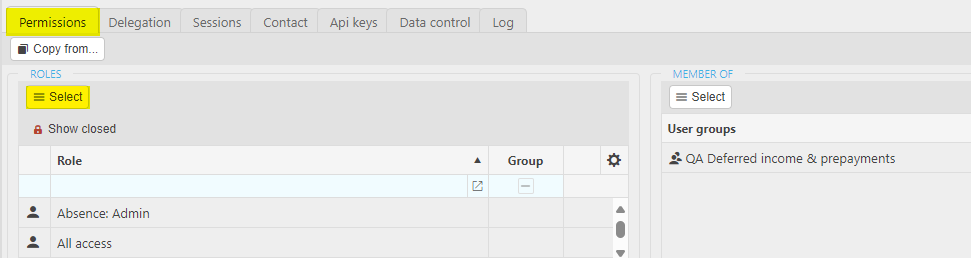
Search Absence admin.
Select the Absence admin role then press the single chevron.

Press Apply.
How to enter an Absence
Entering an Absence
Select Absence Manager from one of the options as shown above in Viewing Absence Manager.
Select and open the Absence group to add the Absence to.
Select the Absence tab which will show all the Absences that have been requested for the selected Absence Period.
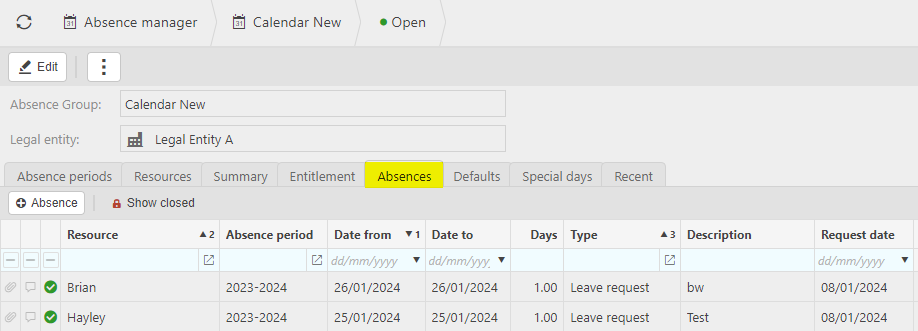
Select Absence to create new an Absence Request.
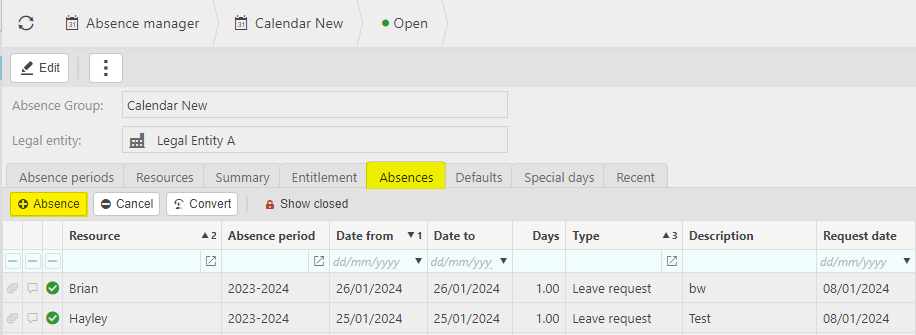
Note
You can only create Absence on behalf of a Resource that you have been delegated responsibility to enter absence on behalf of.
Select the appropriate Absence Request Document Type and then Create.

Enter the Resource, Date range, no of days requested and reason for the Absence.

Note
When creating the Absence Request, a view of the related Resource Schedule is shown to provide an insight to potential other Absence conflicts for the selected Absence date range.
View the Absence Group Summary to check requests.
Select Submit or Create as draft.
Updated January 2025