Absence Document Types
Absence document types are used when entering absences e.g. holiday or sickness.
How to view Absence Document Types
Viewing Absence Document Types
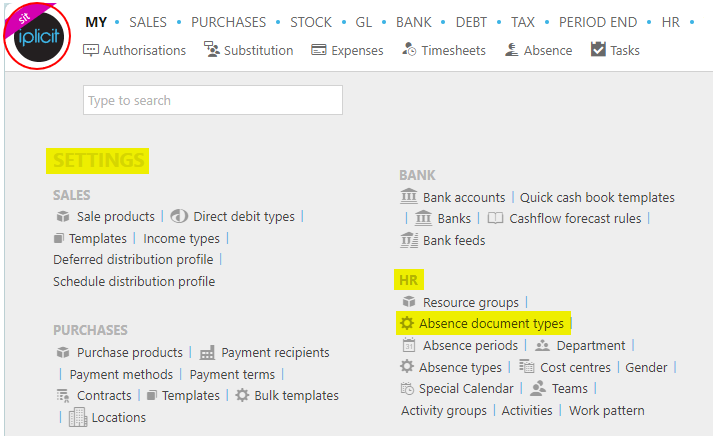
Select HR / Absence Document Types from the Settings section of the pulse menu -
Note
This is an example screenshot of the pulse menu.
Position of the menu items within pulse will vary according to available options and dependant on personal screen resolution.
or enter Absence document types in the Quick Launch Side Menu.

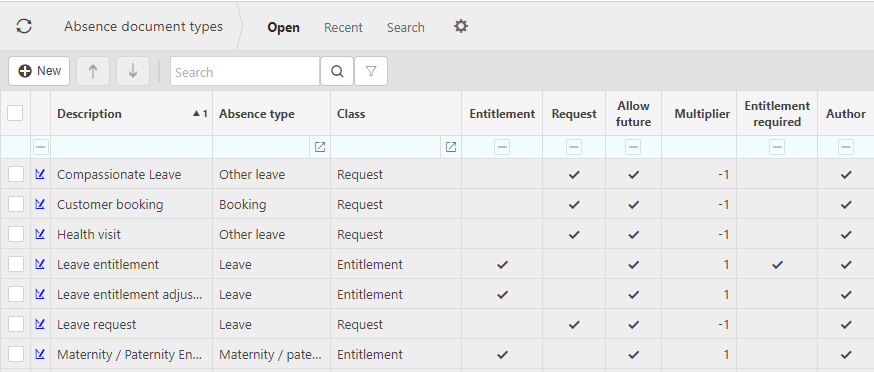
This will then show the author based Absence Document Types on the system where normal customisation of Sets can be used.
How to add Absence Document Types
Adding Absence Document Types
Select Absence Document Types from one of the options as shown above in Viewing Absence Document Types.
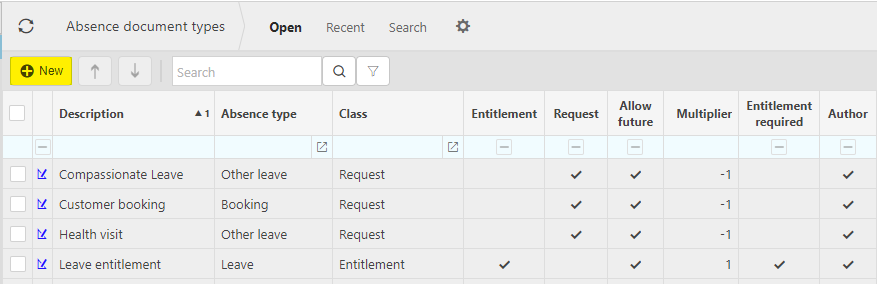
Select New.
Select an Absence type.
Select an Access key.
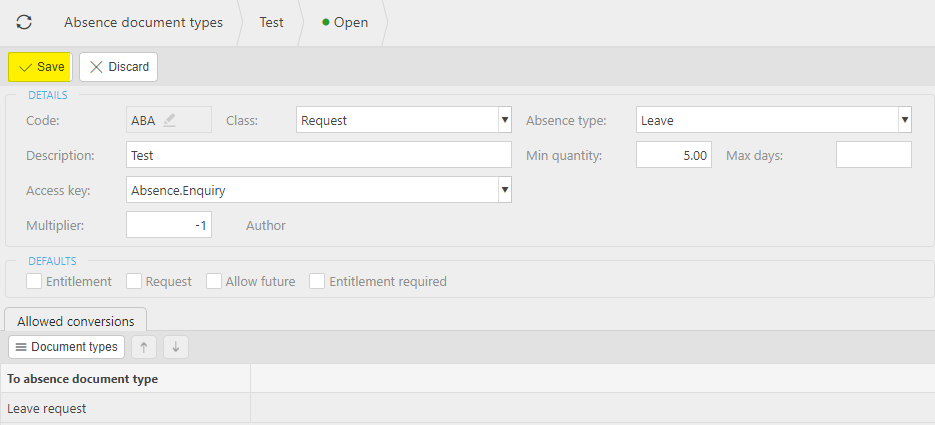
Enter the remaining fields.
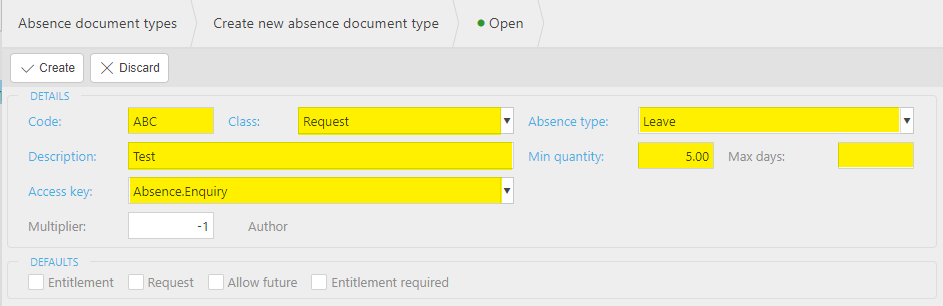
- Code: This is used to identify the absence document type.
- Class: This is the document class.
- Description: Used to identify the absence document type in the finder.
- Min quantity: The minimum number of days that this type of leave can be used for.
Add a document type at the bottom.

Press Create.

How to edit Absence Document Types
Editing Absence Document Types
Select Absence Document Types from one of the options as shown above in Viewing Absence Document Types.
Select and open the Absence Document Types to edit.
Note
Only NON Author documents can be Edited.
Select Edit.

Edit the fields that need changing.
Select Save.
How to delete Absence Document Types
Deleting Absence Document Types
Select Absence Document Types from one of the options as shown above in Viewing Absence Document Types.
Select the Absence Document Types to delete.
Select the
 icon and select Lock.
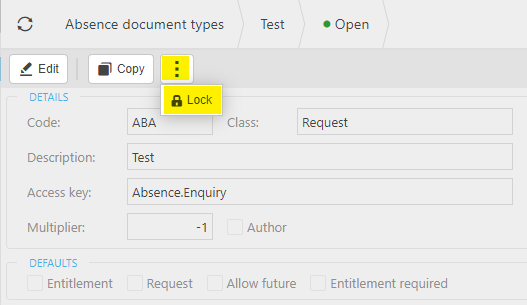
Select the
icon again, then select Delete.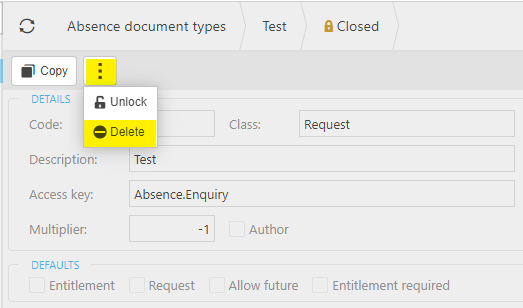
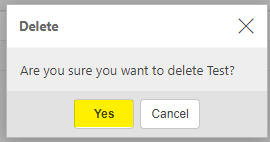
Confirm or cancel.
Updated May 2024