Stock Locations
Stock is recorded in different stock locations.
The stock location will have defaults setup such as the associated Legal entity.
The screenshot below shows a sample grid of stock locations, which includes some key information.
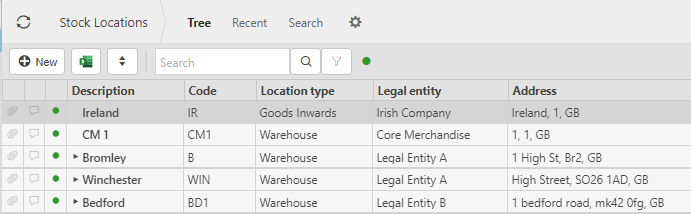
- Parent location: showing where the stock location is e.g. the Warehouse for a Zone.
- Location type: indicating the specific department that is holding the stock.
- The Stock Code
- Description: of the stock location.
- Legal entity
- Location purposes: highlighting why the stock is in its location.
- Last modified: when the stock was last modified.
- Last modified by: the person who last modifies the stock input.
How to view Stock locations
Viewing the Stock locations
Select Stock / Stock locations from the Settings section of the pulse menu -
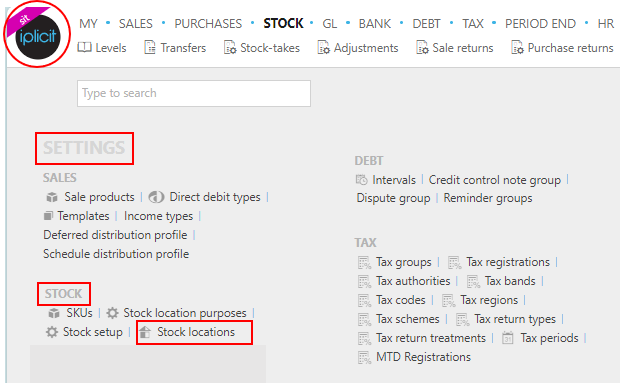
Note
This is an example screen shot of the pulse menu.
Position of the menu items within pulse will vary according to available options and dependant on personal screen resolution.
or enter Stock locations in the Quick Launch Side Menu.

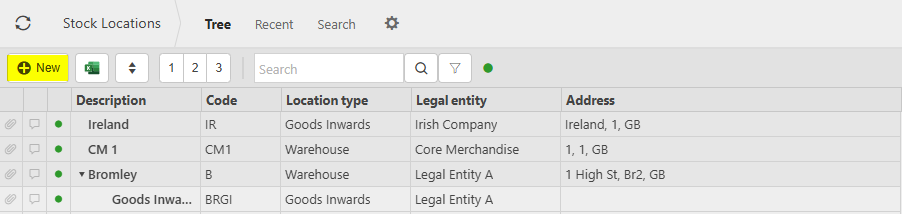
This will then show the Stock locations on the system where normal customisation of Sets can be used. Also, you can toggle between rows to show more or less data.
Tip
To modify the columns displayed, select  on the top right of the page, then tick/untick the information you want to hide or display.
How to create Stock locations
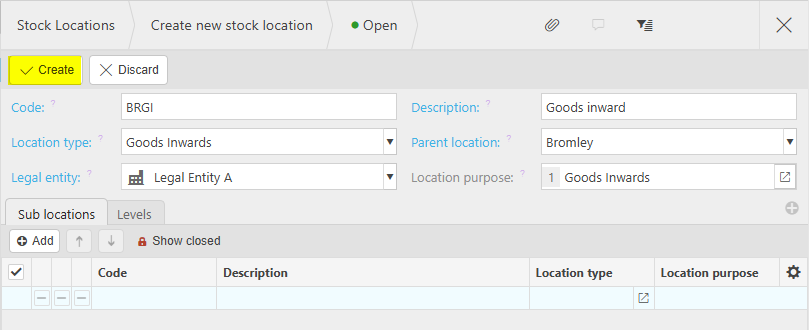
Create Stock locations.
Select Stock locations from one of the options as shown above in Viewing Stock locations.
Select New.
Enter the required fields -
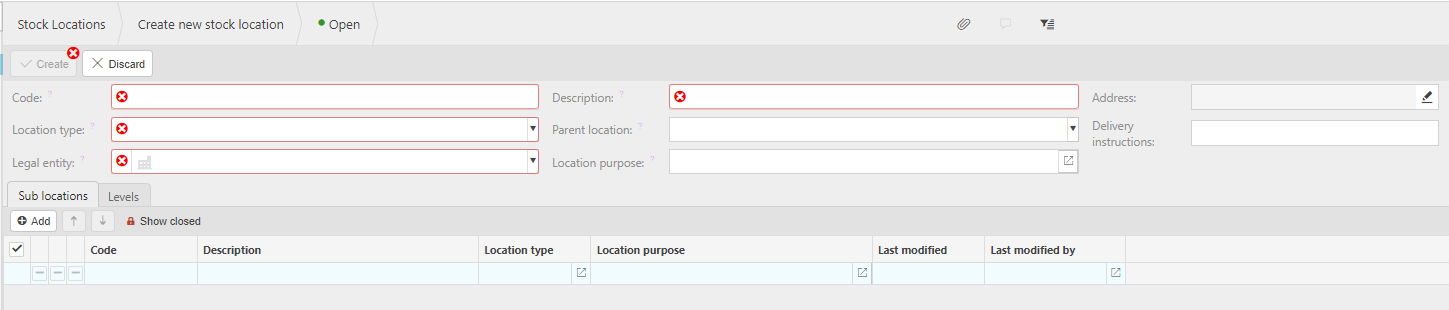
Code: Unique code for Stock location.
Description: Description to identify the Stock location.
Address: Address of the Stock location.
Location type: Identifies the Stock location type e.g. Warehouse.
Parent location: Parent stock location e.g. the Warehouse for a Zone.
Legal entity: Legal Entity for the Stock location.
Location purpose: Clear this cell if you want the Stock location to be used for any purpose.
Tip
You can add attachments to your new stock location by pressing on the paper clip icon.

Add Sub locations, press Add -
Enter a code, description, location type and a location purpose.
Tip
You can add multiple sub locations by following this process again.
Select Create to save the details.
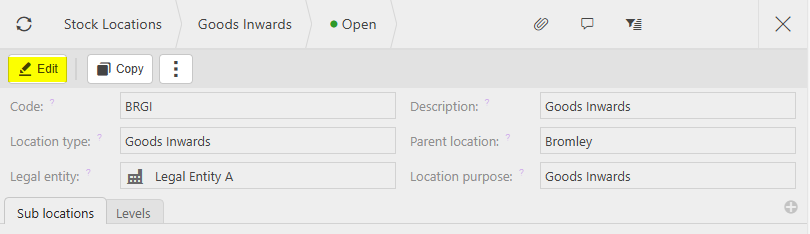
How to edit Stock locations
Edit Stock locations.
Select Stock locations from one of the options as shown above in Viewing Stock locations.
Select the Stock location you would like to edit.
Select Edit.
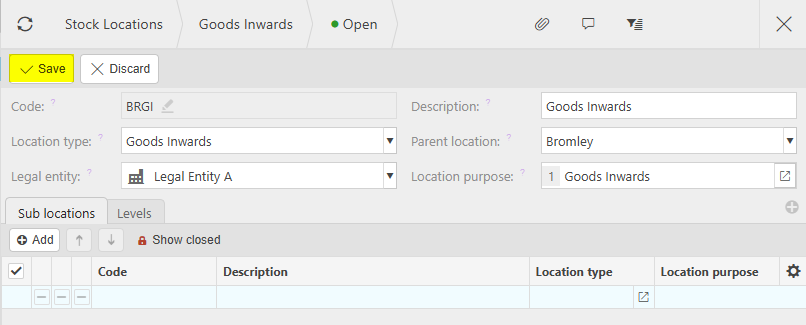
Make changes required.
Once you have made the changes you need, select Save.
Updated December 2025