Legal Entities
A Legal Entity is required for each organisation that financial documents will be entered against.
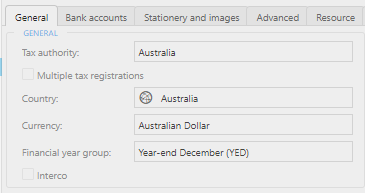
One or many Legal Entities may exist within each environment and they can share details e.g. Tax Authority, Financial Year Group, Base currency, etc.
Note
Where multiple Legal Entities exist, consolidated reporting options are available, regardless of shared periodicity and even base currency.
The decision to share setup e.g. Financial Year Group, apart from the commonality of year end date may be governed by the business process to e.g. share period end handling.
Tip
Select  to jump to the Legal Entity contact account and see the related addresses, phones, emails, contacts, URLs.
How to view Legal Entities
Viewing Legal Entities
Select GL / Legal entities from the Settings section of the pulse menu -
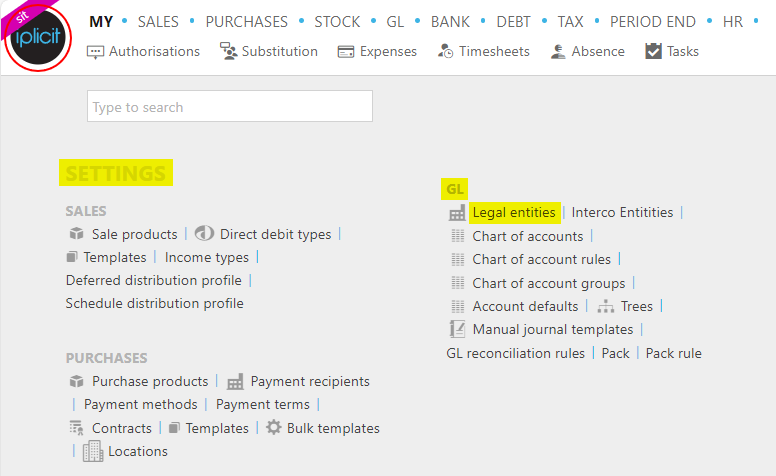
Note
This is an example screen shot of the Pulse menu.
Position of the menu items within Pulse will vary according to available options and dependent on personal screen resolution.
or enter Legal entities in the Quick Launch side menu.

This will then show the Legal entities on the system where normal customisation of Sets can be used.
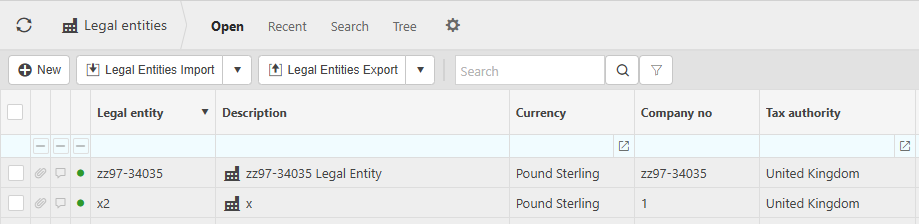
Tip
To modify the columns displayed, select  on the top right of the page, then tick/untick the information you want to hide or display.
How to create Legal Entities
Creating Legal Entities
Select Legal entities from one of the options as shown above in Viewing Legal Entities.
Press New and enter the appropriate data.
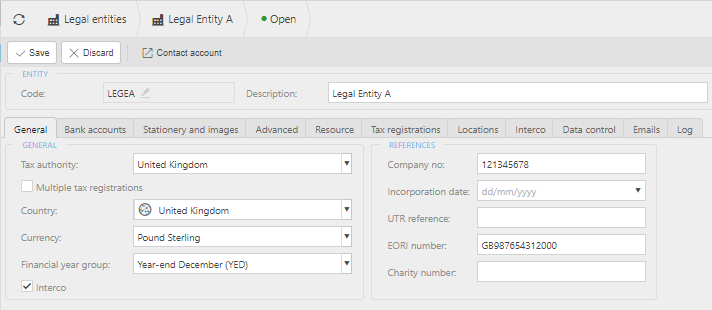
The Tabs
General
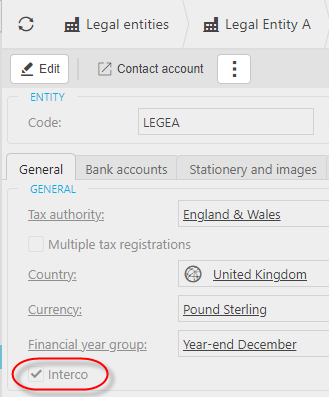
Tax Authority: Tax authority that the Legal Entity is registered with. This determines tax treatments.
Multiple tax registrations: When ticked, this Legal Entity will be capable of having multiple tax registrations. An example of this would be a Legal Entity having separate tax registrations (and responsibility) in both England and Ireland.
Country: Country in which the Legal Entity is registered.
Currency: Default currency for the Legal Entity.
Financial Year Group: Financial year group which is used to define the accountancy periods, financial year start and end, etc.
Warning
Once a Legal Entity has been created and had documents added to it, trying to edit Financial Year Group will present the following message.
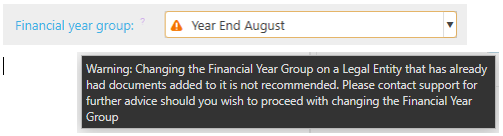
This is just a warning message; the Financial Year Group can still be changed if the Customer wishes.
Interco: Tick this check box if you also wish to use this Legal Entity for Interco documents. This will create an additional Tab - see Interco Tab.
References
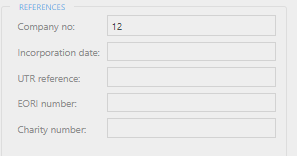
- Company No: Unique Company number assigned to the Legal Entity.
- Incorporation date:
- UTR reference: Unique Tax Reference (used in England and Wales) Tax Authority
- EORI number:
- Charity No:
Bank Accounts
Each Legal Entity may have many bank accounts.
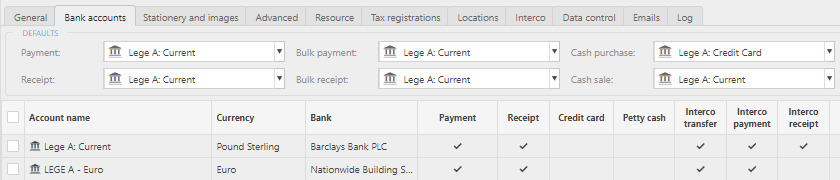
Tip
If you have the correct access to view bank accounts, press CTRL then click to jump to the underlined bank account.
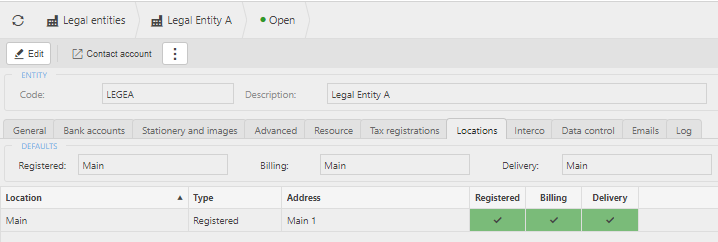
Defaults
Set these defaults for use when entering quick payments, Bulk payments, etc using this Legal Entity.
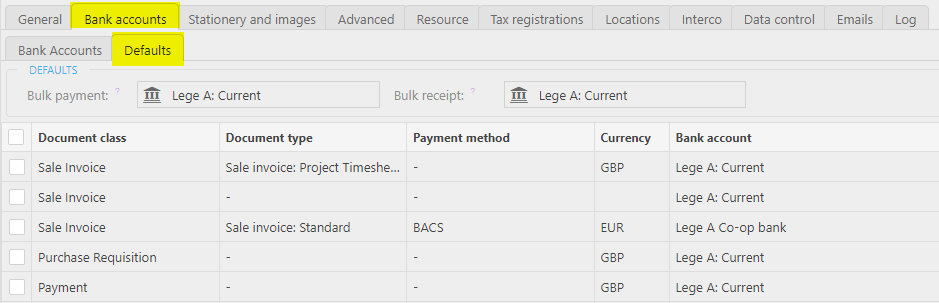
Various default bank accounts can be set for documents dependent upon document class, document type, legal entity, currency of the document.
For example, Sales Invoice on Legal A: Current.
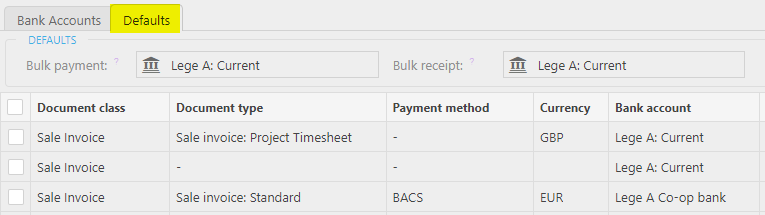
Then the appropriate Bank account will show in Reports etc.
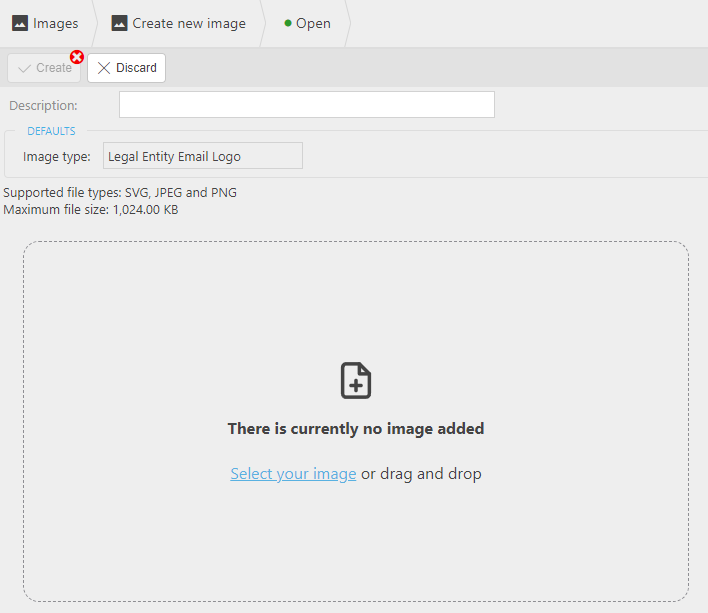
The images and links identified in this section are automatically used on documents (e.g. Sale Invoice, remittance) and communications associated with this Legal Entity.
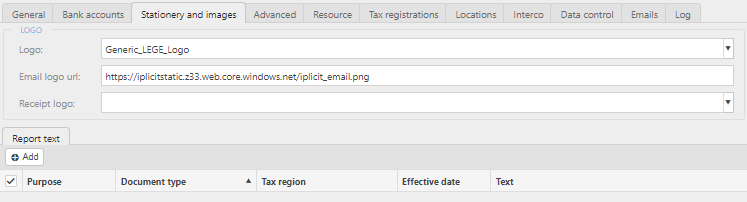
Default settings for regular report generation where no overrides are set -
Logo: The company logo used for documents.
Email logo URL: The URL link to get the logo for email documents.
Receipt logo: The URL link to get the logo for email documents.
Note
Only images such as .svg, .jpg, .png are possible.
Only one file can be loaded at a time.
Image files are limited to 5mb for logos and 1mb for email logos.
Report text -
Users can set up Overrides to create bespoke Reports. Available criteria for when the Overrides apply are -
Date from: Only applies from the Document date.
Date to: Only applies up to this date. If this is blank, then there is no end date.
Tax authority: Override only applies if this value matches the tax authority on the document's Contact account.
Tax region: Override only applies if this value matches the tax region on the document's Contact account.
Document class: Only applies to any Document classes entered here.
Document type: Only applies to any Document types enter here.
Currency: Only applies to any Currencies entered here.
Contact group: Only applies to any Contact groups entered here.
Project group: Only applies to any Project groups entered here.
Project: Only applies to any Projects entered here that matches the project in the document header.
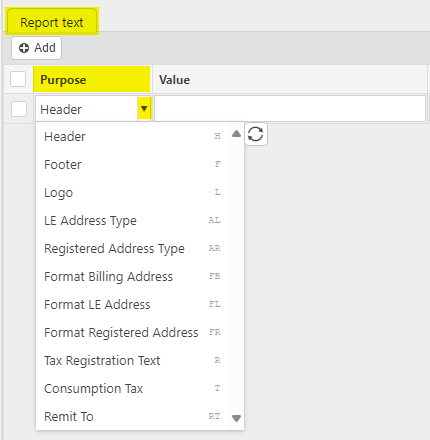
The following sections in a report can be set to occur when the override criteria are met. Each section can be found under Purpose with the change in the Value field.
Note
Not all these Purposes need to be set. When a report is generated using documents, only the overrides that have been set will apply.
Any that don't fall within the conditions set will use the standard report.
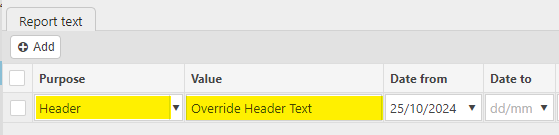
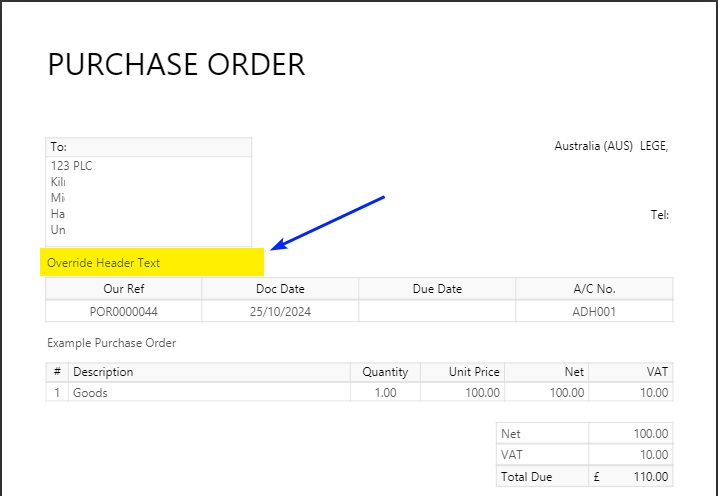
If Purpose is set to Header and the criteria applies, then the text in Value will show in the middle top of the report.
For example -
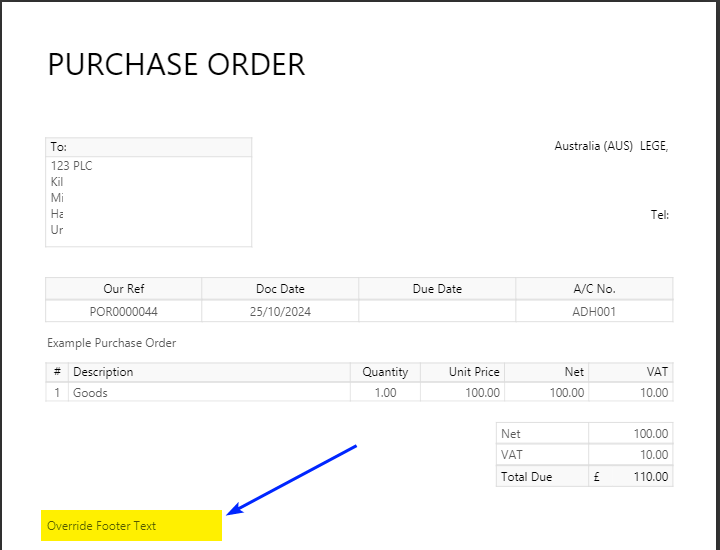
If Purpose is set to Footer and the criteria applies, then the text in Value will show in the middle bottom of the report.

For example -
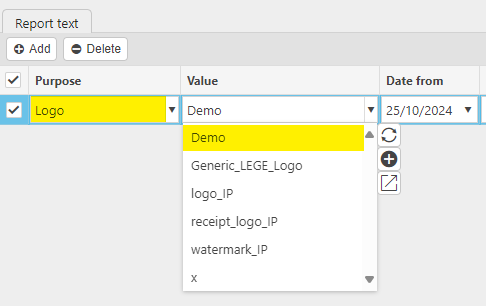
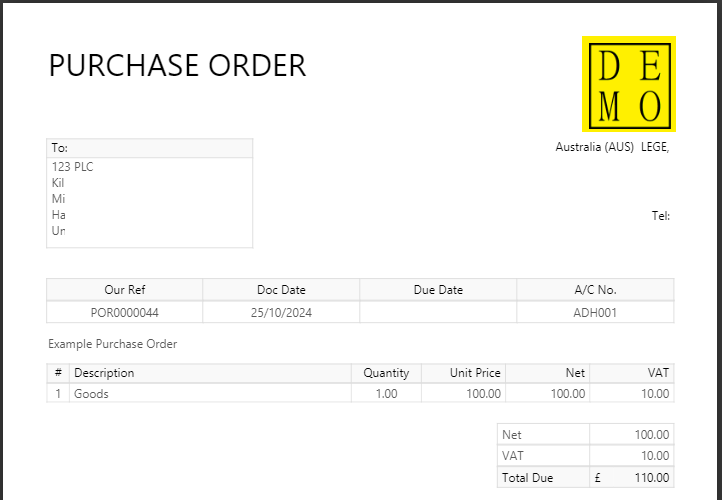
If Purpose is set to Logo and the criteria applies, then the image selected in Value will replace the image in the top right of the report.
For example -
Note
Available Images need to be loaded into the Images table.
Add/View these by selecting Images in the Finder menu.
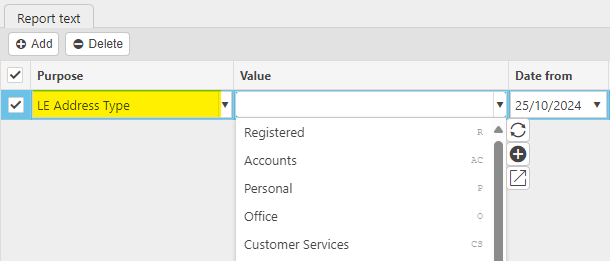
If Purpose is set to LE Address type and the criteria applies, then the address entered in Value, which can be selected from any of the addresses setup in Address types, will display in the top right of the document.
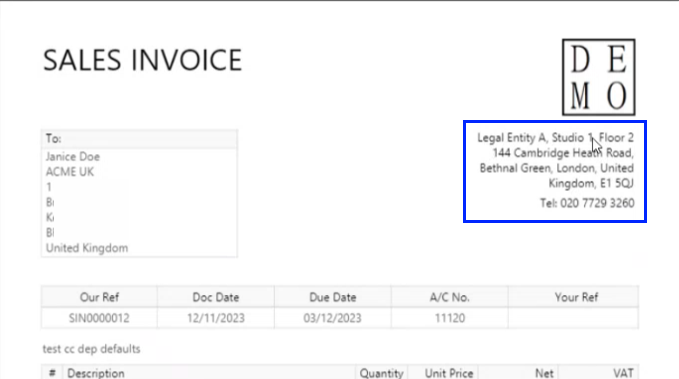
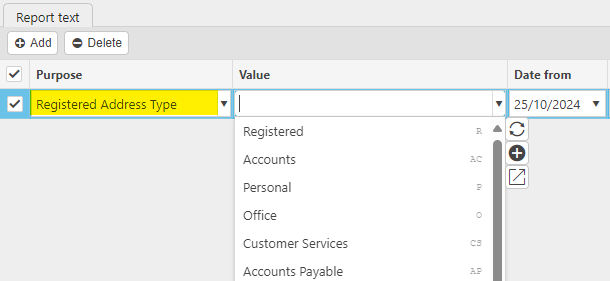
If Purpose is set to Registered Address Type and the criteria applies, and the report you're checking has a registered address at the bottom of the page, then the address selected in Value, which can be selected from any of the addresses setup in Address types, will be entered at Registered in.... at the bottom of the document.
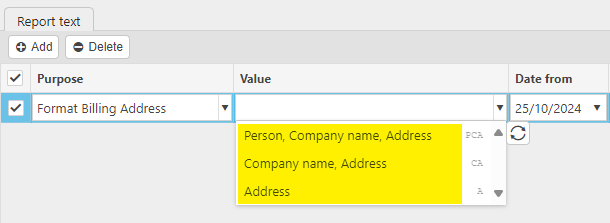
Format Addresses:
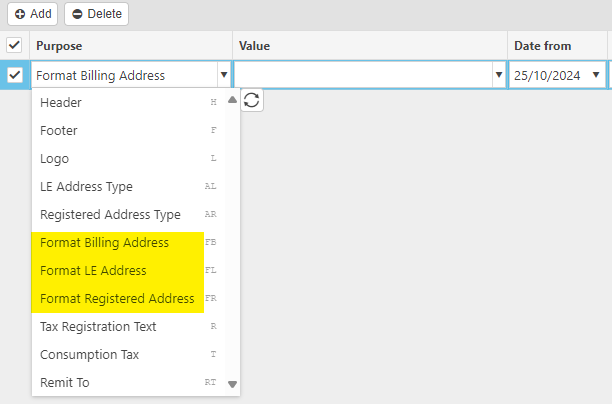
If Purpose is set to one of the Format Address options and the criteria applies, then the appropriate address on the document will be formatted with the address format selected in the Value field.
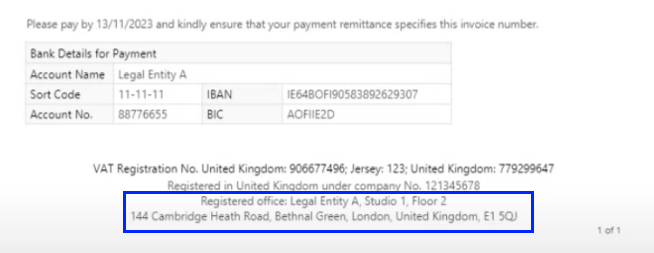
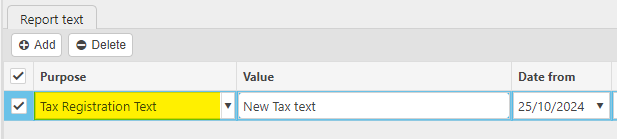
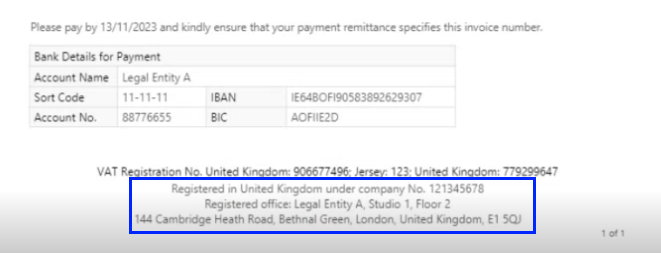
If Purpose is set to Tax Registration Text and the criteria applies, then the text at the bottom of the document from **Registered in ..." will be replaced with the text entered in the Value field.
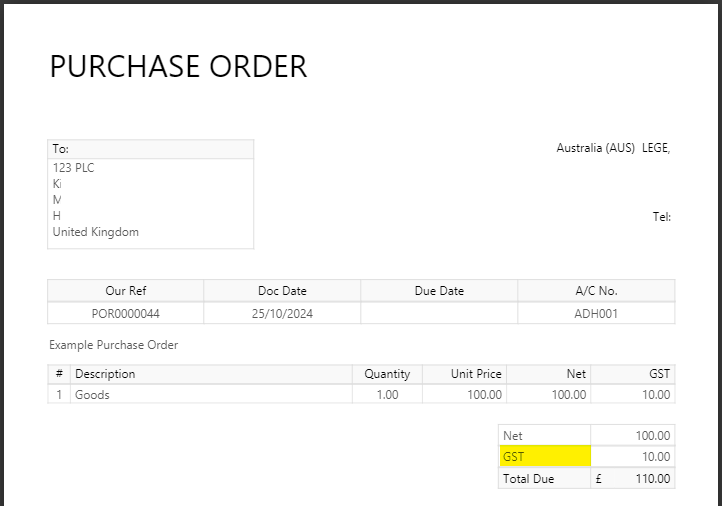
If Purpose is set to Consumption Tax and the criteria applies, then any occurrence in the document with VAT will be replaced with the text in the Value field. e.g. GST for Australia.
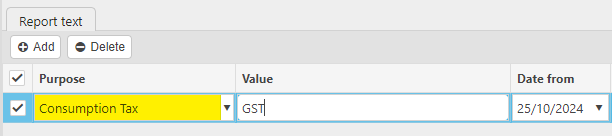
For example -

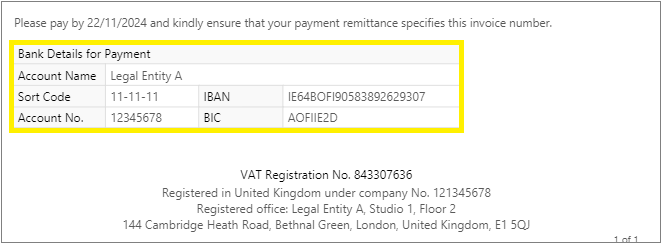
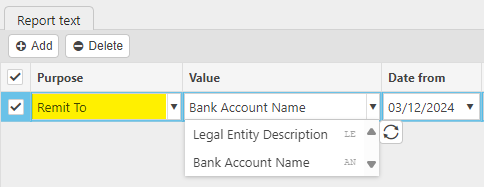
If Purpose is set to Remit to and the criteria applies, then a Please remit to line will be added to the document showing the Bank details from either the Legal entity or from the Bank Account name, depending on the option selected in the Value field.


In the majority of instances, a Legal Entity will only have one Tax Registration.
In the instances where a Legal Entity has multiple tax registrations e.g. the Legal Entity has separate VAT registrations in both England & Wales and Ireland Tax Authorities. Where this is the case, if the Tax Authority of e.g. a sale invoice is different to the default Tax Authority for the Legal Entity but is in another tax registration then the Tax Authority is available for selection on the document and the responsibility of the resulting tax posting will go to the selected Tax Authority.


Set up Legal Entity as Interco.
On the General Tab, tick the Interco checkbox.
A new tab will be created for Interco
Relate each Interco Legal Entity to other Interco Legal Entity(s) and tick the checkbox for each type of movement.
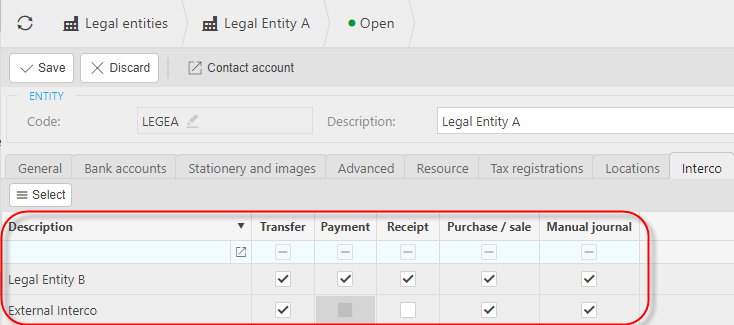
Select the  option to select options where there are multiple legal entities.

- When ticked then all the boxes for that option will be ticked.
- When unticked then it will remove all the ticks from that option.
All boxes can still be ticked / unticked manually if required.
Tip
These relationships must be identified per Legal Entity (which is identified as Interco) to define the possible Interco movements between them.
- This is required to be able to process Interco documents between the Interco Legal Entities e.g. Cashbook transfers, Interco Sales, Interco Purchase invoices, Interco tax.
Tip
Use automation(s) to automate the creation of certain documents in both Legal entities e.g. to automatically create a Purchase invoice in Legal Entity B following the posting of a Sale invoice in Legal Entity A.
How to Import Legal Entities
Import Legal Entities
Select Legal entities from one of the options as shown above in Viewing Legal Entities.
Adds the ability to update existing Legal entities as well as creating new ones.
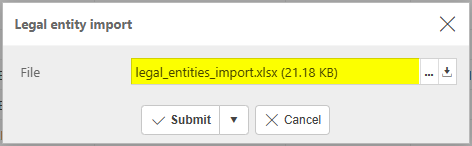
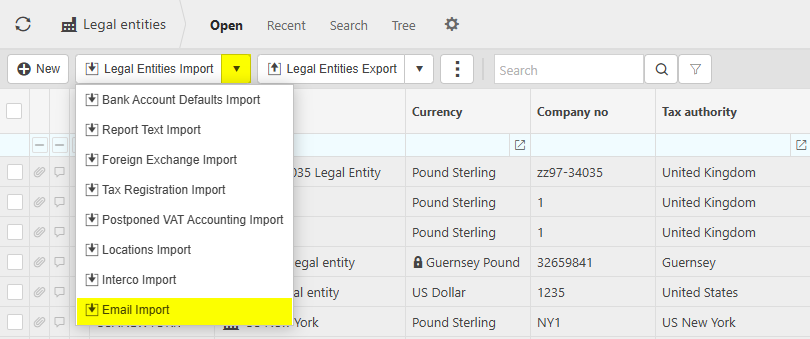
Select Legal Entities Import.

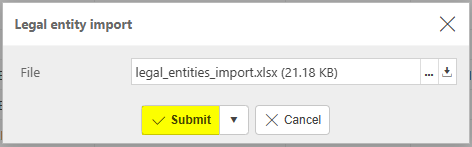
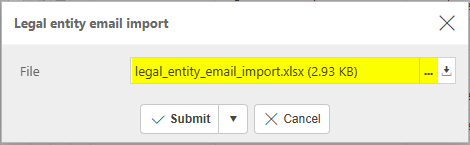
Enter the import file.
Tip
To create an Import file with the correct formatting, Export a file first and save to your external source. Then use this file to add updated Legal Entities.
Fields to be included in the file are as follows (Fields in bold are mandatory):
Code: Unique code for the Legal Entity - no spaces or characters such as commas and apostrophes. If the import includes a code that already exists, the import will assume the Legal entity is being updated. If there is more than one code that is the same in the file, the import will error.
Description: The description of the Legal entity.
Tax Authority: Tax Authority for Legal entity which will be validated against tax authorities set-up in iplicit.
Multiple tax registrations: Tick box if the Legal entity has more than one tax registration.
Country: Country that the Legal entity is based in which will be validated against the list of countries set-up in iplicit.
Currency: Base Currency for the Legal entity which will be validated against the currencies set-up in iplicit.
Financial year group: Financial year group linked to the Legal entity which will be validated against the financial year groups set-up in iplicit.
Interco: Tick box for if the Legal entity will be carrying out interco transactions
Company no.: Company no for Legal entity.
Incorporation date: Date of incorporation - this will only accept a date field.
UTR reference: UTR reference for Legal Entity.
EORI number: EORI number for Legal Entity.
Charity number: Charity no if applicable.
Bank accounts tab -
Bulk Payment: Default Bank account for bulk payments which will be validated against bank accounts linked to the Legal entity.
Bulk receipt: Default Bank account for bulk receipts which will be validated against bank accounts linked to the Legal entity.
Stationery and images Tab -
Logo: Name of image used for logo of Legal entity which will be validated against the images table in iplicit for images that have the type of Legal Entity Logo.
Email logo img: Name of image used for the email logo of the Legal entity which will be validated against the images table in iplicit for images that have the type of Legal Entity Email Logo.
Logo: Name of image used for receipt logo of Legal entity which will be validated against the images table in iplicit.
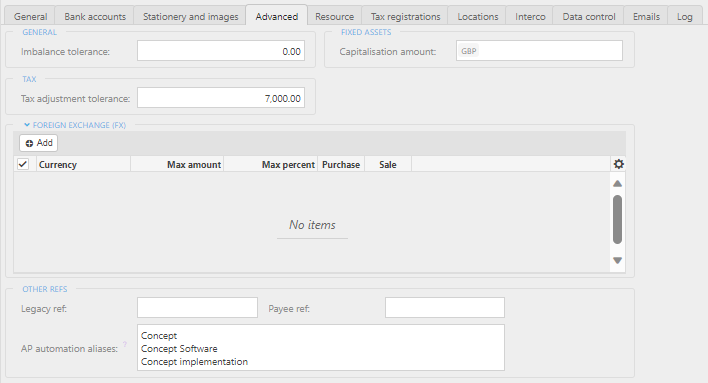
Advanced Tab -
Imbalance Tolerance: Tolerance for imbalances on Legal entity. This is a number field that allows up to 2.d.p.
Tax adjustment tolerance: Tolerance for tax adjustments on Legal entity. This is a number field that allows up to 2.d.p.
Capitalisation amount: Capitalisation amount for Legal entity. This is a number field that allows up to 2.d.p.
Legacy ref: Legacy ref for Legal entity.
Payee ref: Payee ref for Legal entity.
AP automation aliases: Imports alternative names to match during AP automation scanning.
Not VAT registered: Ticked if organisation is not VAT registered.
Contact Account
The Legal entity import will also create a contact account for the Legal entity. To facilitate this, the following fields are included in the import:
Address: Address of Legal entity.
Address City: City of Legal entity.
Address County: County of Legal entity.
Address Postcode: Postcode of Legal entity.
Address Country: Country of Legal entity.
Phone: Phone number of Legal entity.
Email: Email address of Legal entity.
Customer Group: Customer group linked to Legal entity which will be validated against the customer groups set-up in iplicit. Only mark as required if interco.
Supplier Group: Supplier group linked to Legal entity which will be validated against the supplier groups set-up in iplicit. Only mark as required if interco.
Default customer tax band: Default tax band for use on sales which will be validated against tax bands in iplicit.
Default supplier tax band: Default tax band for use on purchases which will be validated against tax bands in iplicit.
Default customer payment method: Payment method used on customer which will be validated against payment methods in iplicit.
Default supplier payment method: Payment method used on supplier which will be validated against payment methods in iplicit.
Default customer payment terms: Payment terms used on customer which will be validated against payment terms in iplicit.
Default supplier payment terms: Payment terms used on supplier which will be validated against payment terms in iplicit.
VAT no.: VAT registration number for Legal entity.
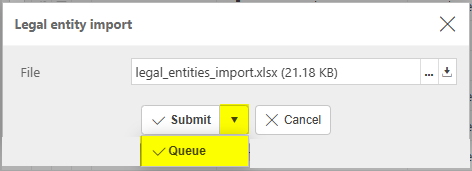
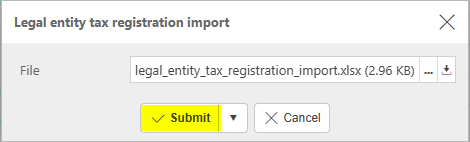
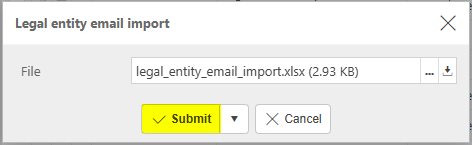
Select Submit.
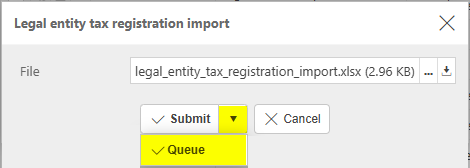
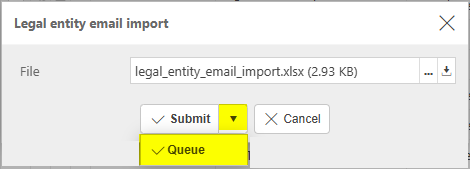
Selecting Queue from the dropdown option will queue the import process until other actions in iplicit are completed.
Adds the ability to update existing Legal entity bank account defaults as well as creating new ones.
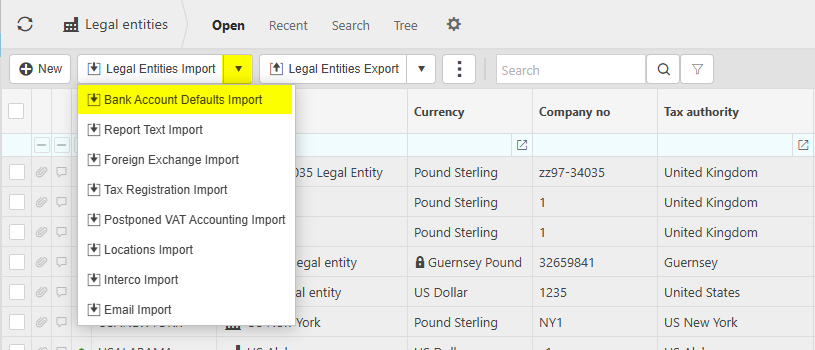
Select Bank Account Defaults Import from the  icon on Legal Entities Import option.
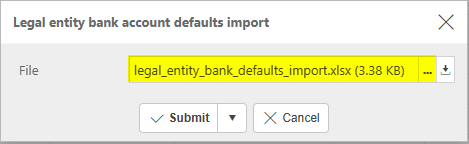
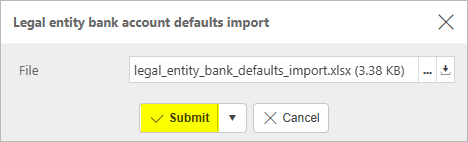
Enter the import file.
Tip
To create an Import file with the correct formatting, Export a file first and save to your external source. Then use this file to add updated Bank Account Defaults.
Fields to be included in the file are as follows (Fields in bold are mandatory):
Legal entity: Legal entity that the default bank accounts are for and will be validated against the Legal Entities that are set-up in iplicit.
Document class: Document class that is validated against the list of document classes in iplicit.
Document type: Document type that is validated against document types in iplicit and also related to the document class selected.
Payment method: Payment method validated against Payment methods set-up in iplicit.
Currency: Currency validated against currencies enabled in iplicit.
Bank Account: Bank Account to be defaulted for above combinations and validated against the bank accounts set-up for this legal entity.
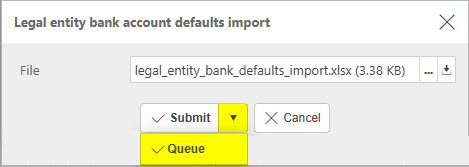
Select Submit.
Selecting Queue from the dropdown option will queue the import process until other actions in iplicit are completed.
Adds the ability to update existing Legal entity report text as well as creating new ones.
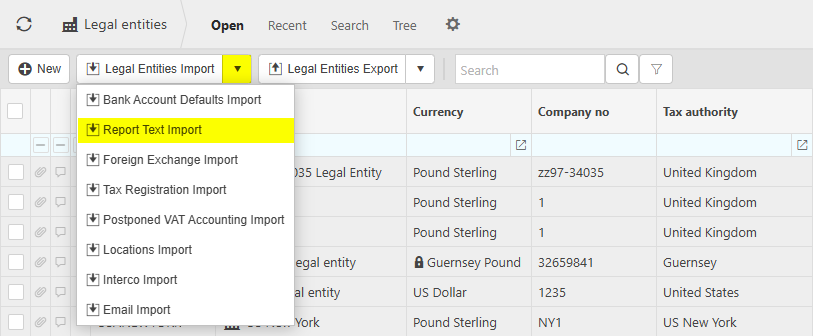
Select Report Text Import from the icon on Legal Entities Import option.
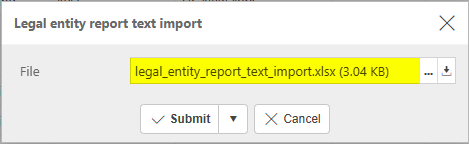
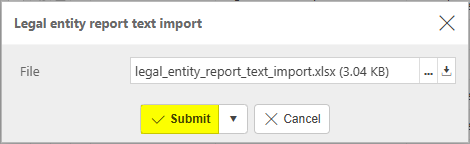
Enter the import file.
Tip
To create an Import file with the correct formatting, Export a file first and save to your external source. Then use this file to add updated Report Text data.
Fields to be included in the file are as follows (Fields in bold are mandatory):
Legal entity: Legal entity that the report text entries are for and validated against the Legal Entities that are set-up in iplicit.
Purpose: The purpose of the report text validated against the list of document classes in iplicit.
Value: This will depend on the purpose selected. For some purposes this is a free text field and for others it can be chosen from a pre-defined list.
Date from: Date the report text is valid from.
Date to: Date the report text is valid until.
Tax authority: Tax authority applied to the report text validated against the tax authorities enabled in iplicit.
Tax region: Tax region applied to report text validated against the tax regions set-up in iplicit.
Document class: Document class applied to report text validated against the document classes set-up in iplicit.
Document type: Document type applied to report text validated against the document types set-up in iplicit.
Currency: Currency applied to report text validated against the currencies set-up in iplicit.
Contact group: Contact group applied to report text validated against contact groups set-up in iplicit.
Project group: project group applied to report text validated against project groups set-up in iplicit.
Project: Project applied to report text validated against projects set-up in iplicit.
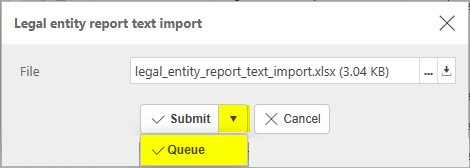
Select Submit.
Selecting Queue from the dropdown option will queue the import process until other actions in iplicit are completed.
Adds the ability to update existing Legal entity foreign exchange tolerances as well as creating new ones.
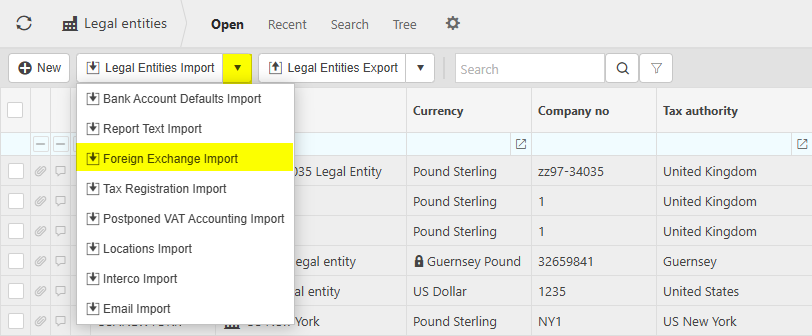
Select Foreign Exchange Import from the icon on Legal Entities Import option.
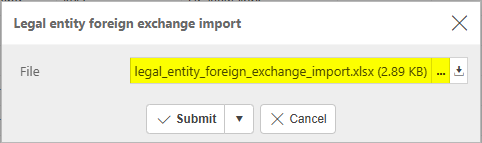
Enter the import file.
Tip
To create an Import file with the correct formatting, Export a file first and save to your external source. Then use this file to add updated Foreign Exchange data.
Fields to be included in the file are as follows (Fields in bold are mandatory):
Legal entity: Legal entity that the foreign exchange tolerances entries are for and validated against the Legal Entities that are set-up in iplicit.
Currency: The currency of the FX tolerance validated against the list of currencies in iplicit. When added manually there is an option for ALL Currencies.
Max Amount: The max amount of the tolerance for that currency. This is a number field which is 2.d.p.
Max percent: The maximum percent of the tolerance for that currency. This is a number field which is 2.d.p.
Purchase: Tick box if FX tolerance is relevant for purchase documents.
Sale: Tick box if FX tolerance is relevant for sales documents.
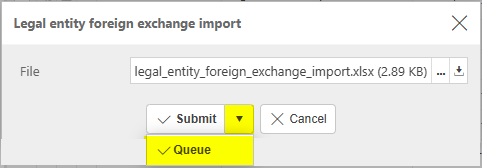
Select Submit.
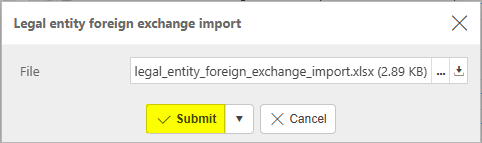
Selecting Queue from the dropdown option will queue the import process until other actions in iplicit are completed.
Adds the ability to update existing Legal entity tax registrations as well as creating new ones.
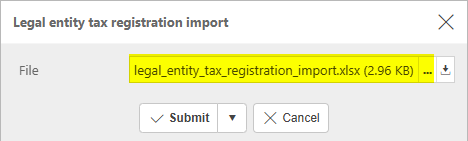
Select Tax Registration Import from the icon on Legal Entities Import option.
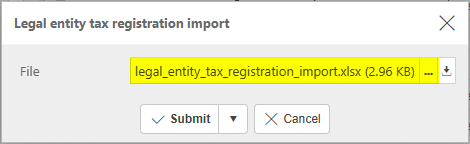
Enter the import file.
Tip
To create an Import file with the correct formatting, Export a file first and save to your external source. Then use this file to add updated Tax Registration data.
Fields to be included in the file are as follows (Fields in bold are mandatory):
Legal entity: Legal entity that the tax registrations are for and validated against the Legal Entities that are set-up in iplicit.
Tax Group: The tax group related to the Legal entity validated against the list of tax groups in iplicit.
Effective date: The date that the tax registration is valid from.
End date: The date that the tax registration is valid until.
Select Submit.
Selecting Queue from the dropdown option will queue the import process until other actions in iplicit are completed.
Add the ability to update existing Legal entity postponed VAT Accounting as well as creating new ones.
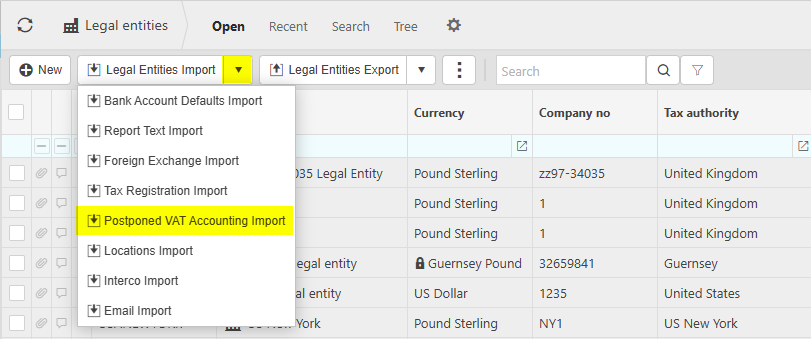
Select Postponed VAT Accounting Import from the icon on Legal Entities Import option.
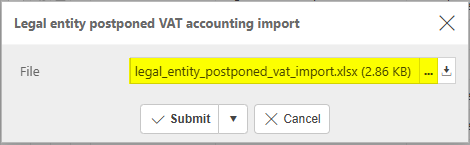
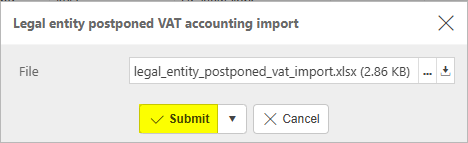
Enter the import file.
Tip
To create an Import file with the correct formatting, Export a file first and save to your external source. Then use this file to add updated Postponed VAT Accounting data.
Fields to be included in the file are as follows (Fields in bold are mandatory):
Legal entity: Legal entity that the tax registrations are for and validated against the Legal Entities that are set-up in iplicit.
Registration Type: The type of registration for this Legal Entity validated against the list of registration types in iplicit.
Date from: The date that the Postponed VAT Accounting is valid from.
Date to: The date that the Postponed VAT Accounting is valid until.
Code: Optional code for the Postponed VAT Accounting registration.
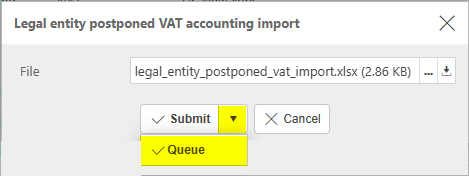
Select Submit.
Selecting Queue from the dropdown option will queue the import process until other actions in iplicit are completed.
Adds the ability to update existing Legal entity locations as well as creating new ones.
Select Locations Import from the icon on Legal Entities Import option.

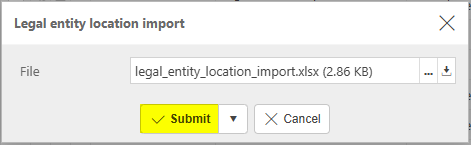
Enter the import file.

Tip
To create an Import file with the correct formatting, Export a file first and save to your external source. Then use this file to add updated Location data.
Fields to be included in the file are as follows (Fields in bold are mandatory):
Legal entity: Legal entity that the locations are for and validated against the Legal Entities that are set-up in iplicit.
Location: The location for this Legal Entity validated against the list of locations in iplicit.
Billing: Tick box if the location is to be used for billing.
Delivery: Tick box if the location is to be used for delivery.
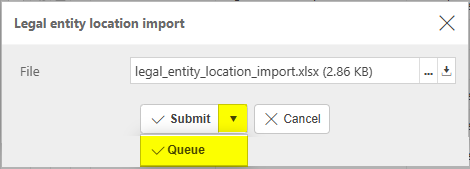
Select Submit.
Selecting Queue from the dropdown option will queue the import process until other actions in iplicit are completed.
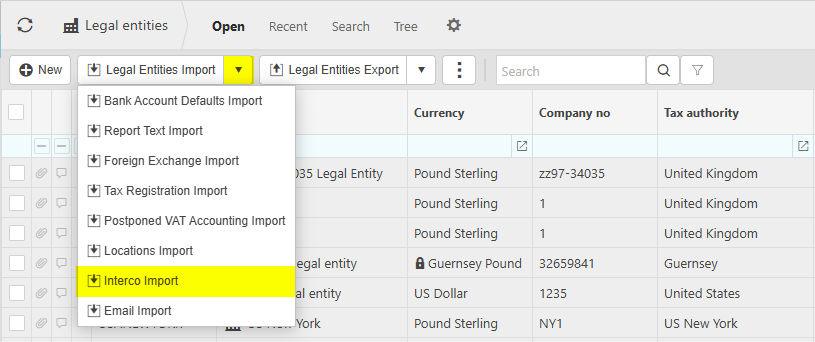
Adds the ability to update existing Legal entity interco entities as well as creating new ones.
Select Interco Import from the icon on Legal Entities Import option.
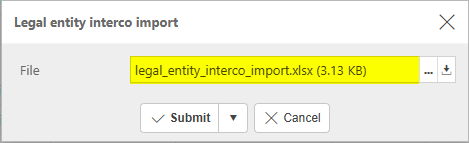
Enter the import file.
Tip
To create an Import file with the correct formatting, Export a file first and save to your external source. Then use this file to add updated Interco data.
Fields to be included in the file are as follows (Fields in bold are mandatory):
Legal entity: Legal entity that the interco entities are for and validated against the Legal Entities that are set-up in iplicit.
Description: This is the interco Legal entity validated against the existing legal entities set-up in iplicit that have the interco box ticked on the general tab of their legal entity record.
Transfer: Tick box if the legal entity can make transfers with the interco entity.
Payment: Tick box if the legal entity can post payments to the interco entity.
Receipt: Tick box if the legal entity can post receipts to the interco entity.
Purchase/sale: Tick box if the legal entity can post purchase or sale invoices to the interco entity.
Manual Journal: Tick box if the legal entity can post manual journals with the interco entity.
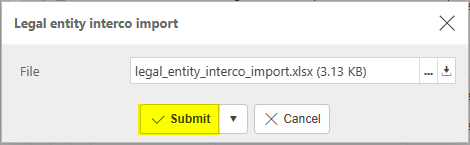
Select Submit.
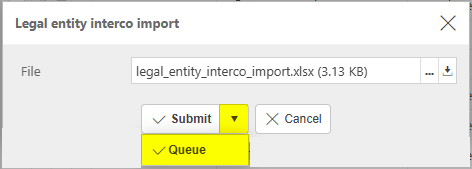
Selecting Queue from the dropdown option will queue the import process until other actions in iplicit are completed.
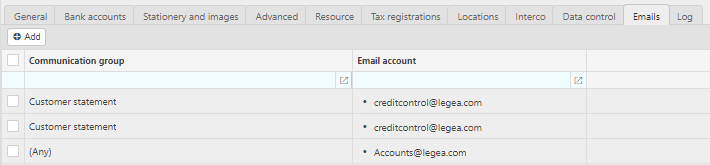
Adds the ability to update existing Legal entity communication email accounts as well as creating new ones.
Select Email Import from the icon on Legal Entities Import option.
Enter the import file.
Tip
To create an Import file with the correct formatting, Export a file first and save to your external source. Then use this file to add updated Email data.
Fields to be included in the file are as follows (Fields in bold are mandatory):
Legal entity: Legal entity that the emails are for and validated against the Legal Entities that are set-up in iplicit.
Communication group: This is the communication group for the Legal entity validated against the communication groups set-up in iplicit. If a communication group is not selected when adding them manually in the system a description of (Any) is shown which means that the email account will be applied to all communications.
Email Account: Email account for the legal entity validated against the Email accounts set-up in iplicit that are set with the availability of Environment or Legal entity, but not User.
Select Submit.
Selecting Queue from the dropdown option will queue the import process until other actions in iplicit are completed.
Warning
iplicit allows a maximum of 5,000 rows in a single Import.
If your Import is too large, an error message will tell you that the Import cannot be processed and will advise you to create smaller Import files.
If the latter is not possible, please contact Customer support.
How to Export Legal Entities
Export Legal Entities
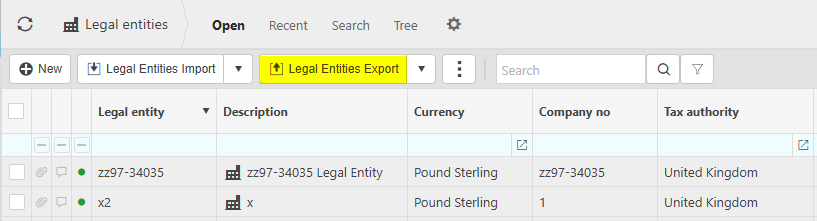
Select Legal entities from one of the options as shown above in Viewing Legal Entities.
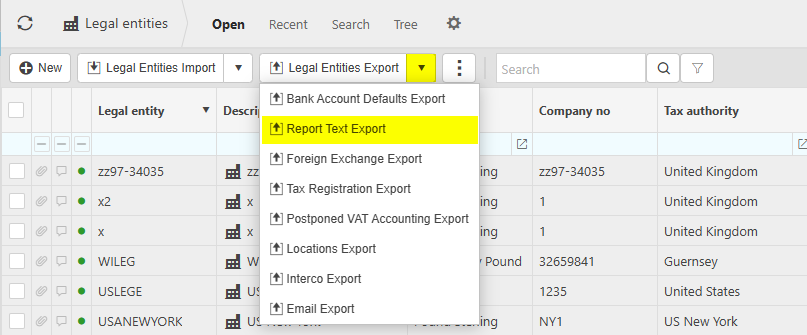
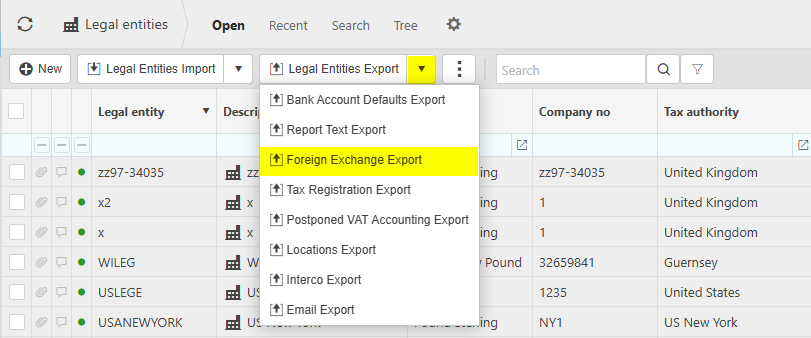
Select Legal Entities Export.
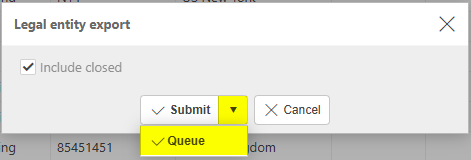
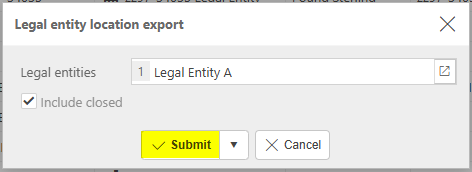
Enter the options for exporting.

- Include closed: If ticked, it will include closed Legal entities in the export. This will be ticked by default.
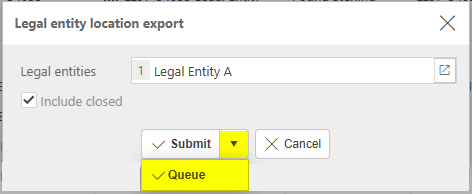
Select Submit.

Selecting Queue from the dropdown option will queue the export process until other actions in iplicit are completed.
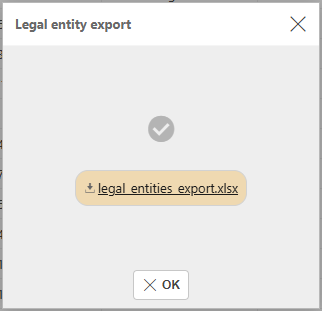
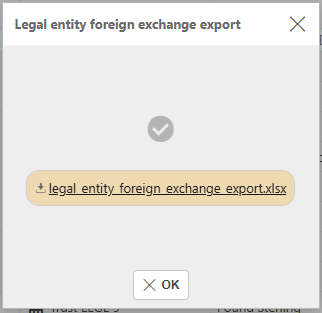
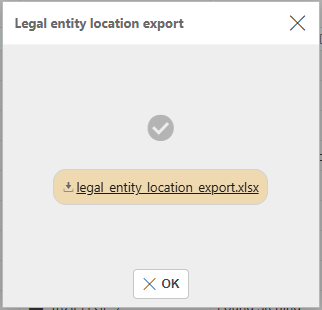
The Export file is created as an Excel spreadsheet on your local data source.
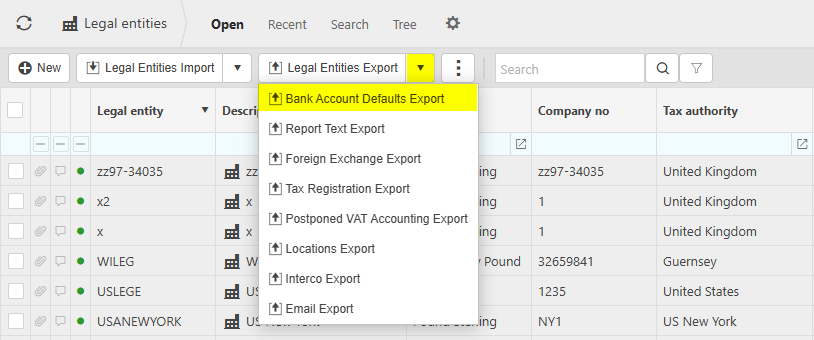
Select Bank Account Defaults Export from the icon on Legal Entities Export option.
Enter the options for exporting.
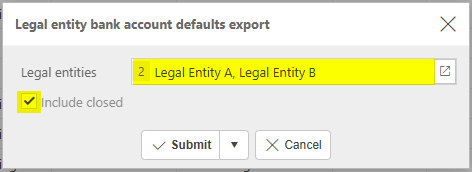
- Legal entities: Enter the Legal Entity or Entities that you want to run the export for.
- Include closed: If ticked, it will include closed Legal entities in the export. This will be ticked by default.
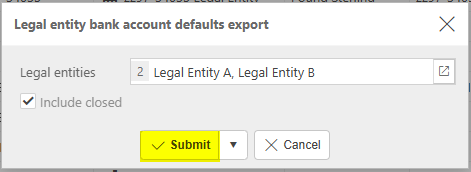
Select Submit.
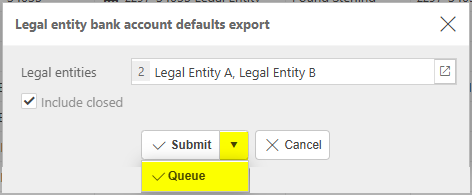
Selecting Queue from the dropdown option will queue the export process until other actions in iplicit are completed.
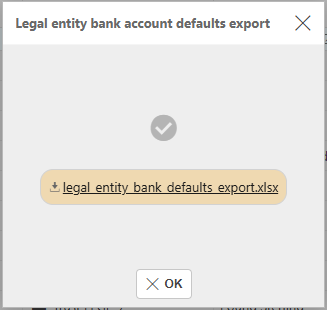
The Export file is created as an Excel spreadsheet on your local data source.
Select Report Text Export from the icon on Legal Entities Export option.
Enter the options for exporting.
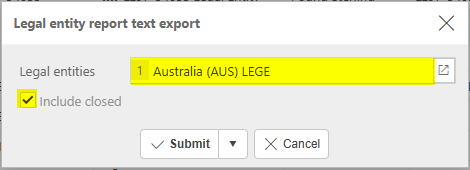
- Legal entities: Enter the Legal Entity or Entities that you want to run the export for.
- Include closed: If ticked, it will include closed Legal entities in the export. This will be ticked by default.
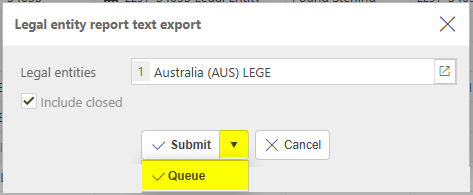
Select Submit.
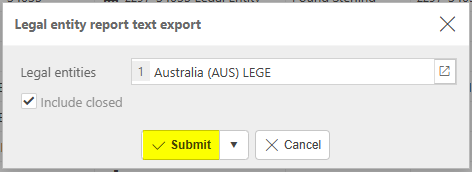
Selecting Queue from the dropdown option will queue the export process until other actions in iplicit are completed.
The Export file is created as an Excel spreadsheet on your local data source.

Select Foreign Exchange Export from the icon on Legal Entities Export option.
Enter the options for exporting.
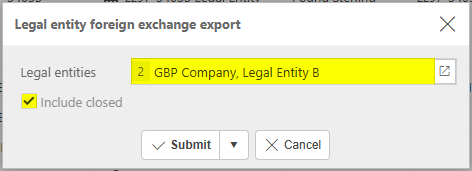
- Legal entities: Enter the Legal Entity or Entities that you want to run the export for.
- Include closed: If ticked, it will include closed Legal entities in the export. This will be ticked by default.
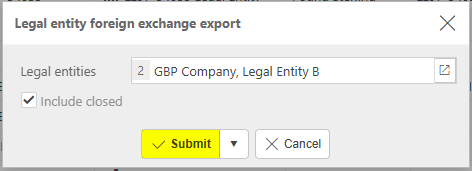
Select Submit.
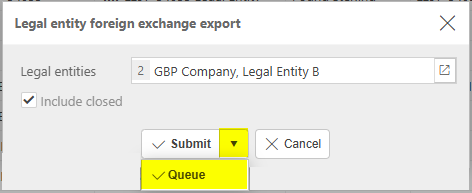
Selecting Queue from the dropdown option will queue the export process until other actions in iplicit are completed.
The Export file is created as an Excel spreadsheet on your local data source.
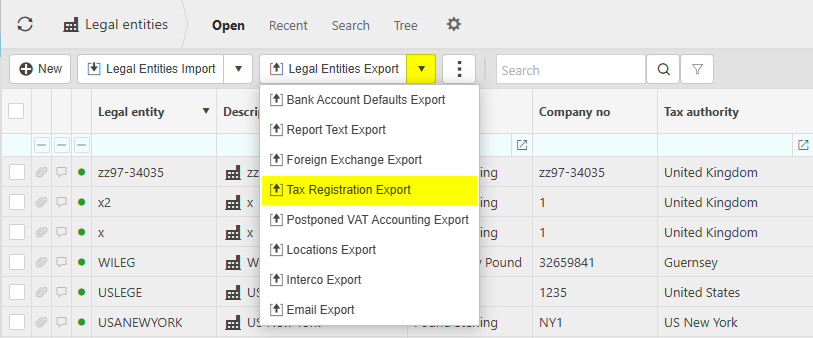
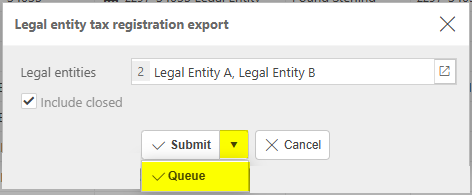
Select Tax Registration Export from the icon on Legal Entities Export option.
Enter the options for exporting.
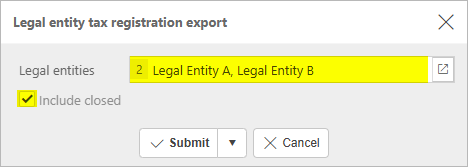
- Legal entities: Enter the Legal Entity or Entities that you want to run the export for.
- Include closed: If ticked, it will include closed Legal entities in the export. This will be ticked by default.
Select Submit.
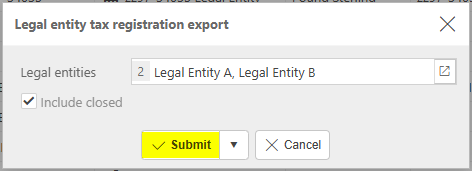
Selecting Queue from the dropdown option will queue the export process until other actions in iplicit are completed.
The Export file is created as an Excel spreadsheet on your local data source.

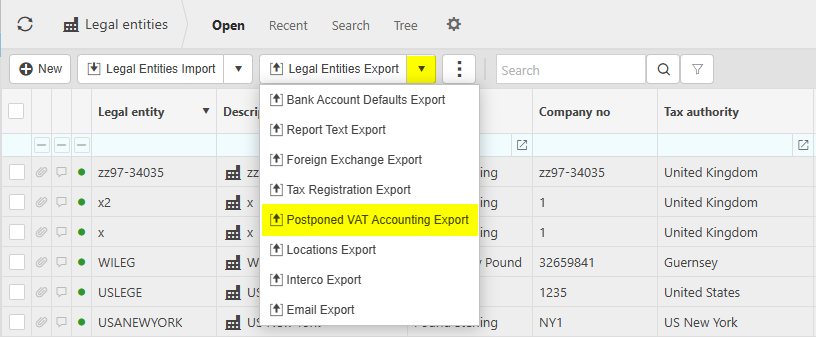
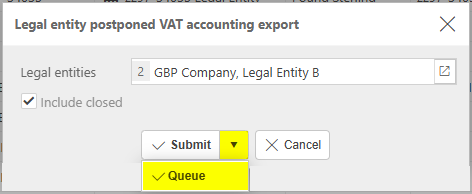
Select Postponed VAT Accounting Export from the icon on Legal Entities Export option.
Enter the options for exporting.
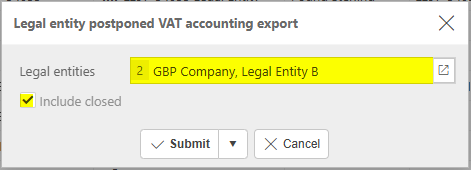
- Legal entities: Enter the Legal Entity or Entities that you want to run the export for.
- Include closed: If ticked, it will include closed Legal entities in the export. This will be ticked by default.
Select Submit.
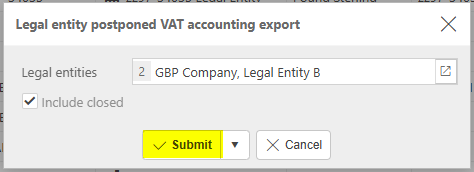
Selecting Queue from the dropdown option will queue the export process until other actions in iplicit are completed.
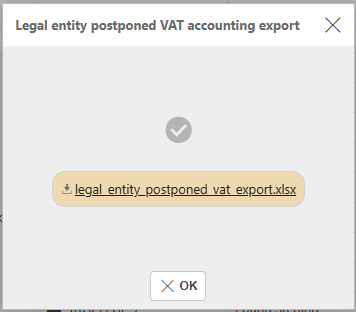
The Export file is created as an Excel spreadsheet on your local data source.
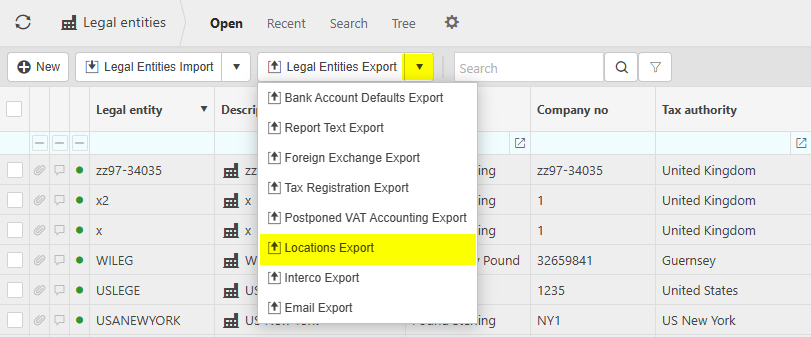
Select Locations Export from the icon on Legal Entities Export option.
Enter the options for exporting.
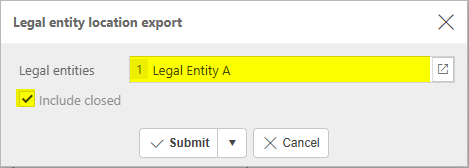
- Legal entities: Enter the Legal Entity or Entities that you want to run the export for.
- Include closed: If ticked, it will include closed Legal entities in the export. This will be ticked by default.
Select Submit.
Selecting Queue from the dropdown option will queue the export process until other actions in iplicit are completed.
The Export file is created as an Excel spreadsheet on your local data source.
Select Interco Export from the icon on Legal Entities Export option.
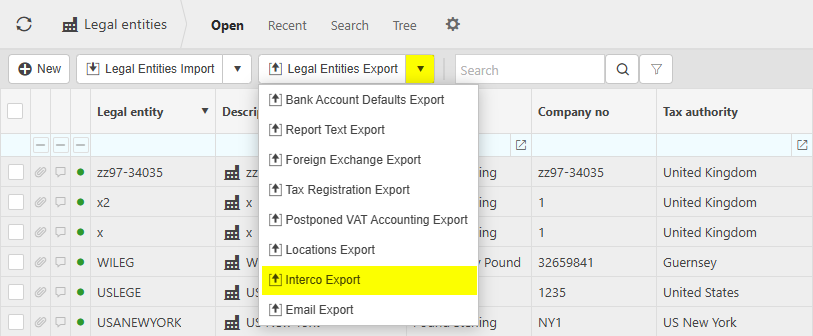
Enter the options for exporting.
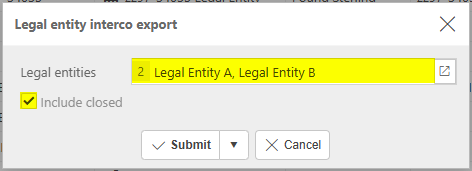
- Legal entities: Enter the Legal Entity or Entities that you want to run the export for.
- Include closed: If ticked, it will include closed Legal entities in the export. This will be ticked by default.
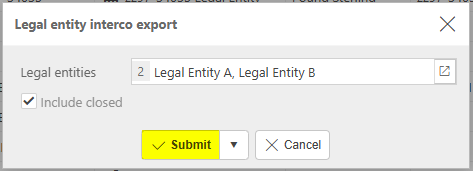
Select Submit.
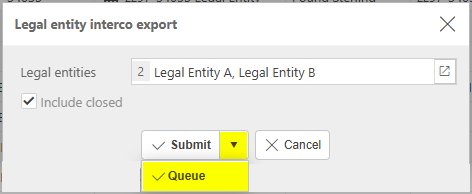
Selecting Queue from the dropdown option will queue the export process until other actions in iplicit are completed.
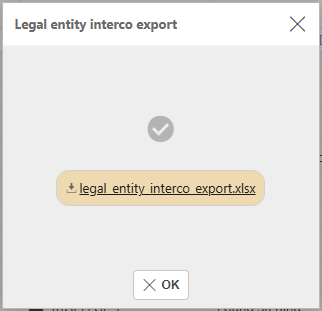
The Export file is created as an Excel spreadsheet on your local data source.
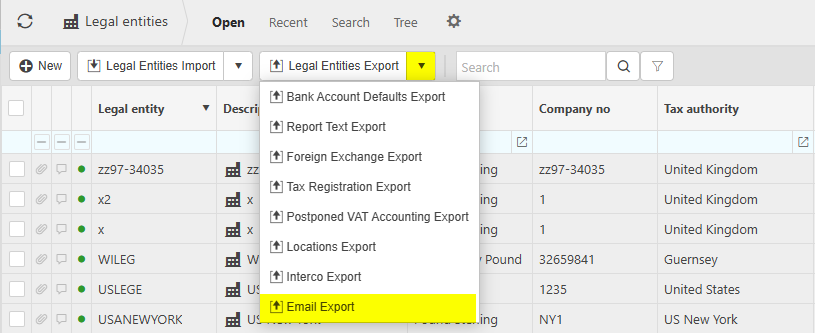
Select Email Export from the icon on Legal Entities Export option.
Enter the options for exporting.
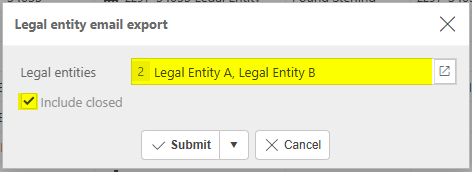
- Legal entities: Enter the Legal Entity or Entities that you want to run the export for.
- Include closed: If ticked, it will include closed Legal entities in the export. This will be ticked by default.
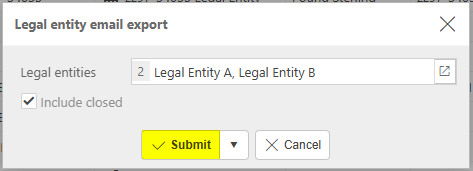
Select Submit.
Selecting Queue from the dropdown option will queue the export process until other actions in iplicit are completed.
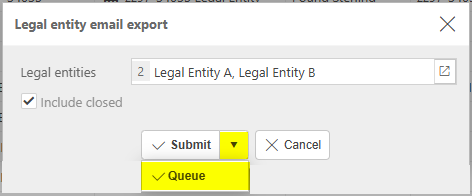
The Export file is created as an Excel spreadsheet on your local data source.
Updated February 2026

 icon to add or create image.