Project groups
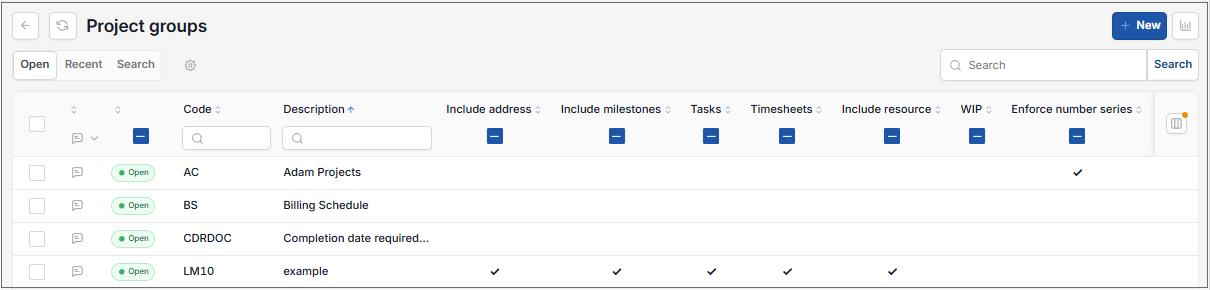
The groups setup determines the features that are available on a project as well as some defaults. The following picture shows some pre-setup project groups and the features they have access to.
Project groups must be made available to be used in projects.
Note
To view the legacy version, please select Legacy User Guide.
How to view Project groups
Viewing Project groups
As per Generic Navigation options, either from left-hand navigation panel, expand Settings and select Project groups from the Project folder or enter Project groups in the Search option.
This will then show the Project groups on the system where normal customisation of Sets can be used.
Tip
To modify the columns displayed, select  option on the right of the column display, then tick/untick the information you want to hide or display.
How to edit a pre-existing project group
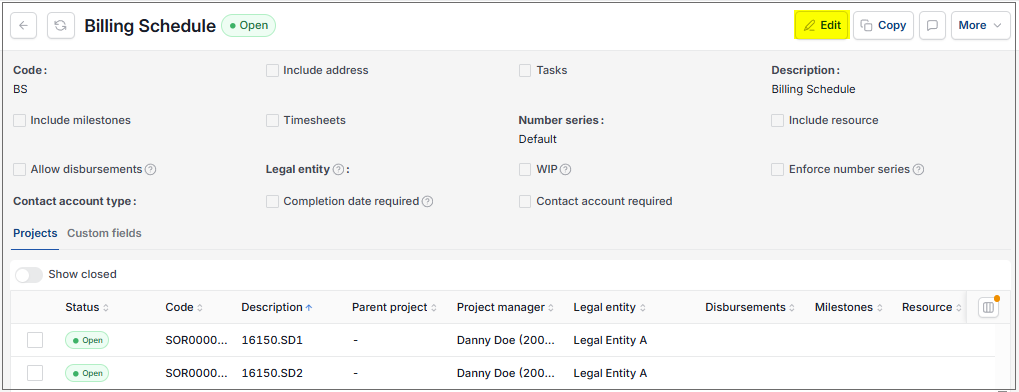
Select and open the pre-existing project group that you would like to edit then select Edit.
How to create a project group
Select New
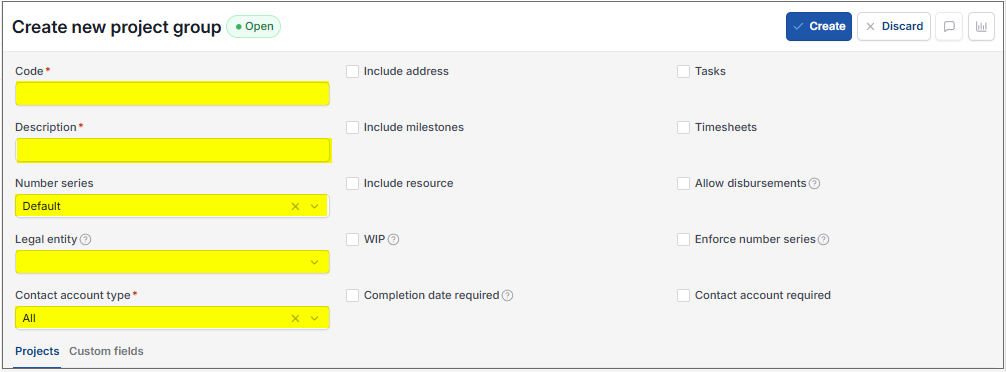
Fill out the selection criteria for your project group.
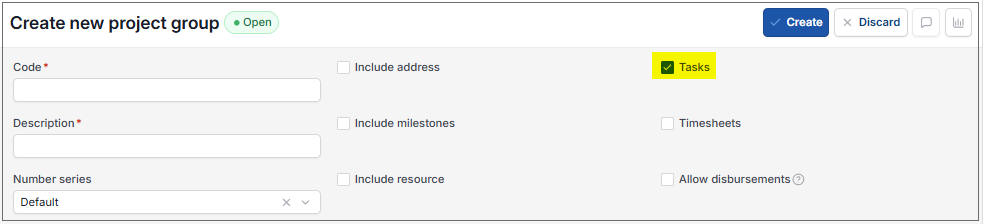
Enable features that you want the project group to have access to.
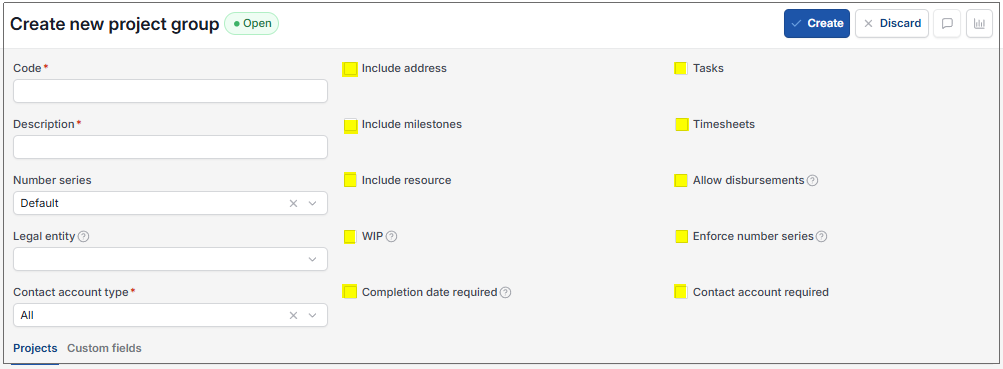
WIP: Tick if the project records Work in Progress (WIP).
Allow disbursements: Tick to default related projects to be used to create disbursements.
Enforce number series: Tick to enforce the generation of a project code series. This will then restrict manual user input into the Project code field.
Completion date required: Tick to ensure all projects in this group have a completion date.
Contact account required: Tick to make the contact account mandatory when creating a project for the group.
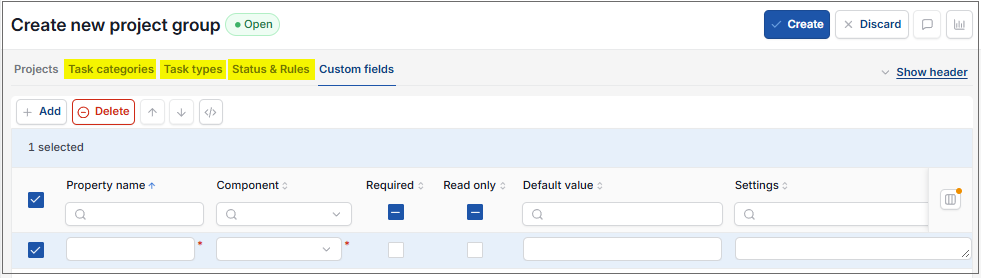
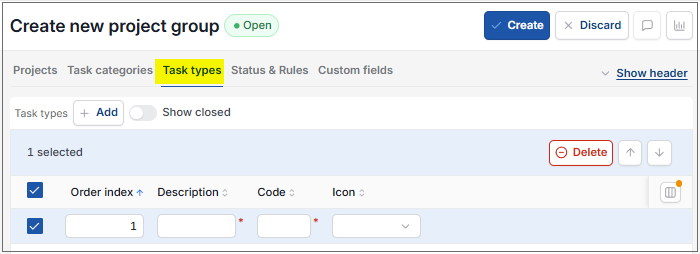
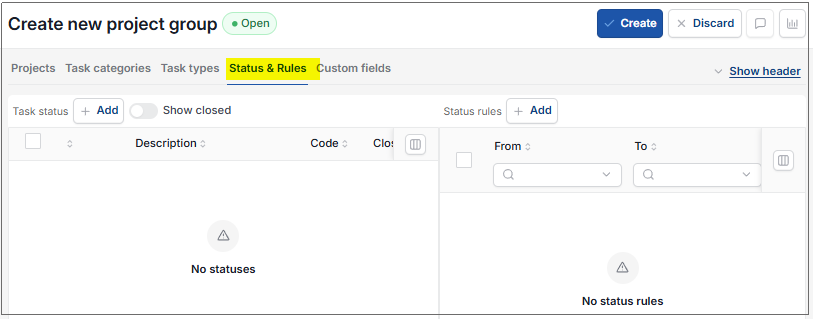
Check the tabs.

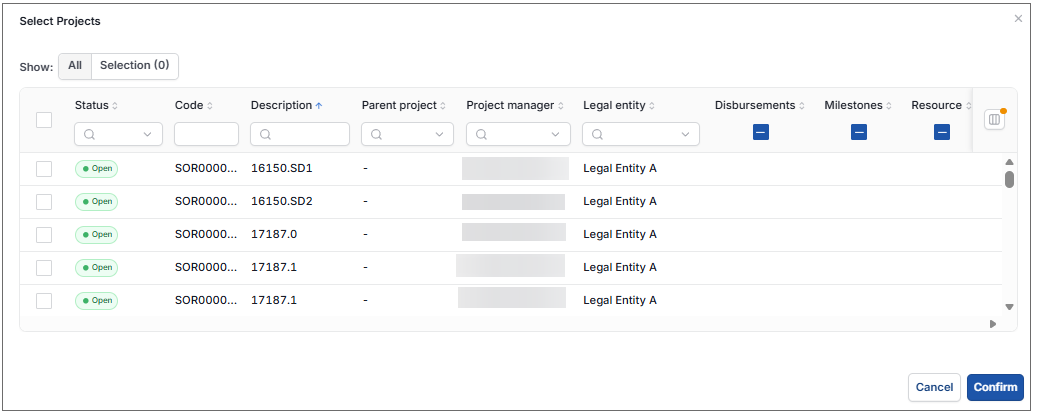
You can enable project groups to be used in certain projects by selecting Select and then tick those required.
Once you are happy with your new project group, select Create.
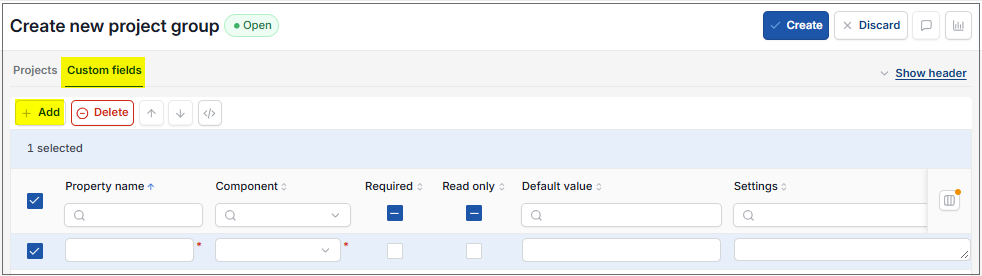
 in this Custom fields tab, then filling out the selection criteria.
Your new project group will now be available for use.
Updated October 2026