FX Realised
Foreign exchange (FX) realised documents are used to enter a correction on fully allocated purchase or sales documents where the currency outstanding balance is 0 but the base currency is not.
Tip
If no tolerance is set in the environment settings, a 5% tolerance will be assumed.
A FX gain or loss occurs due to exchange rates fluctuating between the document date and the cashbook date.
FX realised documents can either be posted individually or as a batch using automated FX realised.
Note
If you are doing a cash purchase or cash receipt, this will not apply because the document and cashbook date are one and the same.
How to view FX Realised
Viewing FX Realised
Select Period end / FX Realised from the Main section of the pulse menu -

Note
This is an example screen shot of the pulse menu.
Position of the menu items within pulse will vary according to available options and dependant on personal screen resolution.
or from the Main Menu select Period end then FX Realised -

or enter FX Realised in the Quick Launch Side Menu.

This will then show the FX Realised on the system where normal customisation of Sets can be used.

- Contact: the Customer or Supplier (depending on the transaction).
- Description: used to clearly identify the FX gain/loss.
- Type: this will inform where the FX realisation was from.
- Date: this is the document date.
- Gross (base): The amount lost or gained.
Tip
To modify the columns displayed, select  on the top right of the page, then tick/untick the information you want to hide or display.
How to set Auto FX Realised
Auto FX realised
If you have numerous FX gain/losses to realise, the system offers the ability to Auto FX realise. This function shortcuts the process, allowing you to perform FX realisation on groups of documents as opposed to dealing with them individually.
Note
By default, the tolerance will be taken from the Legal Entities but if there are suitable tolerances against the Legal Entity then the tolerance will be taken from the environment defaults.
Select FX Realised from one of the options as shown above in Viewing FX Realised.
Select Auto FX realised.

Select the criteria for the automated FX realised depending on your needs.
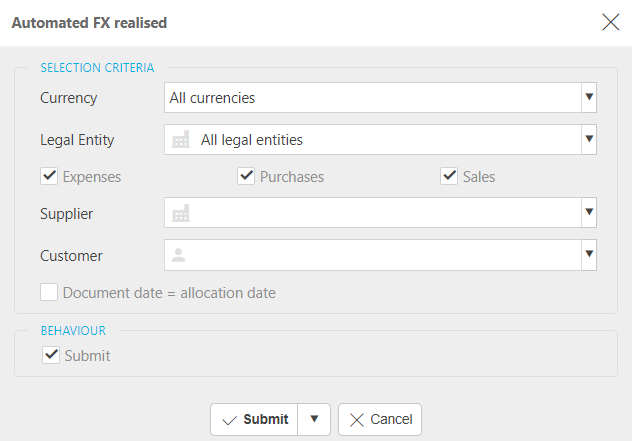
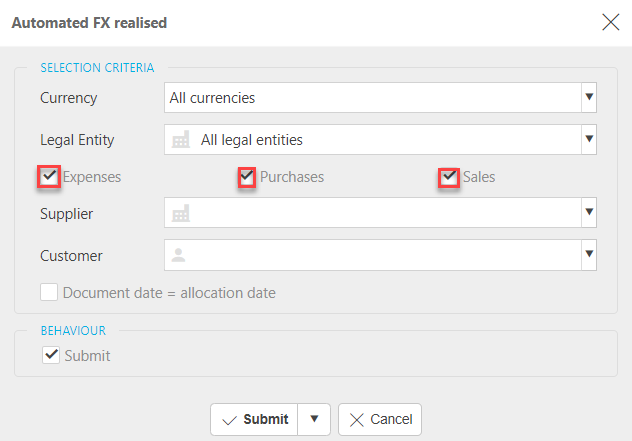
Ticking and unticking Expenses, Purchases or Sales will toggle the available criteria for selection.
Ticking Document date = settled date option will use the document date, not the current date, when the FX realised is run.
Press Submit.
Tip
You can schedule the running of the auto FX realised process in the scheduler.
How to process individual FX gain or loss
Process an individual FX gain or loss
Select FX Realised from one of the options as shown above in Viewing FX Realised.
Example of when this function would be needed
When creating a purchase invoice or sales invoice, you can choose the currency and exchange rate used by selecting the currency drop down.

Once posted, the document would be Receipted.

When the Purchase invoice or sales invoice is paid or receipted, the exchange rate is taken from the date of payment or receipts rather than the original date of the document, this is when FX realised situations occur.

Find the Receipted document that you would like to FX realise.
Press FX realised.
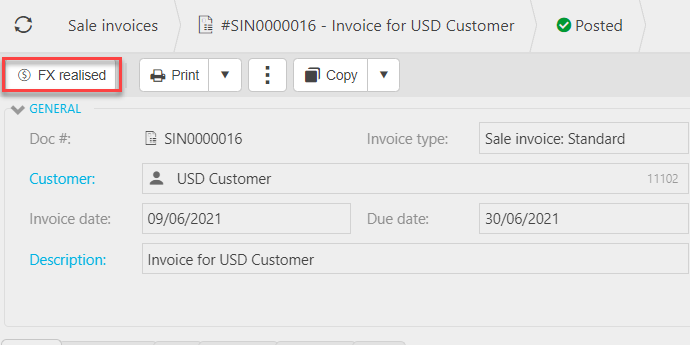
You will now be presented with the gain or loss due to FX realisation.

Check the figures then press Submit.

This will now be posted as an FX Realised document.

Note
Once complete, this gain or loss will be posted in the general ledger with no tax.
How to find a previously processed FX realised gain or loss
Find a previously processed FX realised gain or loss
Type a Contact or description e.g. Google in the search bar and it will find all FX realised gains or losses that contain that key word.

Toggle this icon to show/hide locked items.

You can also move between Recent, Draft or Search to help find FX realised gains or losses depending on your needs. You can even create your own sets by clicking
 .
.An advanced search can be made my using the
 filter icon.
How to set FX tolerance realised max percentage
Set FX tolerance realised max percentage
You can set a maximum percentage for FX realised in the Environment defaults.
This can also be done in Legal Entities under the advanced tab.
Note
The FX setting in Legal Entity section will apply first, if you have not set up this Legal Entity setting then the FX max percentage set in environment defaults will be used.
How to reverse FX realised
Reverse FX realised
Reversing a FX realised document will reverse the document in the General ledger.
To do so, select the Document that you would like to reverse, then press Reverse.

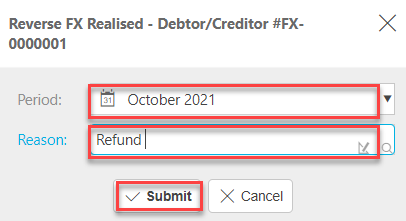
Enter a reason for reversing and the date, then press Submit.
How to make corrections to FX realised
Make corrections to FX realised
Corrections to a pre-existing FX realised document can be made.
To do so, click on the document you would like to edit then select Corrections.

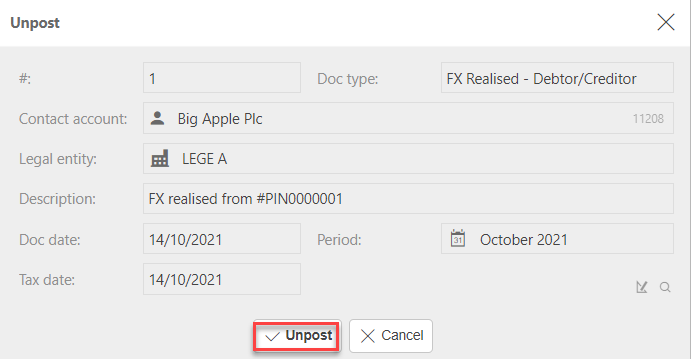
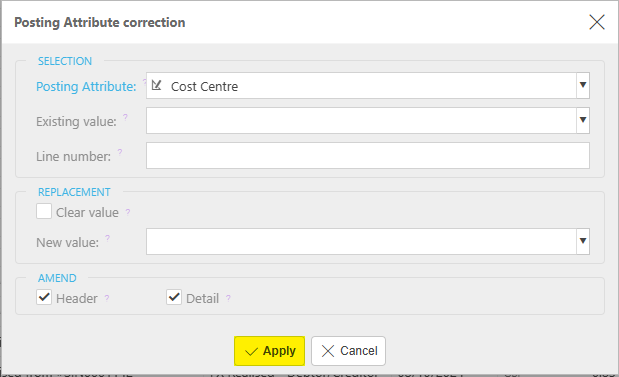
You will now need to choose either Period corrections, Unpost or Posting attribute.

Make the corrections and press Submit or Unpost depending on the option you have followed.
Period correction

Note
If this is an Inter-co document and there are linked documents, then a warning that changes will not be updated on the linked documents will show.

Unpost
Posting attribute
Updated March 2025