Receipts
- Receipts are created when a Sales invoice is paid.
How to view Sales Receipts
Viewing a Sales Receipt
Select Receipts from Sales from either the pulse menu -
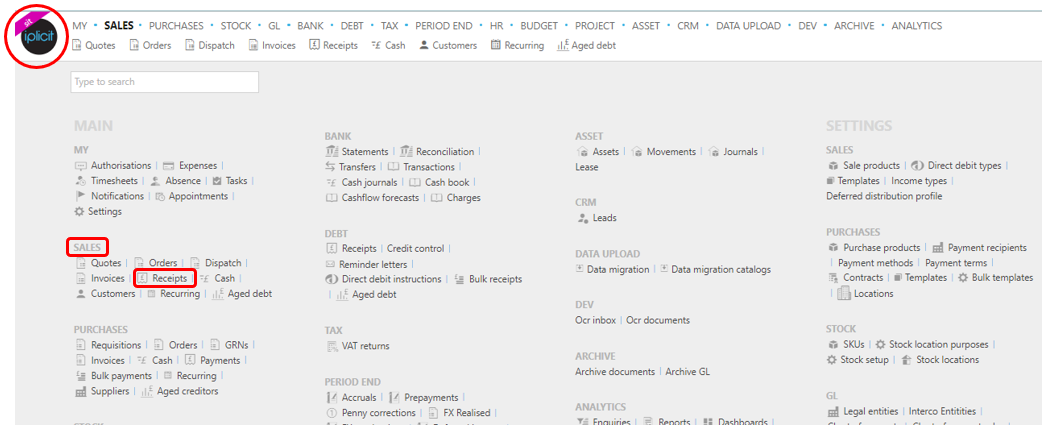
or from the Main Menu select Sales then Receipts -

or enter Receipts in the Quick Launch Side Menu.

This will then show the Sales Receipts on the system where normal customisation of Sets can be used. Also, depending on User roles, the My/All option will be showing.

Date: The date the receipt was created.
Doc: The receipt code.
Receipt type: E.g. sale receipt.
Customer: Who the receipt is for.
Bank account: The bank account that will receive the payment.
Currency amount: The receipt amount.
Bank currency amount: The amount being paid into the bank account listed.
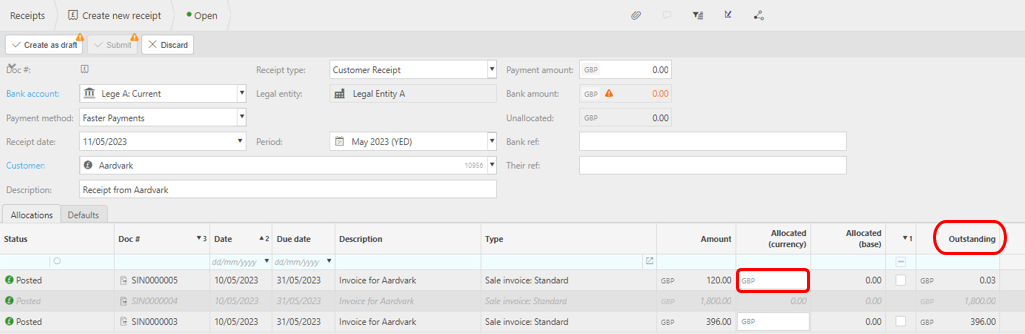
Outstanding: This is the outstanding amount still to be paid.
Pay method: The Payment method.
Tip
To modify the columns displayed, select
 on the top right of the page, then tick/untick the information you want to hide or display.
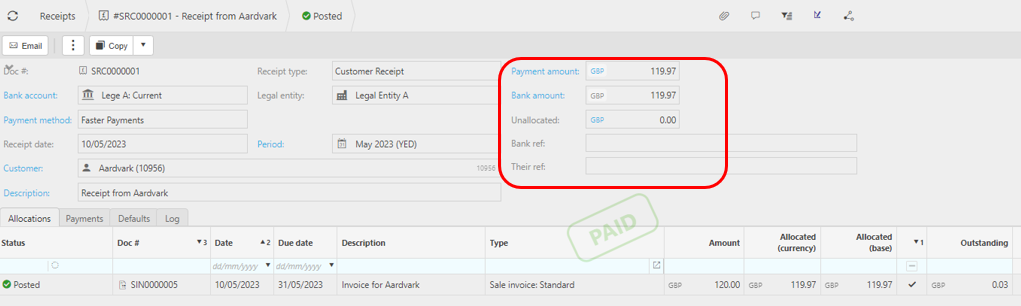
Highlight the Receipt to view, double click to open.
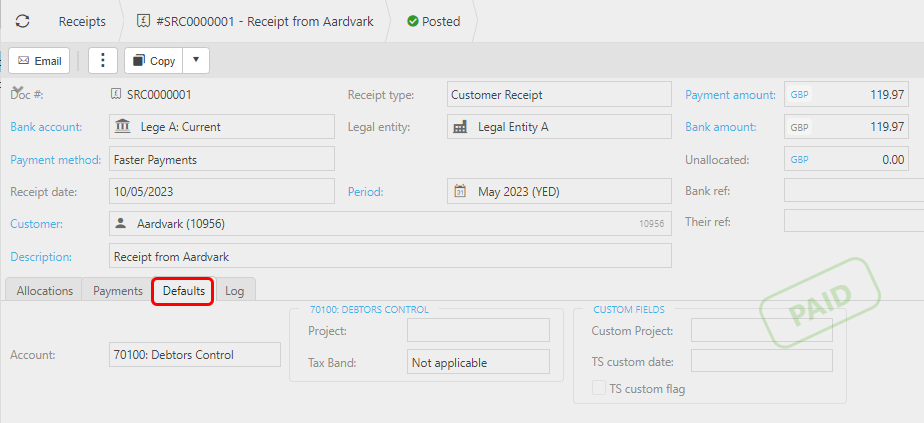
The main screen shows the details of the Receipt including the Payment amount -
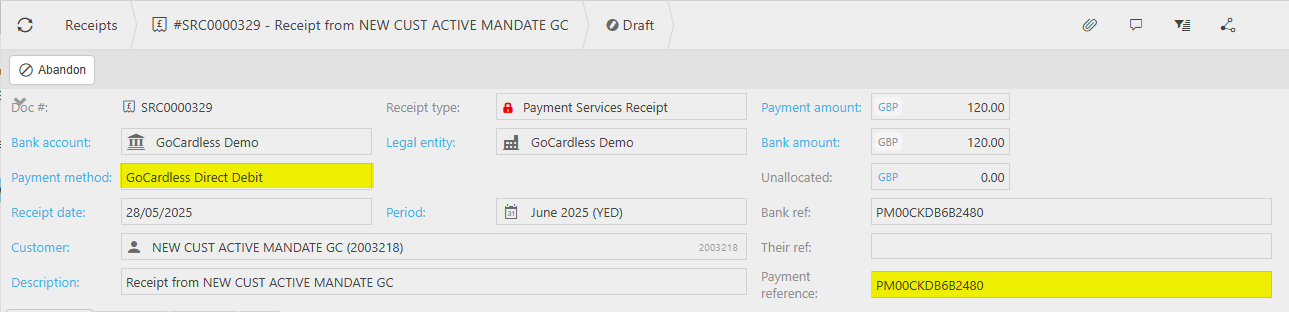
If the Payment method was via a Payment service, then the Payment reference field will show.
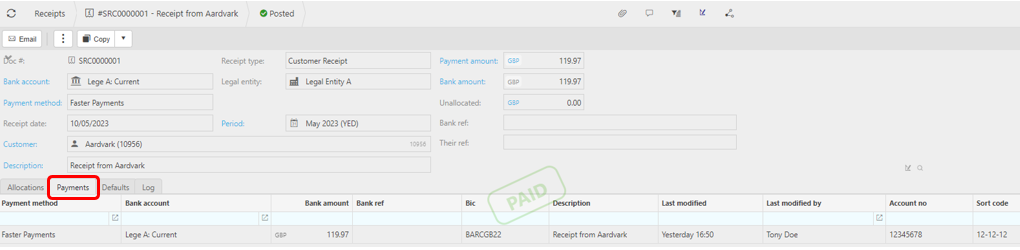
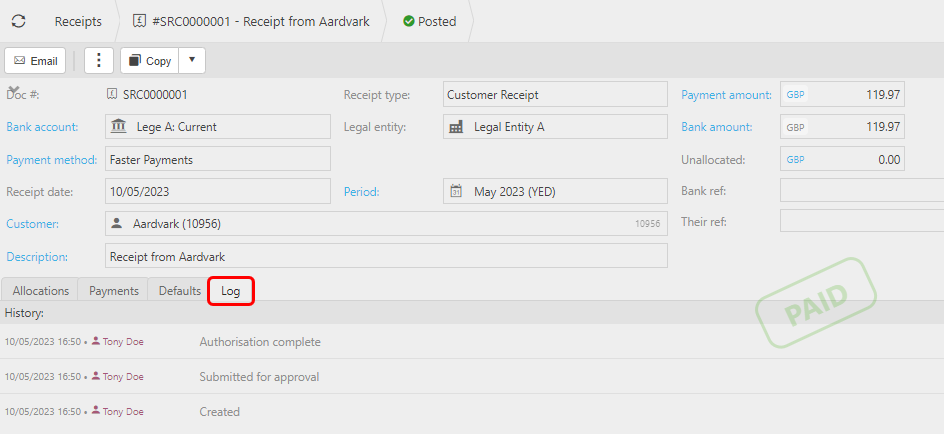
The Tabs
This shows details of Sales Invoice associated with this Receipt.

Project: This shows the Project from the header of the Sales invoice if it has been entered.
Tip
If the Project field is not displayed, select the
icon on the right of this tab section, then tick the Project field to display on the tab list.
How to create Sales Receipts
Creating a Sales Receipt
Select Receipts from one of the options as shown in Viewing a Receipt above.
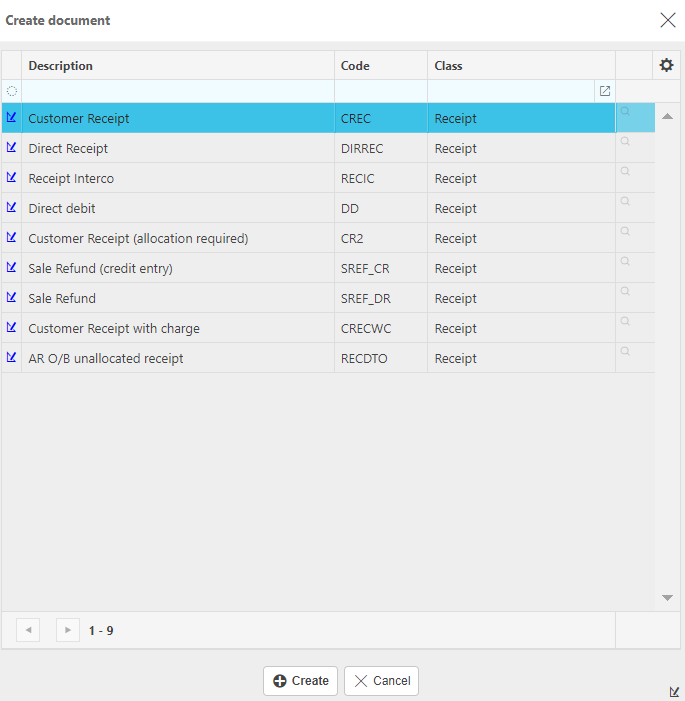
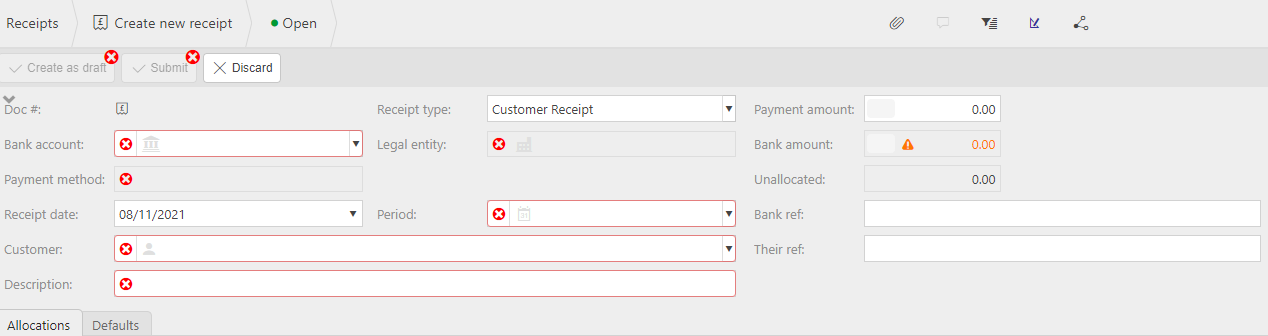
Press New.

Choose the document type then press Create.
Enter the bank account that will be receiving the payment.
Enter the financial period that you would like the transaction posted to.
Enter a Customer.
Tip
If you need to create a Customer, press the
 icon, then fill out the Customer details.
From the lines in the Allocation tab, enter the Payment amount - any amount can be entered up to the full outstanding amount.
Note
If an outstanding amount is entered that is within the Penny difference Max tolerance (General section).
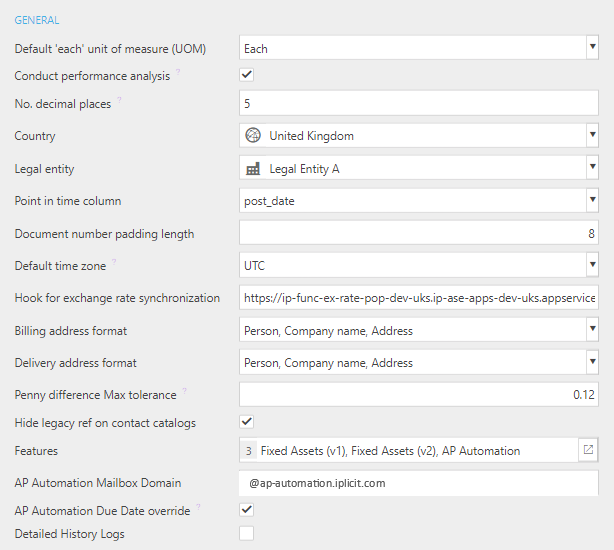
and the Penny Difference Automation** is turned on then a correcting journal for the small difference is processed which will clear the balance.
Fill in the remaining fields.
Receipt date: This will be auto filled but this can be changed.
Note
This date will default to the current date unless the Don't default current date option is ticked in Others tab within the Document type. In this case, when a user creates a new document, this date is left blank.
Description: If Description required option has been ticked in the Document type, then this field will be mandatory. It will be automatically entered if a Default description was entered in the Document type.
Receipt type: This will be auto filled with the Document type selected in step 2.
Their Ref: The unique reference given to identify the document. If Their ref required option has been ticked in the Document type, then this field will be mandatory.
Select either Submit once happy with details or Create as draft to be able to edit further before submitting.
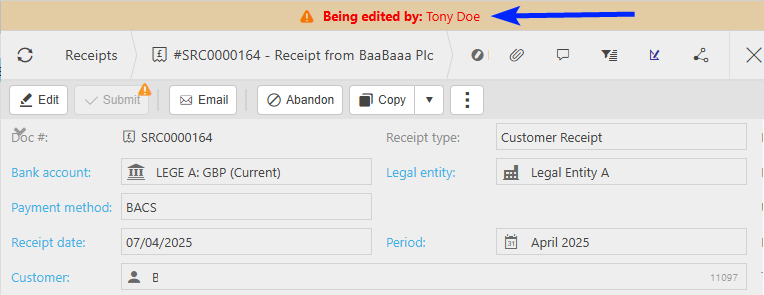
Note
Returning to this document via the Edit option will notify other users viewing the same document that it is being edited.
How to copy Sales Receipts
Copy a Sales Receipt
If you are regularly creating the same receipt, you can create a draft then Copy exact to recreate the same document with the same information.
Select Receipts from one of the options as shown in Viewing a Receipt above.
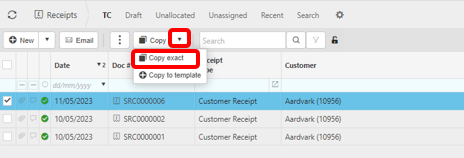
Select a Receipt previously created as a draft receipt.
Select the draft receipt.
Select Copy exact from the dropdown arrow.
Enter your details and then Submit.
How to add charges to Sales Receipts
Add charges to a Sales Receipt
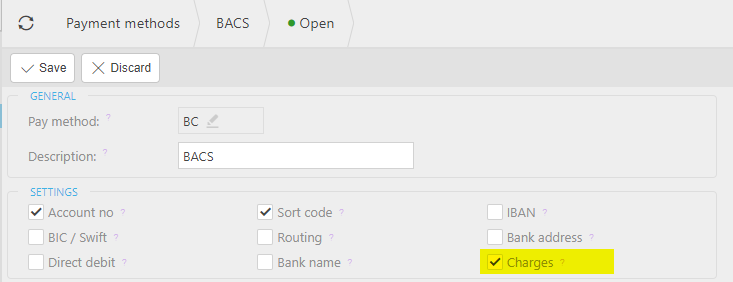
Select Payment methods from the Quick Launch Side Menu.

Select and open the Payment method to edit and select Edit.
On the Settings section, tick Charges to enable this function on this Payment method.
Select Add to enter new charge information, or update/change the information if charges already exist.
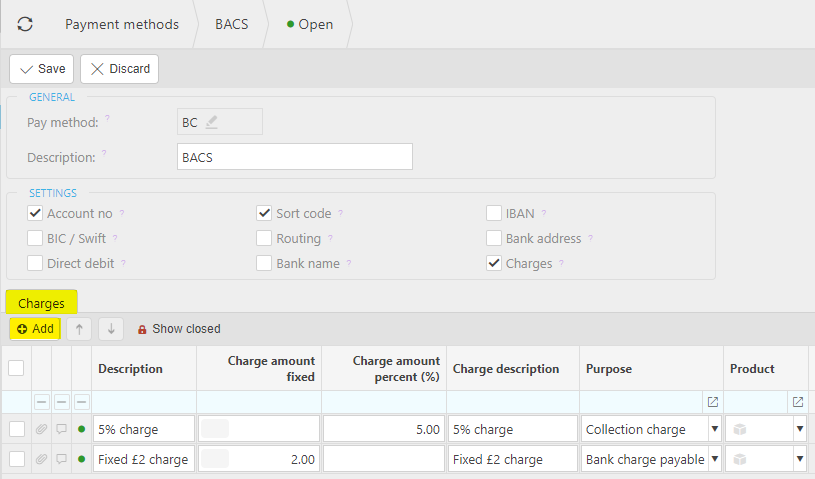
Select Save on completion.
How to reallocate Sales Receipts
Reallocate a Sales Receipt
Select Receipts from one of the options as shown in Viewing a Receipt above.
Select a Sales Receipt (either highlighted on the list or open the Invoice), then select the
 button and select Reallocate.
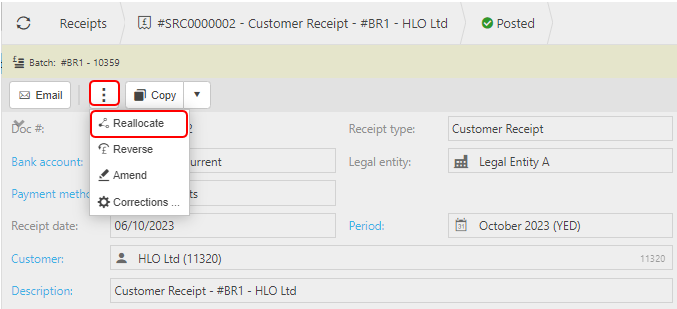
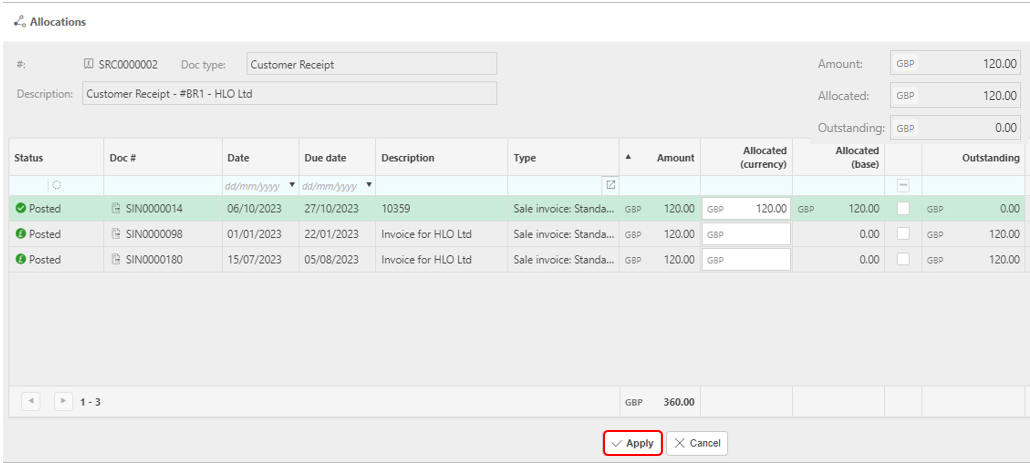
- Make any changes and then select Apply.
How to reverse Sales Receipts
Reverse a Sales Receipt
Select the Sales Receipt (either highlighted on the list or open the Invoice), then select the
button and select Reverse.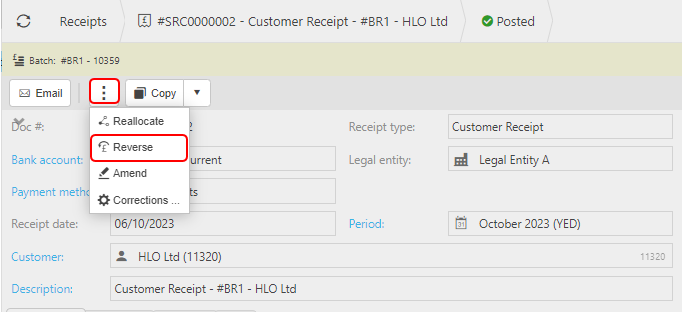
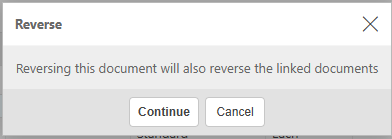
Note
If this is a Multi-co or Inter-co document and there are linked documents, then a warning that reversing will also reverse all linked documents.
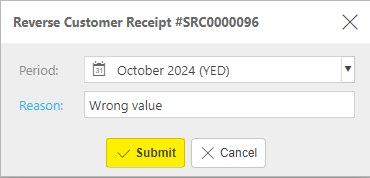
Enter the reason then press Submit.
How to amend Sales Receipts
Amend a Sales Receipt
Select and open the posted Sales Receipt (either highlighted on the list or open the Invoice) to amend, then press Amend option from the
dropdown button.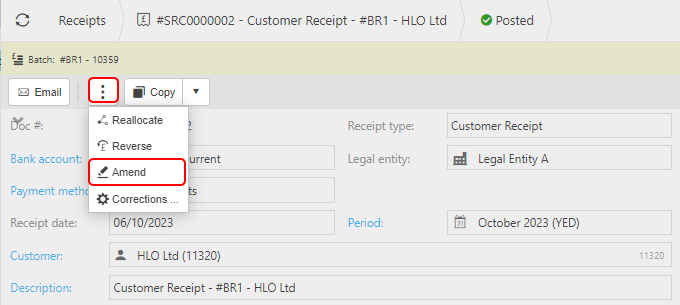
You can now make non-monetary changes to the Receipt details without having to Unpost first. These amendments will not have any effect on any of the Accounts.
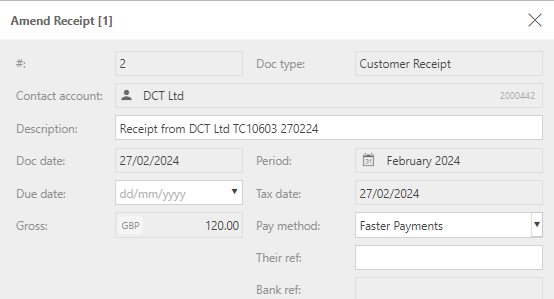
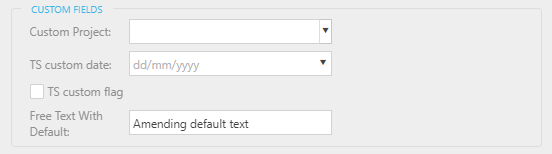
You can also make changes to Custom fields, which have previously been defined on the Custom fields tab when defining the Document type -
Note
User will need Attribute.Amend permissions.
Once complete, press Apply.
How to make corrections to Sales Receipts
Make corrections to a Sales Receipt
Select the Sales Receipt (either highlighted on the list or open the Invoice), then select the
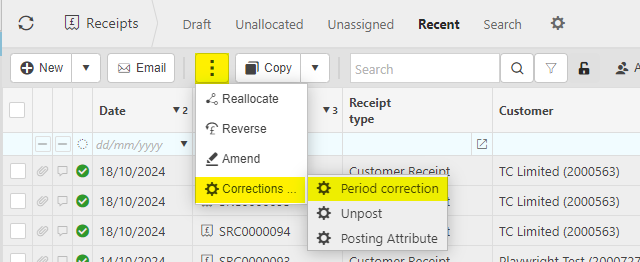
button and select Corrections.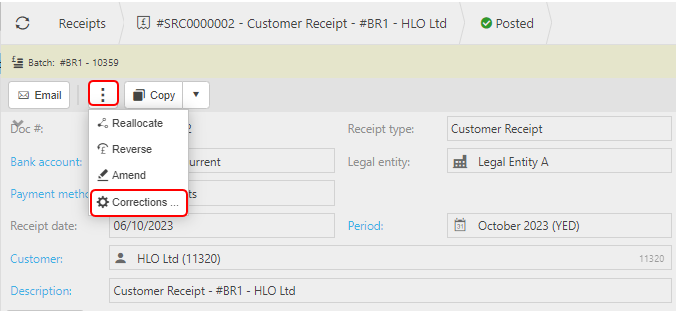
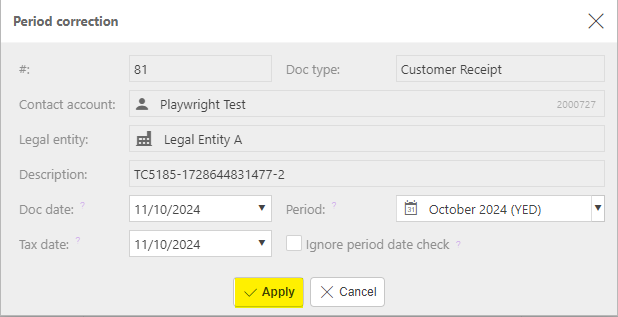
Period correction to make corrections to the Period.
Note
If the document has any linked documents, then a warning will show informing that changes will not be updated on any linked documents and then asking if you wish to continue.

Enter the corrections, then select Apply.
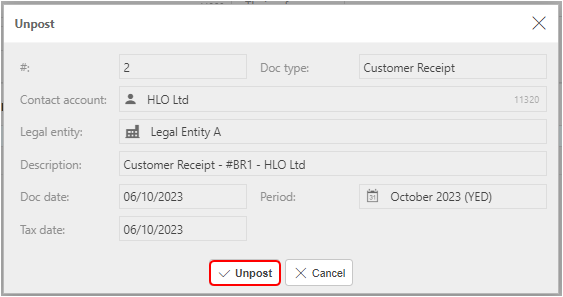
Unpost to retract the Sales Receipt from the General Ledger
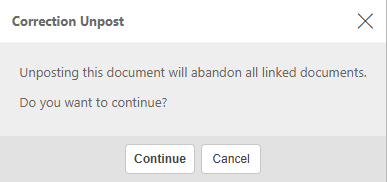
Note
If this is a Multi-co or Inter-co document and there are linked documents, then a warning that unposting will abandon all linked documents.
Confirm by selecting Unpost.
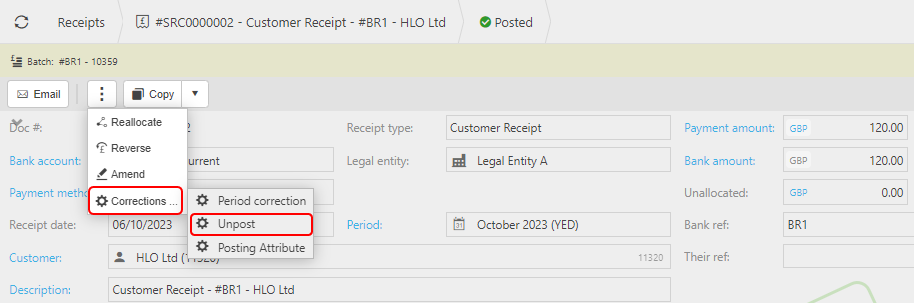
Posting Attribute to make corrections to individual attribute values on the Sales Receipt.

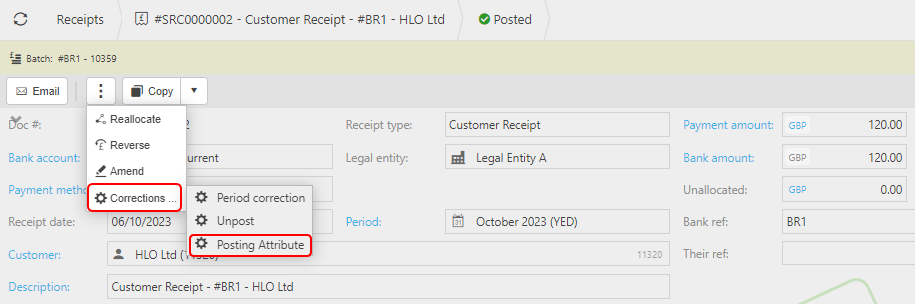
See Correcting Posting Attributes for further details.
Updated June 2025