Automations
The automations feature is designed to reduce workload by automatically creating documents. This reduces much of the manual entry process. There are several automation types that can be processed e.g. accruals, disbursements, or penny corrections.
For a description of what each automation type does please see Automation types.
Automations can be run manually (e.g. accruals) or automatically (e.g. penny difference upon payment of a purchase invoice where the outstanding balance is within the penny difference tolerance).
Automations can be scheduled in the scheduler. For example, you may want to run the accruals monthly.
How to view Automations
Viewing Automations
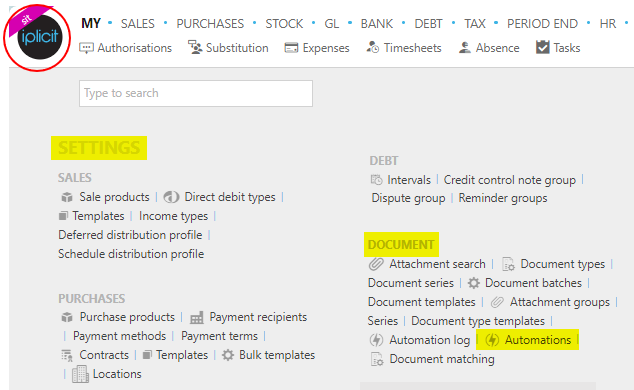
Select Document / Automations from the Settings section of the pulse menu -
Note
This is an example screen shot of the pulse menu.
Position of the menu items within pulse will vary according to available options and dependant on personal screen resolution.
or enter Automations in the Quick Launch Side Menu.

This will then show the Automations on the system where normal customisation of Sets can be used.
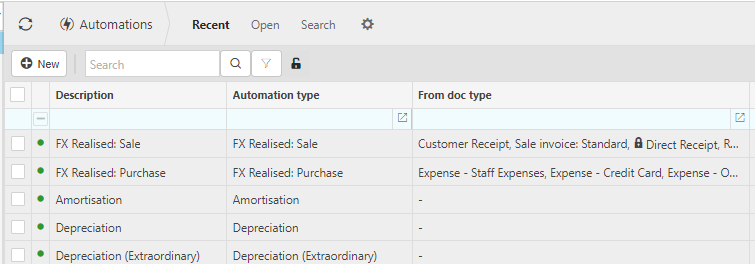
- Description: Used to identify the automation, this will usually be the Automation type.
- Automation type: This is the Automation type e.g. accruals or penny corrections.
- From doc type: This is the Automation type that is being processed from.
- To doc type (default): This is the Automation type that that the automation is processed to.
- Trigger: The trigger will identify if the automation can run manually or automatic upon posting.
Tip
To modify the columns displayed, select  in the top right of the page, then tick/untick the information you want to see or not.
How to create Automations
Create Automations
Select Automations from one of the options as shown above in Viewing Automations.
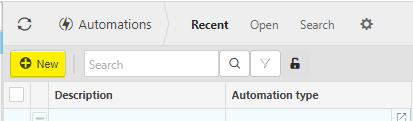
Press New.
Enter the following fields.
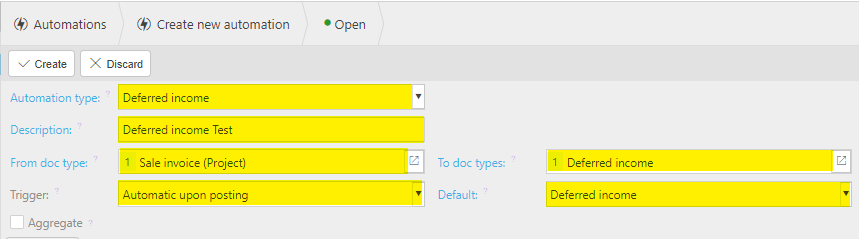
Automation type: Select from the available list of Automation Document types.
Description: The description will default from the automation type; however you can change this.
From Doc type: Select from the available Document Type(s), the ones which you wish to be included in the document(s) evaluated.
Note
For Manual capitalisation select the document types that you want to include in the manual capitalisation.
If a document type is not included it will then exclude these document types when you capitalise an asset.
To doc types: Select all possible destinations from the available Document Type(s) for this Automation.
Trigger: The trigger setting defines when the Automation will be run e.g. Automatic upon posting means the Automation will automatically run for the selected documents upon posting into the General Ledger (GL).
- Automatic upon posting
- Allow manual run
- Manual only
- Document selection only: The Run button will not be available on the automation.
Default: Select the Document type that will be created.
Fill out the information in the tabs.
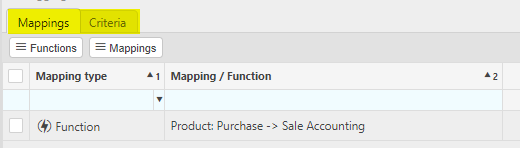
- This tab allows functions and mappings to be added to automations. You can view all mappings in the mapping finder.
Press Create to save the new Automation.
The new automation will now be ready for use in the automation finder.
How to check Settings and Access for Automations
Settings and access for automations
A User must be given Permission to use the automation feature and specific Automation types.
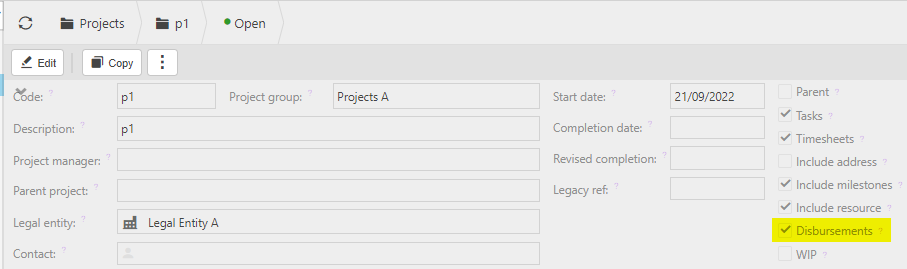
Accrual, Disbursements and Interco automations are available on projects. For automation to be used on projects, it must be ticked in the projects setup. The example below shows the disbursement tick box in the Projects setup.
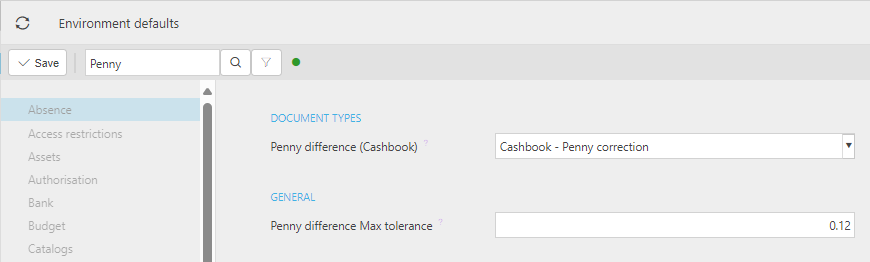
Automations will adopt defaults set in Environment defaults e.g. The Penny correction max tolerance as shown below.
By selecting an automation then pressing Edit you can set criteria and mapping in the tabs.
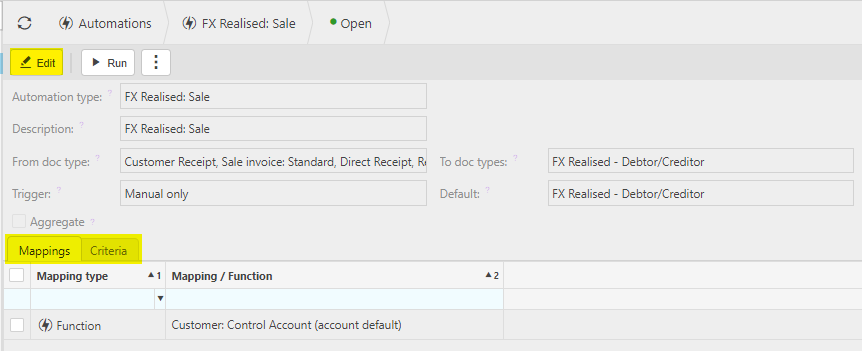
This tab allows functions and mappings to be added to automations. You can view all mappings in the Mapping finder.
How to run Automations
How to run automations
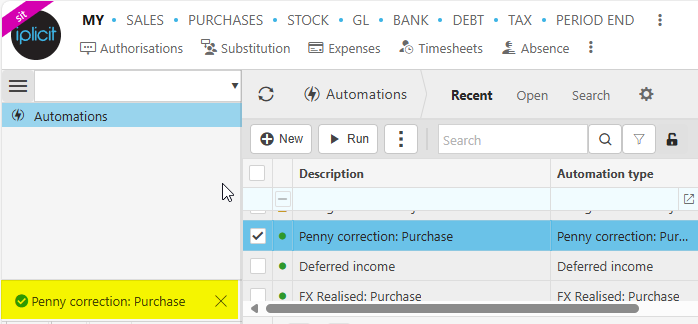
Select Automations from one of the options as shown above in Viewing Automations.
Select the Automation to run - either tick to select, or select and open.
Press Run.

Enter the automation criteria.
The criteria will differ depending on which Automation type you are processing. The following links will explain each automation type in further detail.
When you are happy with the selected criteria and setup, press Submit.
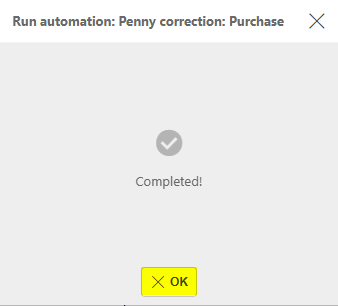
An automation complete message will show. Select OK to carry on working.
On the bottom left of the screen, a message will display showing the progress of the automation.
Automation running -

Automation complete -
Updated March 2026