Penny Correction
How to view Penny Differences
View Penny Differences
Select Period End / Penny Corrections from the Main section of the pulse menu -
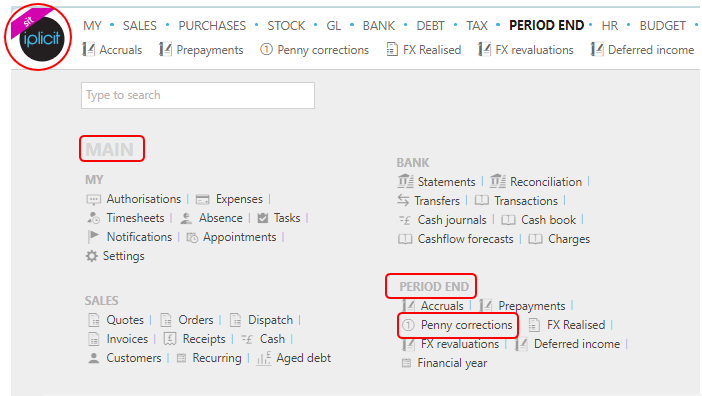
Note
This is an example screen shot of the pulse menu.
Position of the menu items within pulse will vary according to available options and dependant on personal screen resolution.
or from the Main Menu select Period End then Penny corrections -

or enter Penny corrections in the Quick Launch Side Menu.

This will display all pre-existing Penny corrections on the system where normal customisation of Sets can be used.

- Doc#: This is the document number.
- Contact: This is the Contact account.
- Description: This is used to identify the accrual.
- Type: There are a number of Document types, the type will be presented here.
- Gross: This is the amount of the penny correction.
Tip
To modify the columns displayed, select  on the top right of the page, then tick/untick the information you want to hide or display.
How to reallocate Penny Differences
Reallocate a Penny Correction
Select the Penny Correction (either highlighted on the list or open the Invoice), then select the
 button and select Reallocate.
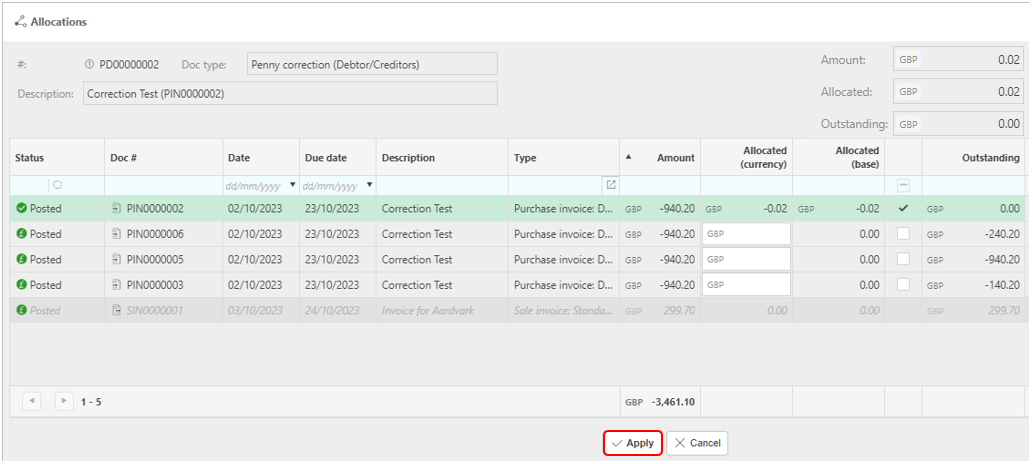
Make changes and then select Apply.
How to reverse Penny Differences
Reverse a Penny Correction
Select the Penny Correction (either highlighted on the list or open the Invoice), then select the
button and select Reverse.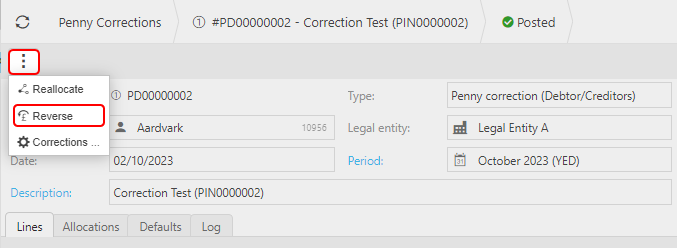
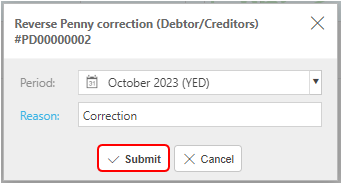
Enter the reason then select Submit.
How to make corrections to Penny Differences
Make corrections to a Penny Correction
Select the Penny Correction (either highlighted on the list or open the Invoice), then select the
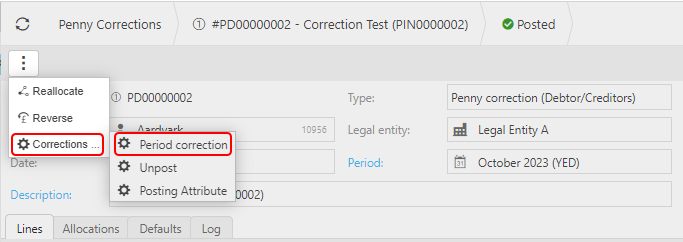
button and select Corrections.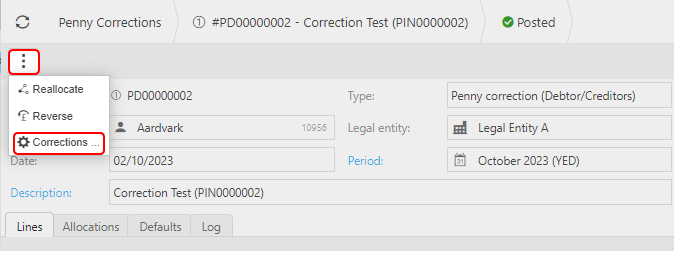
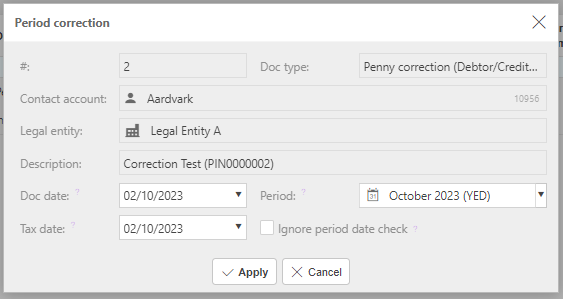
Period correction to make corrections to the Period.
A warning will show informing that changes will not be updated on any linked documents, and asking if you wish to continue.

Enter the corrections then select Apply.
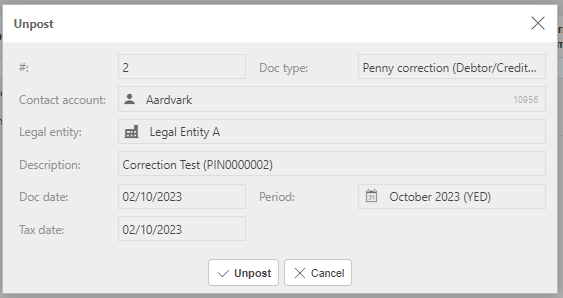
Unpost to retract the Purchase Invoice from the General Ledger
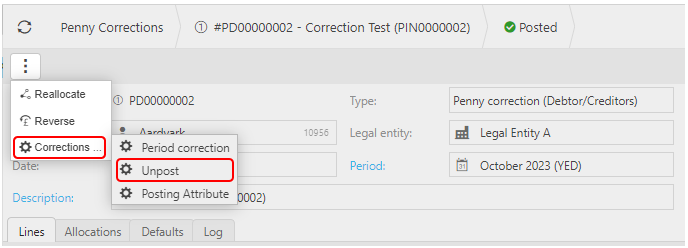
Confirm by selecting Unpost.
Posting Attribute to make corrections to individual attribute values on the Purchase Invoice.
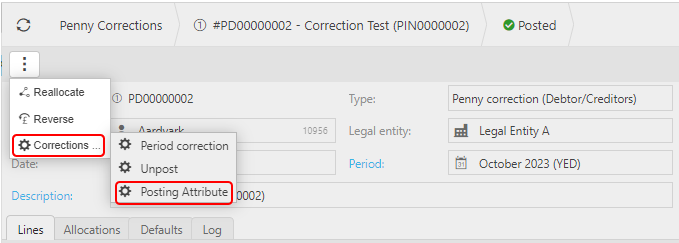
See Correcting Posting Attributes for further details.
Updated March 2025