Payments
- This feature is for making payments. There are a variety of payments such as purchase, account, expense refunds and batch payments.
How to view Payments
Viewing a Payment
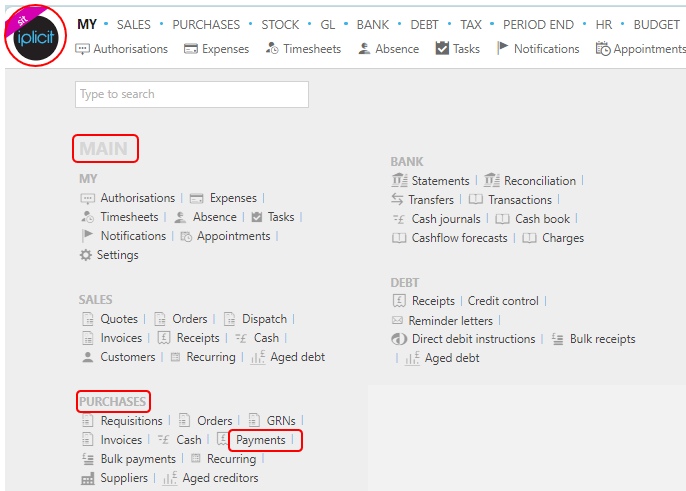
Select Purchases / Payments from the Main section of the pulse menu -
Note
This is an example screen shot of the pulse menu.
Position of the menu items within pulse will vary according to available options and dependant on personal screen resolution.
or from the Main Menu select Purchases then Payments -

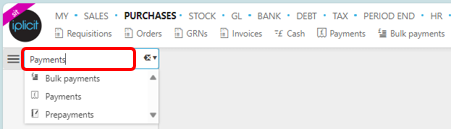
or enter Payments in the Quick Launch Side Menu.
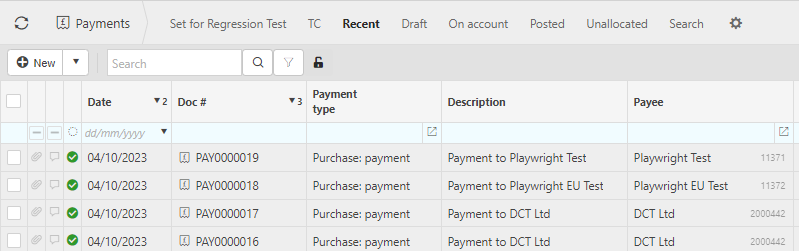
This will then show the Payments on the system where normal customisation of Sets can be used. Also, depending on User roles, the My/All option will be showing.
Status: Draft =
 Posted =
  Abandoned =
Description: This will show the payment description entered upon creation.
Payee: Who the payment is being made to.
Bank account: The bank account making the payment.
Currency amount: The total amount of the payment.
Tip
To modify the columns displayed, select
 on the top right of the page, then tick/untick the information you want to hide or display.
How to create Payments
Create a new Payment
Select Payments from one of the options as shown above in Viewing a Payment.
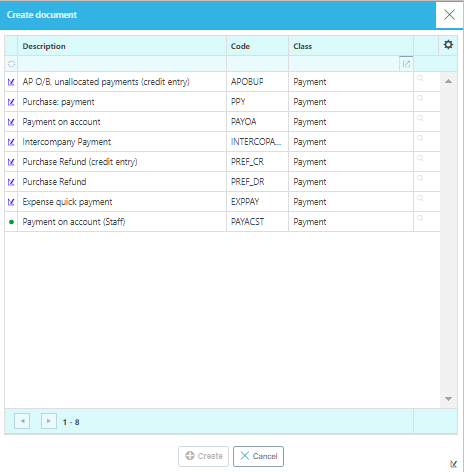
Press New.
Select the Document type then press Create. Payments can also be created from Expenses.
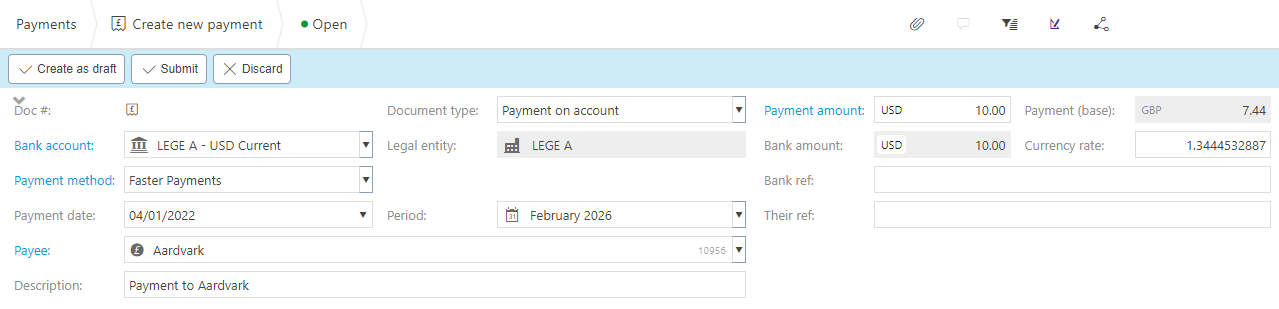
Select the Bank account that is making the payment.
Choose the Payment method.
Enter Payment date.
Note
This date will default to the current date unless the Don't default current date option is ticked in Others tab within the Document type. In this case, when a user creates a new document, this date is left blank.
Select the Supplier.
Enter a description. If Description required option has been ticked in the Document type, then this field will be mandatory. It will be automatically entered if a Default description was entered in the Document type.
Select the Financial period that the payment will be logged under.
Enter Their Ref - The unique reference given to identify the document. If Their ref required option has been ticked in the Document type, then this field will be mandatory.
In the Allocations tab, select the payment.

Project: This shows the Project from the header of the Purchase invoice if it has been entered.
Tip
If the Project field is not displayed, select the
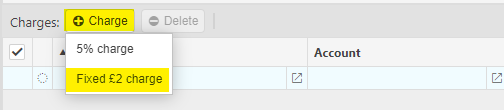
icon on the right of this tab section, then tick the Project field to display on the tab list.Depending on the Payment method, you can add charges. If charges are possible, then an extra section appears below the payment lines allowing you to add charges.
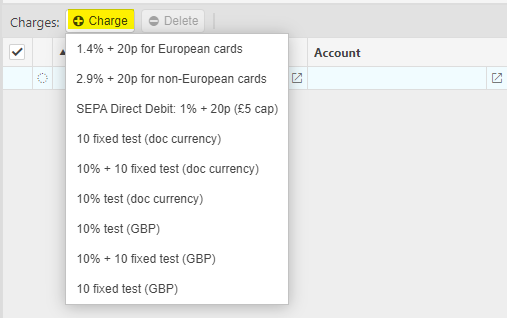
Press Charges then select the Charge.
For example, for BACs payment -
- For example, for Stripe payment -
Select either Submit once happy with details or Create as draft to be able to edit further before submitting.
Note
Returning to this document via the Edit option will notify other users viewing the same document that it is being edited.

How to copy Payments
Copy a Payment
Rather than filling out a new payment, you can copy pre-existing ones to speed up the process. This is particularly useful when you are creating the same payment frequently.
Select Payments from one of the options as shown above in Viewing a Payment.
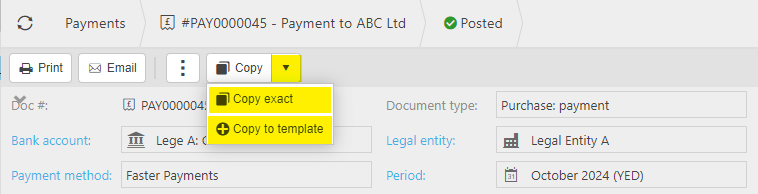
Select and open the pre-existing payment that you would like to copy.
Select either Copy exact or Copy to template.
How to reallocate Payments
Reallocate a Payment
Select Payments from one of the options as shown above in Viewing a Payment.
Select and open the pre-existing payment to reallocate.
Select the
 button and select Reallocate.
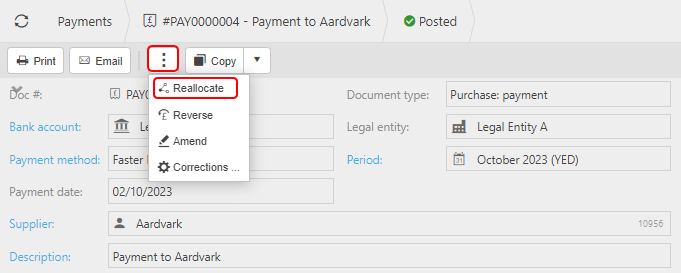
- Select the line to reallocate, then press Apply.
How to reverse Payments
Reverse a Payment
Select Payments from one of the options as shown above in Viewing a Payment.
Select and open the pre-existing payment to reverse.
Select the
button and select Reverse.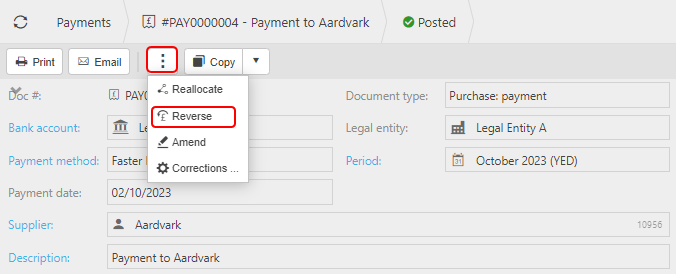
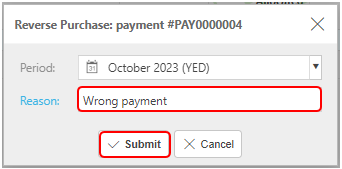
Note
If this is a Multi-co or Inter-co document and there are linked documents, then a warning that reversing will also reverse all linked documents.

Enter the reason then press Submit.
How to amend Payments
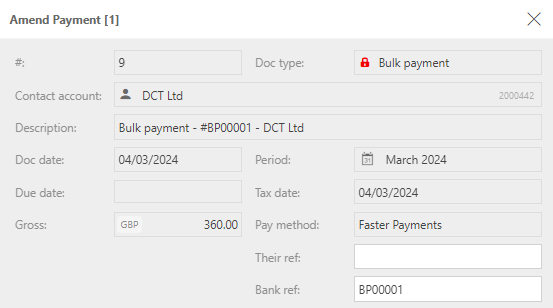
Amend a Payment
Select Payments from one of the options as shown above in Viewing a Payment.
Select and open the pre-existing payment to amend.
Select the
button and select Copy.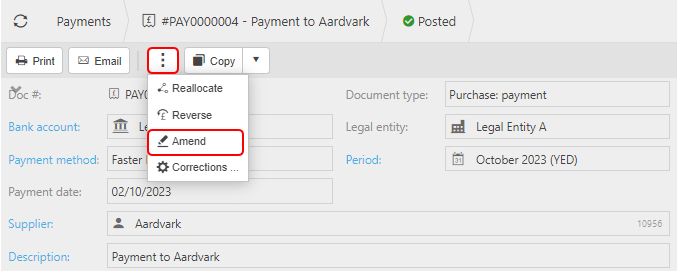
You can now make non-monetary changes to the Payment details without having to Unpost first. These amendments will not have any effect on any of the Accounts.
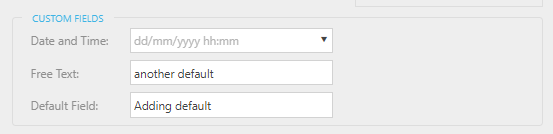
You can also make changes to Custom fields, which have previously been defined on the Custom fields tab when defining the Document type -
Note
User will need Attribute.Amend permissions.
Once complete, press Apply.
How to correct Payments
Make corrections to a Payment
Select and open the Payment (either highlighted on the list or open the Payment), then select the
button and select Corrections.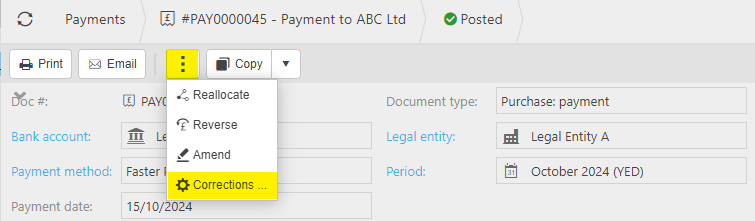
Period correction to make corrections to the Period.

Note
If the document has any linked documents, then a warning will show informing that changes will not be updated on any linked documents and asking if you wish to continue.

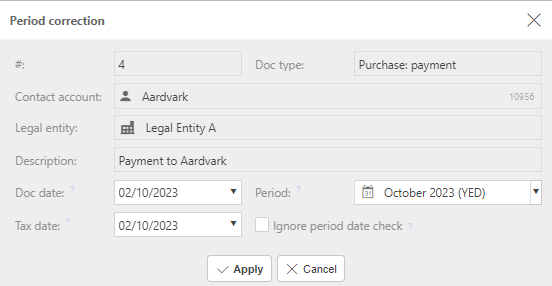
Make correction then select Apply.
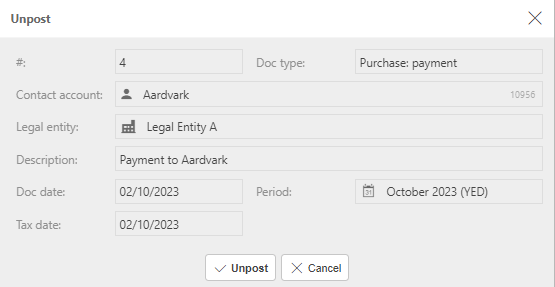
Unpost to retract the Payment from the General Ledger

Note
If this is a Multi-co or Inter-co document and there are linked documents, then a warning that unposting will abandon all linked documents.

Select Unpost to proceed.
Posting Attribute to make corrections to individual attribute values on the Payment.
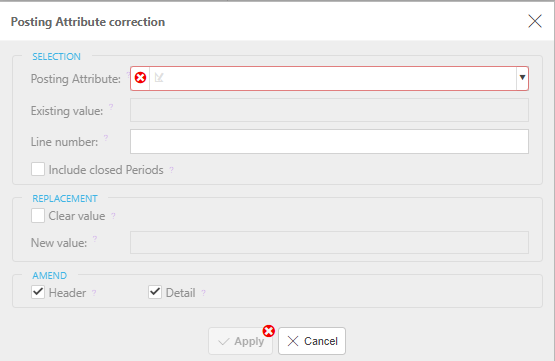
See Correcting Posting Attributes for further details.
Updated June 2025