Expense Manager
The method of expense entry is common for both My expenses and Expenses manager.
In My expenses the user is restricted to entering expenses for themselves whereas using Expenses manager, the user can enter expenses for users where expenses entry has been delegated and/ or allowed by another user (e.g. expenses Administrator).
You can enter a personal expense claim OR a credit card expense claim. A personal expense claim will be paid to the Resource directly whereas a credit card expense will be logged for Bank reconciliation to the credit card Bank account.
Note
For users to input their expense claims there will need to be a Resource. Their User account will need to be updated with the Resource, Bank account and payment terms.
Expense products will need to be created and accessible for the Resource entering the expense claim.
Authorisation Workflows will need to be created for user's expense claims to require authorisation.
Document types for a personal expense and/or a credit card expense will need to be available.
User Roles for Credit Card entry will need to be assigned to the User.
How to view Expenses
Viewing Expenses
Select HR / Expenses from the Main section of the pulse menu -

Note
This is an example screen shot of the pulse menu.
Position of the menu items within pulse will vary according to available options and dependant on personal screen resolution.
or from the Main Menu select HR then Expenses -

or enter Expenses in the Quick Launch Side Menu.

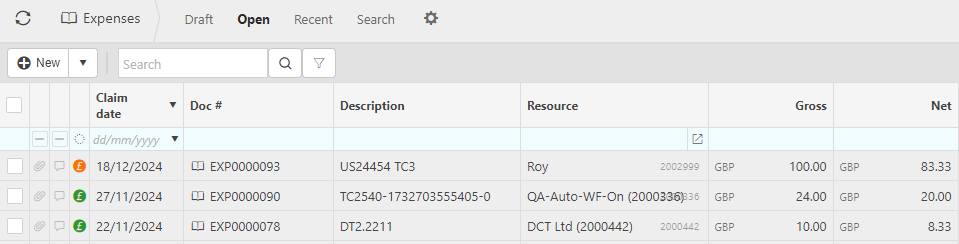
This will then show the Expenses on the system where normal customisation of Sets can be used.
Tip
To modify the columns displayed, select  on the top right of the page, then tick/untick the information you want to hide or display.
How to create an Expense Claim
Create an Expense claim
Select Expenses from one of the options as shown above in Viewing Expenses from option above.
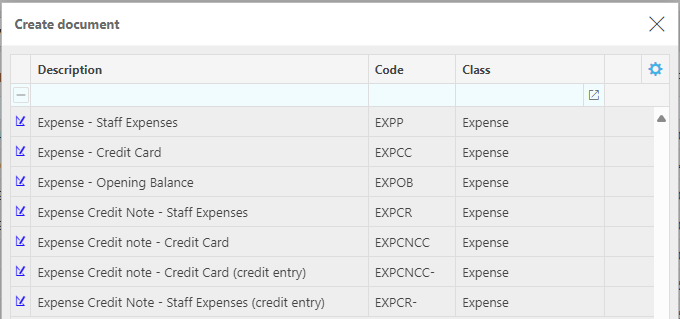
Select New

This will display the available Document types as per the systems settings. Highlight the chosen type (Personal expense or credit card expense) and select Create.
The header section of the Expenses.
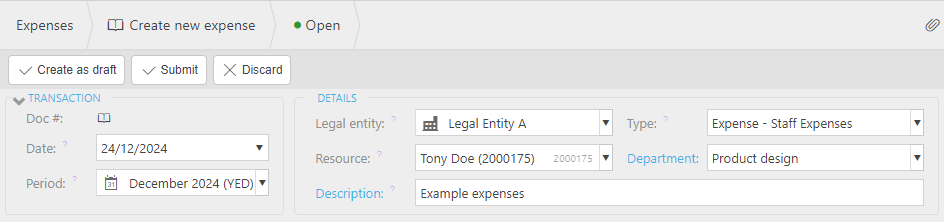
Transaction Date will default to today’s date which can be over-written.
Due Date will automatically calculate according to the Resource payment terms.
Period: The accounting period for the order (available for reporting filters).
Legal entity mandatory field that may be pre-populated depending on settings.
Type will be populated with Expense – Personal.
Resource will be defaults to the Resource linked to the User account.
Description is used for a summary description for the expense claim. This is a mandatory field.
Select Add on the Lines section to create a new expense line(s)
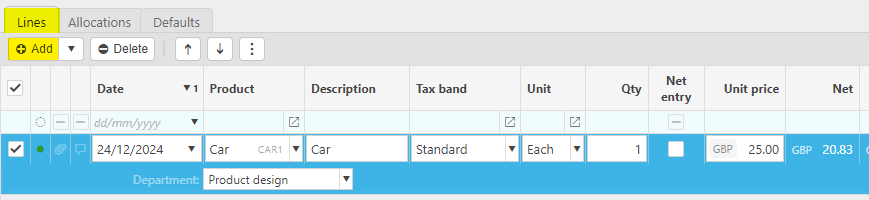
Date: Of the expense
Product: Select from the validation list.
Account: Mandatory field which will be pre-populated from the Product.
Description: Mandatory field which will be pre-populated from either the Product or Account record, either of which can be amended.
Tax Band: Mandatory field which will be pre-populated from either the Product or Account record, depending on settings this may/may not be available for amending.
Non recoverable: Tick this checkbox if there is VAT on the expense but there isn't a tax receipt attached.
Unit: Defaulted from the system settings or the Product which can be amended.
Quantity: Determines the number of units being ordered per unit.
Unit Price: May be pre-populated from product price on the Product or manually entered.
Line Headers and footers can be added to group expense lines by selecting the
 option. Tax and Currency can also be amended if required.
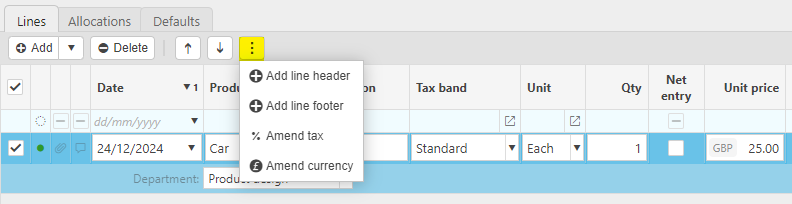
Note
Unwanted lines can be Deleted
The order of lines can be re-arranged using the arrows.
The drop-down arrow alongside the Add button displays the options to Copy an existing line.
Posting Attributes
In addition to the standard line fields additional Attributes may apply to complete the required details.
These could be optional or mandatory fields based on the setting of the Product.
Display of these fields is optional based on the Attributes toggle button.
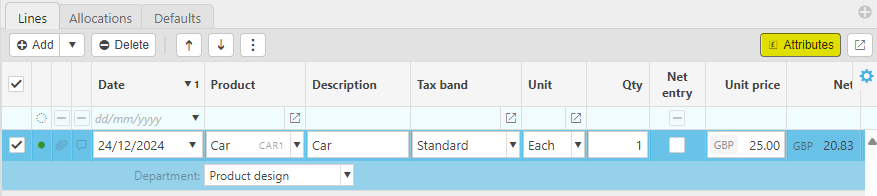
Tip
Clicking on the icon alongside the Attributes button changes the display to only show the lines, which is useful for documents with multiple lines.
Select
 icon to attach receipts.
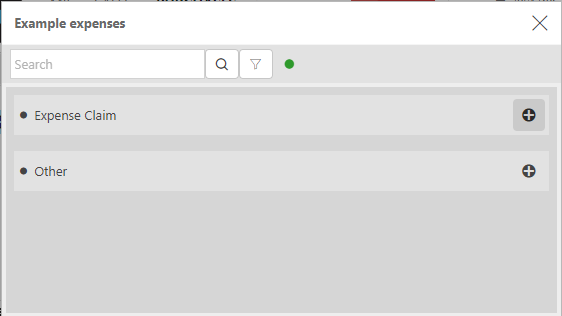
To upload from an external source select the
 icon.
icon.Locate the file you wish to upload and select Open.
Note
You can upload receipts by dragging a file from the location and dropping this into the relevant attachment sub section.
When all lines are entered, the expense claim can be saved using:

Create as draft: Save but allowing further editing.
Submit: Update to a pending status, if applicable this will enter the Authorisation Workflows or automatically convert to an approved status.
Discard: Remove the transaction altogether.
How to amend an Expense Claim
Amend an Expense
Select and open the posted Expense to amend, then press Amend option from the
dropdown button.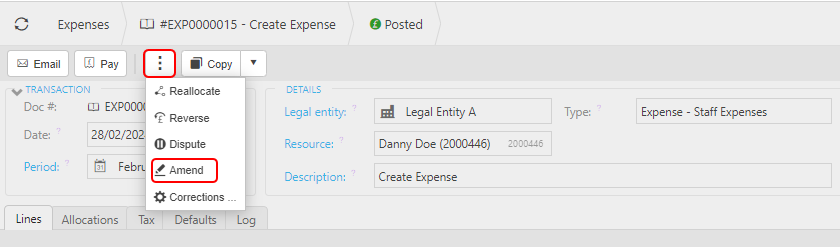
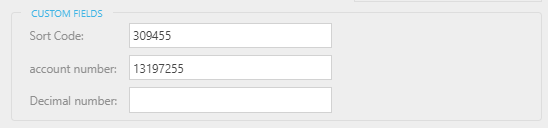
You can now make non-monetary changes to the Expense details without having to Unpost first. These amendments will not have any effect on any of the Accounts.
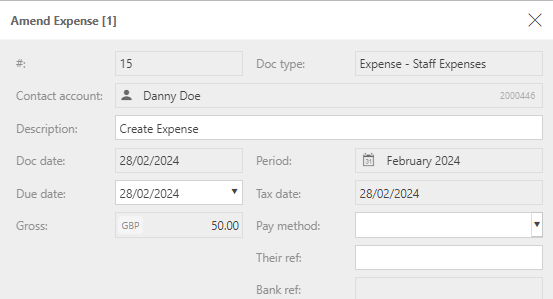
You can also make changes to Custom fields, which have previously been defined on the Custom fields tab when defining the Document type -
Note
User will need Attribute.Amend permissions.
Once complete, press Apply.

How to correct Expenses
Make corrections to Expenses
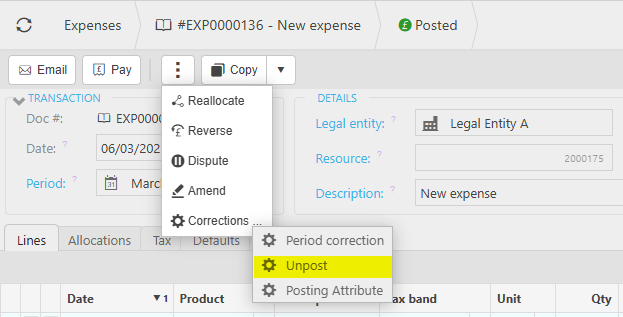
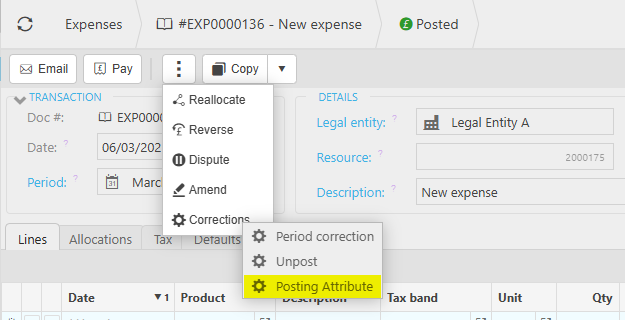
Select and open the Expense (either highlighted on the list or open the Payment), then select the
button and select Corrections.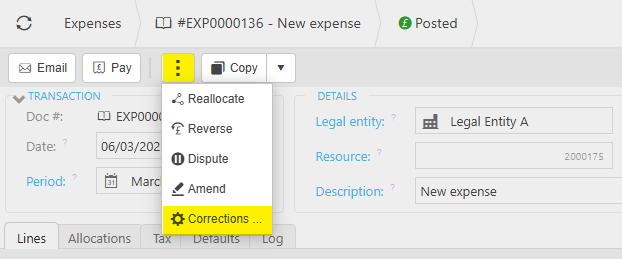
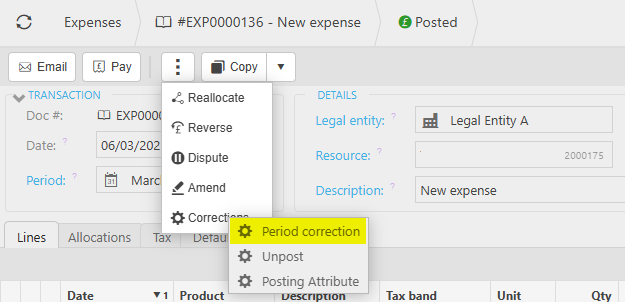
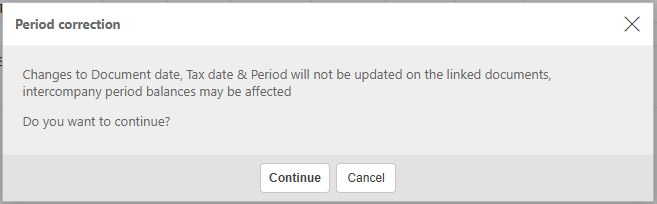
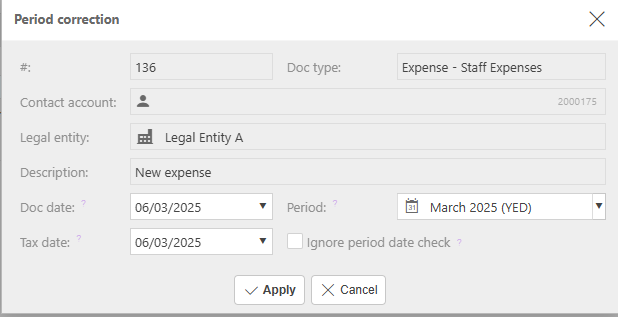
Period correction to make corrections to the Period.
Note
If the document has any linked documents, then a warning will show informing that changes will not be updated on any linked documents, and asking if you wish to continue.
Make correction then select Apply.
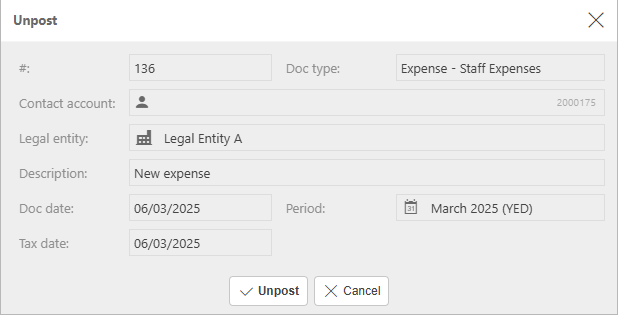
Unpost to retract the Expense from the General Ledger.
Note
If there are linked documents, then a warning that unposting will abandon all linked documents.
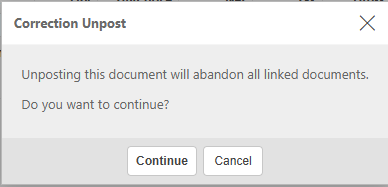
Select Unpost to proceed.
Posting Attribute to make corrections to individual attribute values on the Expense.
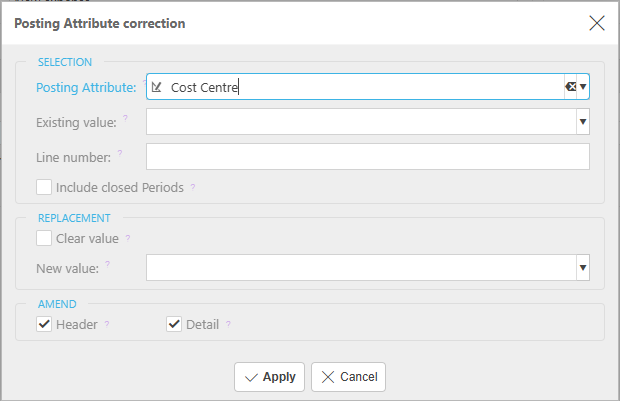
Further details Correction Posting Attributes.
How to refund Expenses
Make Expense Refunds
Select Payments from one of menu options (Pulse, Quick or Finder).
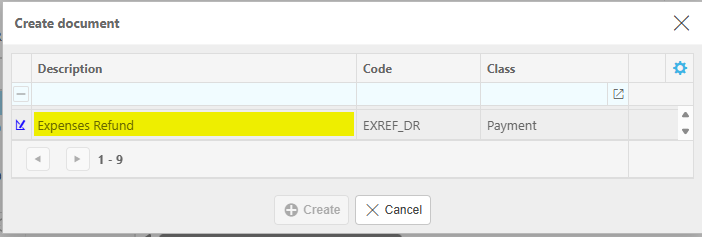
Select New.
Select the Expenses Refund from the Document types, then press Create.
Select the Bank account that is making the payment.
Change the default Payment method, if necessary.
Enter Payment date.
Note
This date will default to the current date unless the Don't default current date option is ticked in Others tab within the Document type. In this case, when a user creates a new document this date is left blank.
Select the Resource that needs the refund.
This will show all Expenses in the Allocation tab that have been made to this Resource.
Enter a description. If Description required option has been ticked in the Document type, then this field will be mandatory. It will be automatically entered if a Default description was entered in the Document type.
Select the Financial period that the payment will be logged under.
Enter Their Ref - The unique reference given to identify the document. If Their ref required option has been ticked in the Document type, then this field will be mandatory.
In Payment amount, enter the amount to Refund.
Select either Submit once happy with details or Create as draft to be able to edit further before submitting.
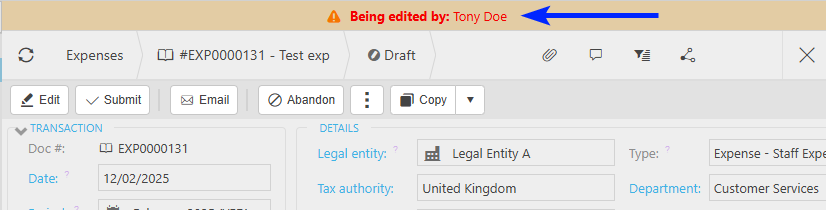
Note
Returning to this document via the Edit option will notify other users viewing the same document that it is being edited.
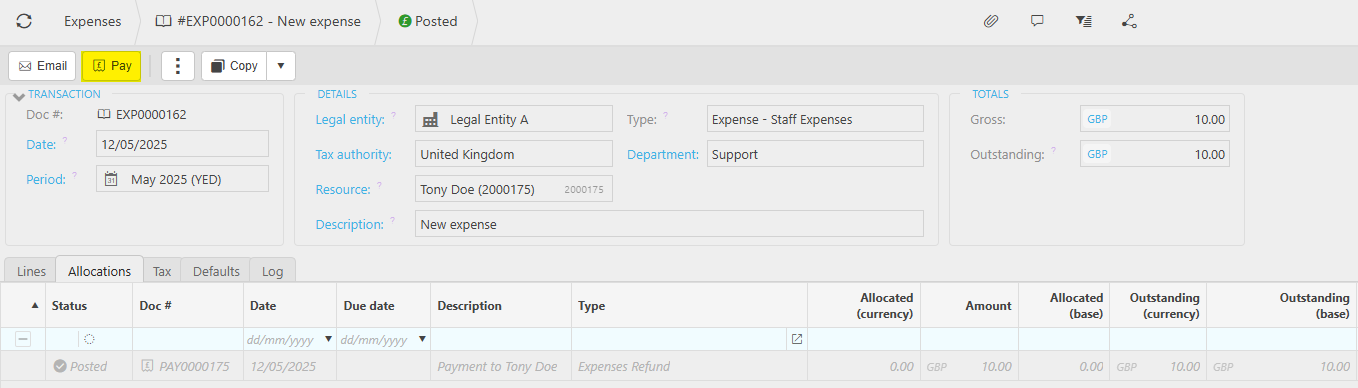
This refund will now show in the Expenses record and can be Paid.
Updated May 2025