Expense Products
The Expense products in this section will be available for use throughout the Expense functions.
How to view Expense products
Viewing Expense products
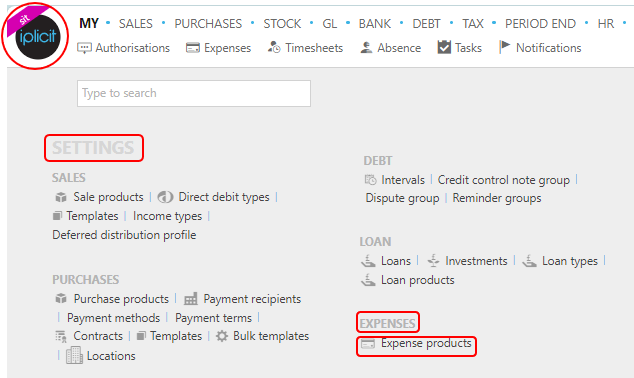
Select Expense / Products from the Settings section of the pulse menu -
Note
This is an example screenshot of the pulse menu.
Position of the menu items within pulse will vary according to available options and dependant on personal screen resolution.
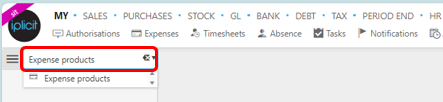
or enter Expense products in the Quick Launch Side Menu.
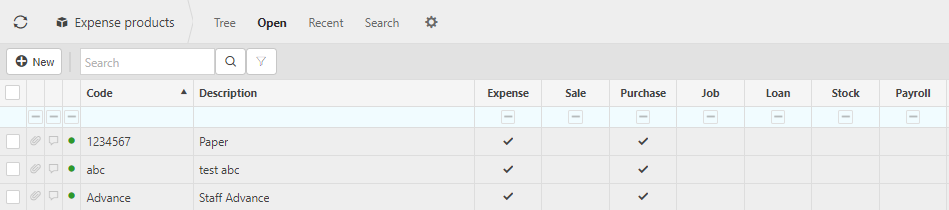
This will then show the Expense products on the system where normal customisation of Sets can be used.
And Tree option will be available where you can toggle the rows to different levels.
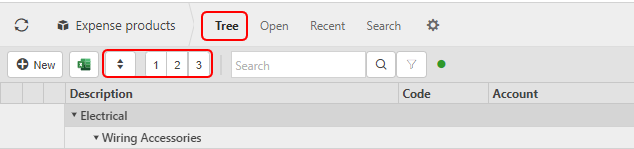
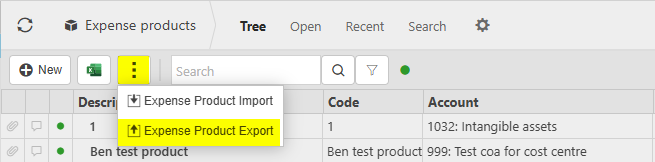
To Export all Expense products to Excel with this tree format, select the
 icon.
icon.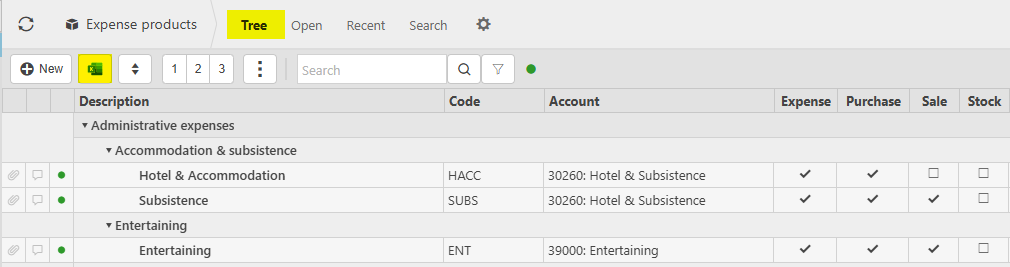
Tip
To modify the columns displayed, select  on the top right of the page, then tick/untick the information you want to hide or display.
More Information
- Code: This is the code that was chosen when the product was first created.
- Description: This will describe the expense product.
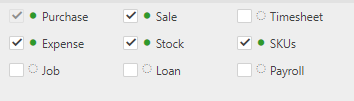
- Expense, Sale, Purchase, Job, Loan, Stock and Payroll: These boxes are ticked showing the other features that the Product can be used in.
How to create an Expense product
Creating a new Expense product
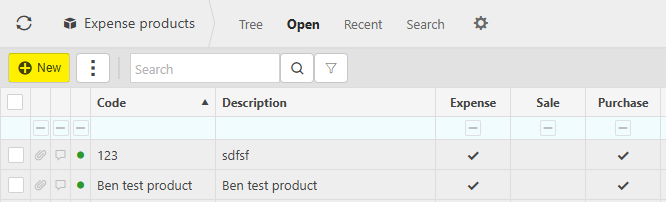
Select Expense products from one of the options as shown above in Viewing Expense products.
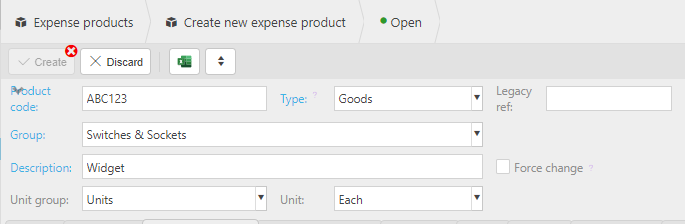
Select New.
Enter a product code.
Select a Product group.
Enter a product description to identify the product.
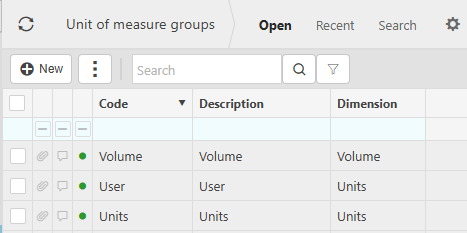
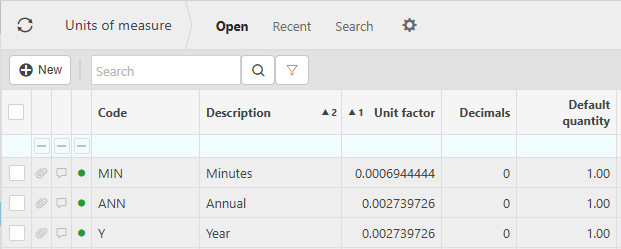
Select a Unit group and Unit.
Select a product type.
Tick the features you would like the products to be available for.
Select Create.
How to Import/Export Expense Products
Import/Export Expense products
Select Expense products from one of the options as shown above in Viewing Expense products.
Select the
 icon and select Expense Product Import.
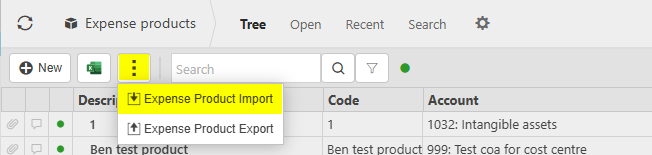
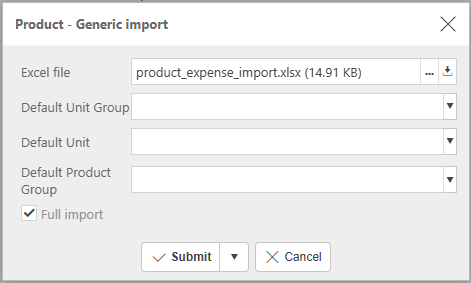
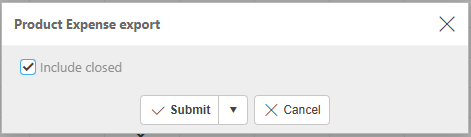
Enter the name of the Excel file, which is saved on an external source, and other options.
Tip
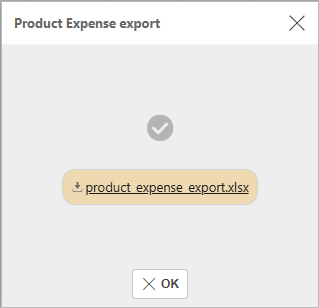
To create an Import file with the correct field names and formatting, Export a file first and save to your external source. Then use this file to add details ready to import.
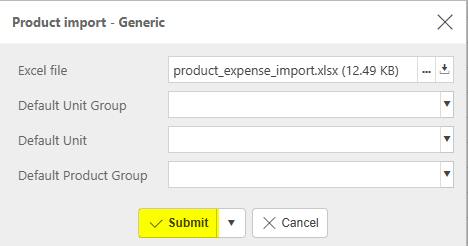
Select Submit.
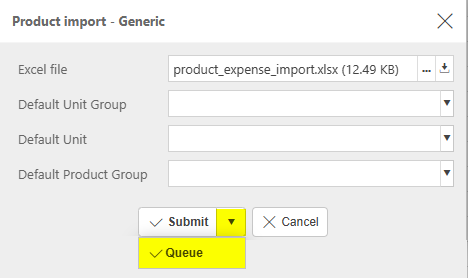
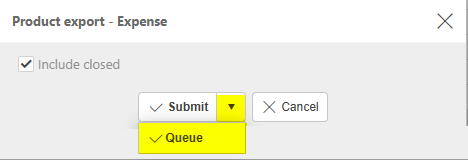
Selecting Queue from the dropdown option will queue the import process until other actions in iplicit are completed.
Warning
iplicit allows a maximum of 5,000 rows in a single Import.
If your Import is too large, an error message will tell you that the Import cannot be processed and will advise you to create smaller Import files.
If the latter is not possible, please contact Customer support.
Updated December 2025