Intervals
Intervals are used to present information, grouped by date ranges.
iplicit provides a selection of authored Intervals, but you are also able to enter your own.
Example uses of Intervals are for the presentation of Aged Debt, Aged Creditors, Bulk payments and Bulk receipts.
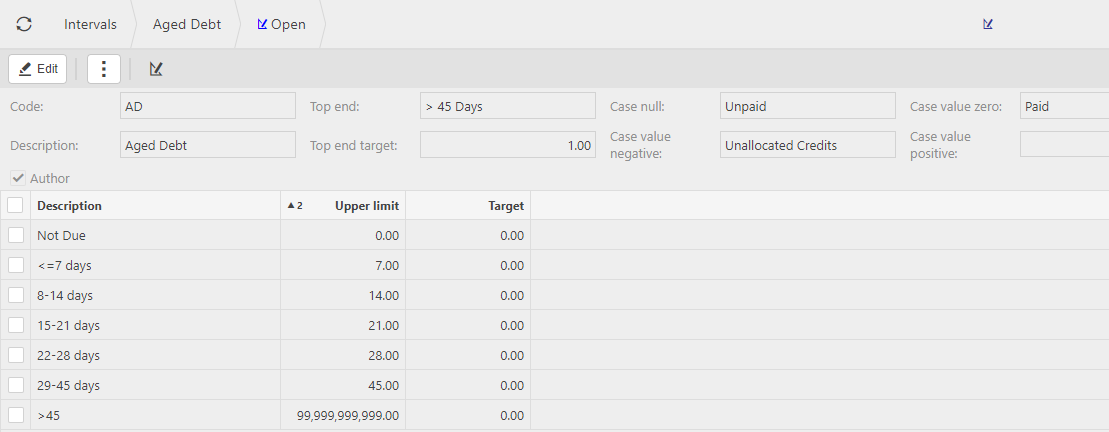
You can Create new Intervals and Lock existing Intervals that you don't want to use.
Viewing Intervals
Select Debt / Intervals from the Settings section of the pulse menu -

Note
This is an example screen shot of the pulse menu.
Position of the menu items within pulse will vary according to available options and dependant on personal screen resolution.
or enter Intervals in the Quick Launch Side Menu.

This will then show the Intervals on the system where normal customisation of Sets can be used.

Tip
To modify the columns displayed, select  in the top right of the page, then tick/untick the information you want to see or not.
Create an Interval
Select Intervals from one of the options as shown above in Viewing Intervals.
Select New.
Tip
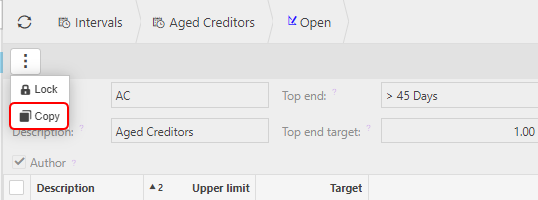
To speed up creation, you can Copy an existing Interval setup and simply make the additions/adjustments as per your requirements.
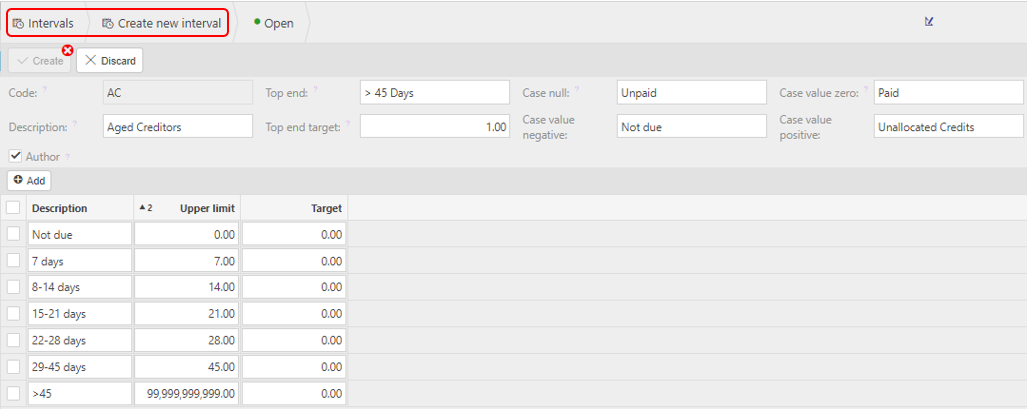
Enter the following fields -
- Code: Enter a unique code.
- Description: Enter a unique description to describe the Intervals.
- Top end: Enter a description that will be shown for the top end.
- Top end target: Enter a target percent to be used.
- Case null: Enter a description that will be shown when the value is null.
- Case value negative: Enter a description that will be shown when the value is negative.
- Case value zero: Enter a description that will be shown when the value is zero.
- Case value positive: Enter a description that will be shown when the value is positive.
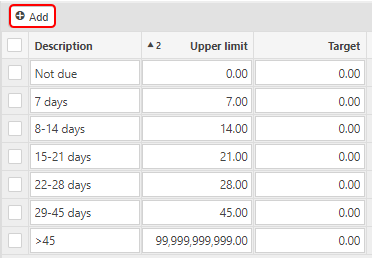
Select Add and enter a row for each banding.
Note
The lower limit is always greater than the previous upper limit e.g. for "8-14 days", the upper limit is 14 and the lower limit is > 7.
The Target is a % which could be used to measure performance.
Press Save when complete.
you will now need to update the Environment settings to use the new/ revised intervals.
Lock an Interval
Select Intervals from one of the options as shown above in Viewing Intervals.
Select an Interval.
Select Lock.

Tip
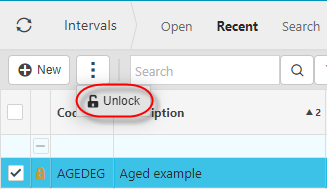
Locked records can easily be unlocked by selecting a locked interval and selecting Unlock.
Environment settings
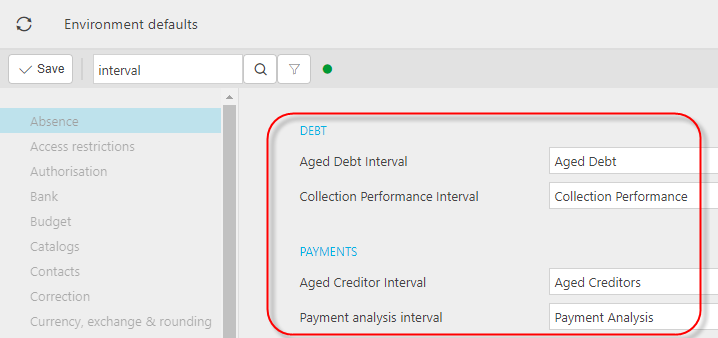
Select Environment defaults.
Enter Interval in the search.

Amend the interval default(s) to use the interval.
Save the change(s).
Reload to ensure you have the latest settings.
Updated February 2024