Multi-company Sales
Typically, for Companies with multiple Legal entities, it is frequently the case that one Legal entity makes a sale on behalf of another Legal entity. This process will then create the appropriate documents so that sales income is accounted for on the correct Legal Entities.
How to setup Prerequisite for Multi-company Sales
Prerequisite setup for Multi-company Sales
Chart of Account(s) - this code needs to have the intercompany included, as it is a posting attribute.
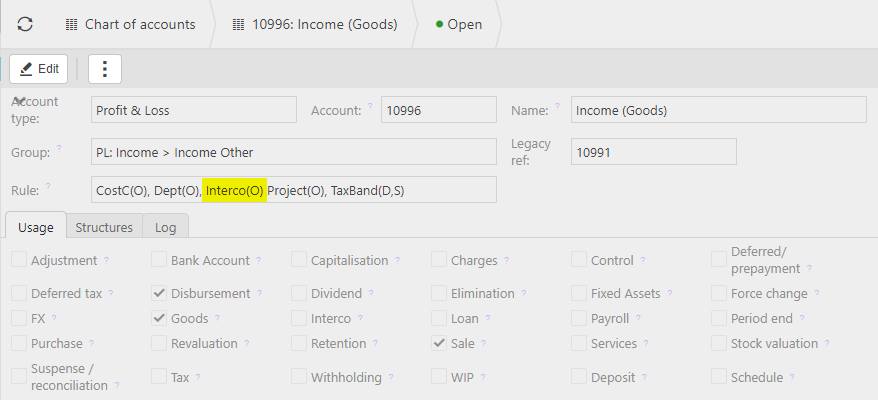
Chart of Account Rules - Interco attribute must be included on the related Chart of Account rule.
- Make this an optional attribute.
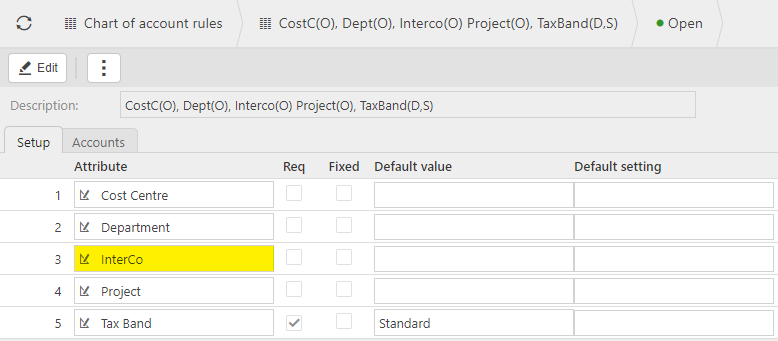
Account default(s) - check/create Multi-Co sale in the Interco Sub group. This gives the Chart of Accounts code that is used when one Legal entity is owing money to another Legal entity.

Check the Account - pressing the Ctrl button underscores the Account and selecting one of this Accounts will take you to the Chart of Accounts.

The Interco checkbox must be ticked - account will be available for Inter Company movement.
The Elimination checkbox should be ticked - documents using this account can then be individually treated as an Interco elimination.
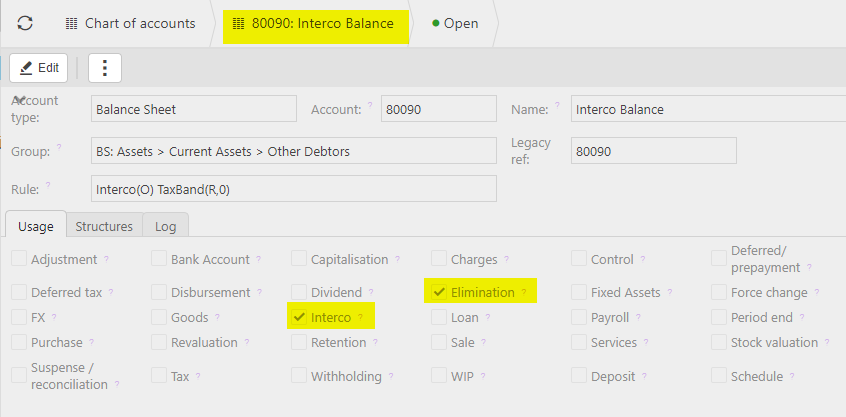
Document type(s) - if not already Open, unlock the Multi-Co Sale via the
 button.
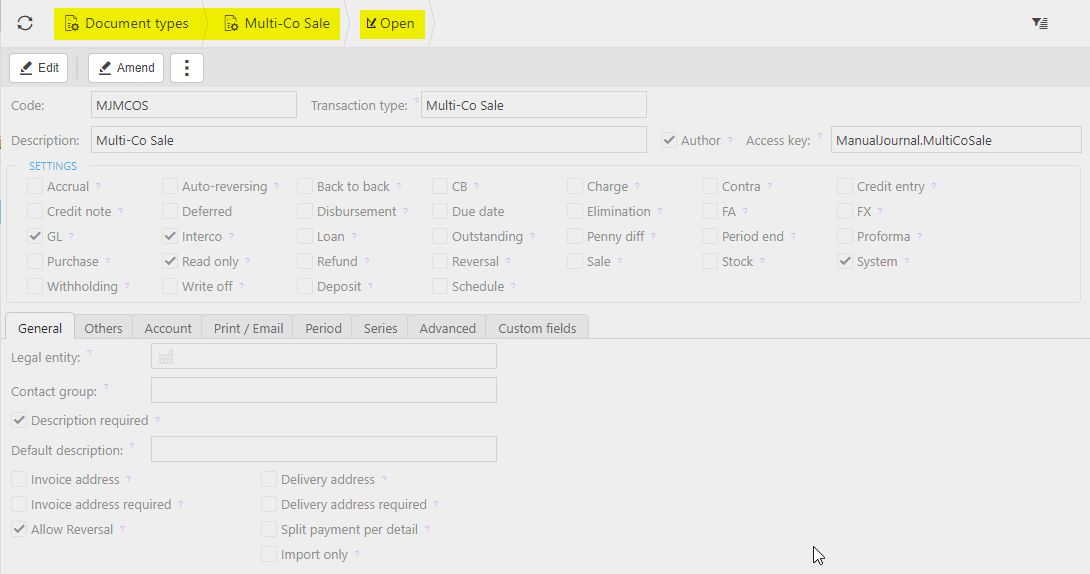
Relate Document Type via the Series tab ...
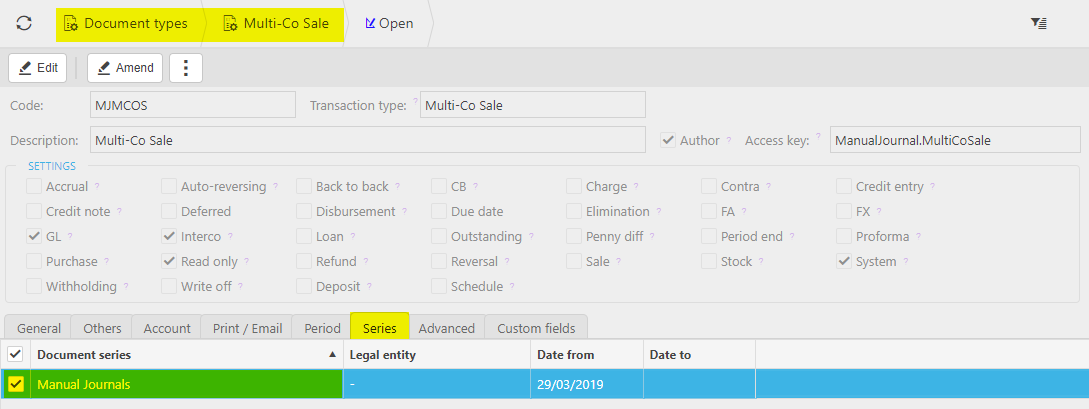
... to the Manual Journals in Document series.

Legal Entity - check the Interco Tab on each Legal Entity so that you relate each Interco Legal Entity to other Interco Legal Entity(s) and tick the checkbox for each type of movement (e.g. Purchase/sale).
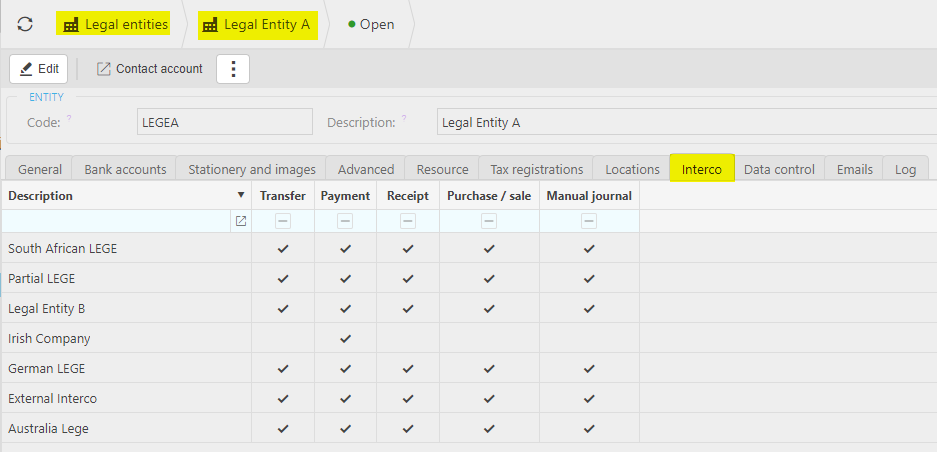
Automation - this sets up the Automation process for Multi-company Sales.
How to create Multi-company Cash Sales
Multi-company Cash Sales
Select Cash sales from one of the options as shown in Viewing Cash Sales section in Cash Sales.
Press New.

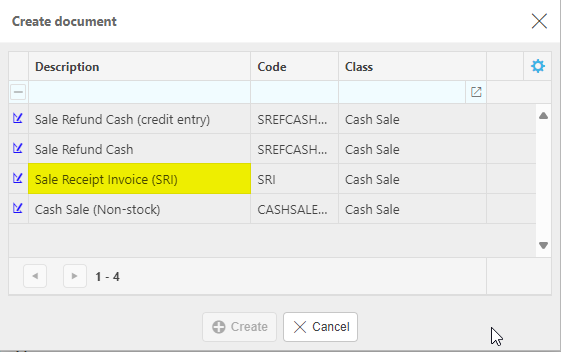
Select the Cash Sale Document type then press Create.
Enter the Bank account that will be the main Legal Entity receiving the payment.
Enter the Customer.
Tip
If you need to create a Customer, press
 then fill out the Customer details.
Fill in the remaining fields.

- Cash sale type: This will be auto filled with the document type selected in step 2.
- Date: This will be auto filled with the date current date however, this can be changed.
- Period: Enter the Financial period.
- Description: This will be used to identify the receipt in the finder.
- Bank ref: This will be used to identify the cash sale in your bank account.
- Their ref: This reference will be used to identify the sale.
Add multiple Lines and posting attributes.

Lines
Product: This is the product being sold.
Account: If a product is being used, this will be auto-completed and read only otherwise select an account from available list.
Description: Depending on the Force change setting in Chart of Accounts

If the Force change is not ticked, then the Description field will be auto-filled ...

... however it can be edited.

If the Force change is ticked, then the Description field will be blank and you will be forced to enter a description.

Unit: This is the unit to measure the product.
Qty: This is the quantity of the product you have sold.
Unit price: This it the price per unit of the product.
Posting attributes
The posting attributes are derived from the chart of account rules related to the account code. Common attributes include cost centre and department but can also include custom attributes.
Note
Deferred Income
This item will appear depending on the settings for the Invoice type selected - see Deferred income guide for further information.
Also, this item may or may not be ticked, depending on the Customer's Ignore deferred income setting - see the Defaults section on the Customer tab in the Customers guide for further information.
InterCo: Enter other Legal Entities that are being included in this sale. If this field is left blank, then it is assumed that the Legal Entity is the same as the main one entered initially.

When you are happy with the details, press Submit.
Clicking the
 links button on this new Cash Sale (refresh list to view if not showing), will list the Manual Journals automatically created.
Note
The linked manual journals can be automatically submitted, if the Submit box on the Criteria tab of the automation is ticked, and when it's unticked, the journals would need to be submitted manually.

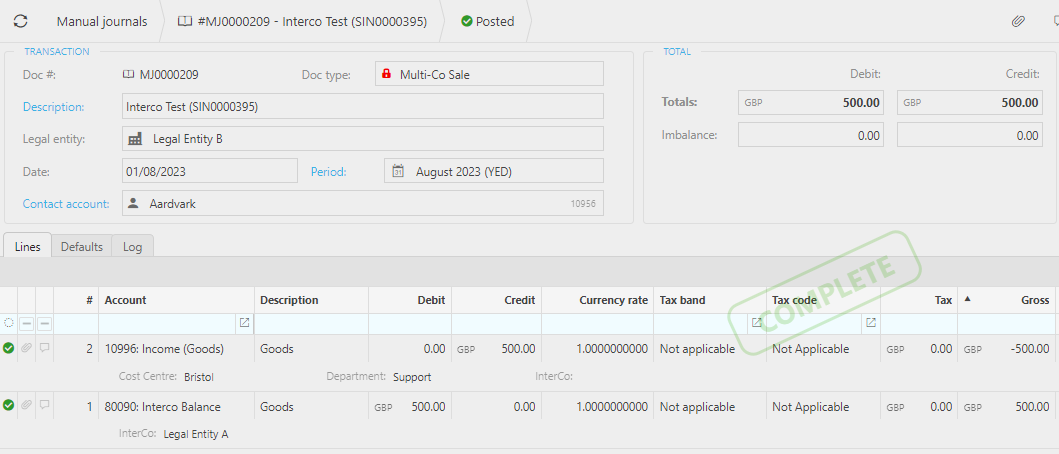
Selecting these documents will open the Manual journals.
One journal will be for Legal Entity A showing a Debit of £500 from Legal Entity B ...
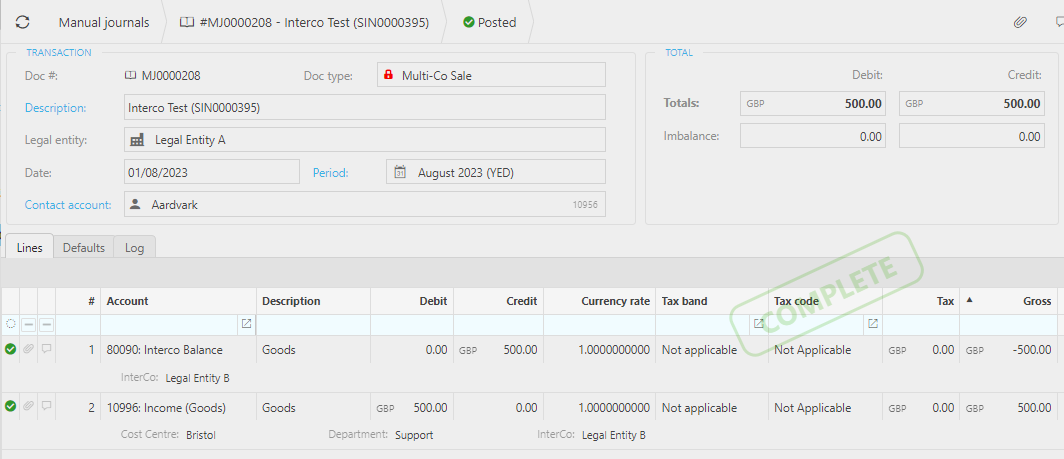
... and the other journal will be for Legal Entity B showing a Debit of £500 to Legal Entity A
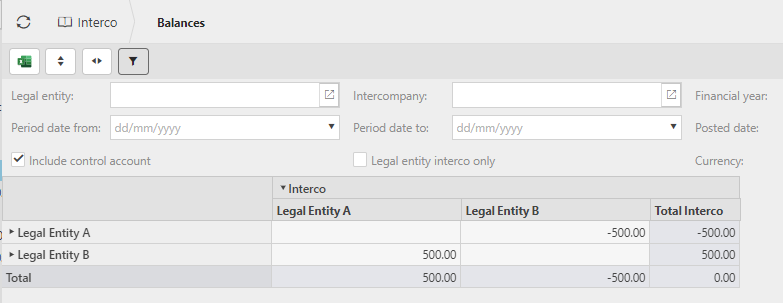
The Interco balance will also be updated.
How to create Multi-company Sales Invoice
Multi-company Sales Invoices
Select Sales Invoices from one of the options as shown in Viewing a Sales Invoice section in Sale Invoices.
Press New.
Select the Document type.
Choose the Legal Entity that will be the main Legal Entity.
Enter a Customer.
Tip
If you need to create a Customer press
 then fill out the Customer details.
Fill in the remaining fields.

Invoice date: This will be auto filled with the date current date however; this can be changed.
Due date: Fill this out with the date that you would like the invoice to be due.
Description: This will be used to identify the sales invoice in the invoice finder.
Invoice type: This will be auto filled with the Document type selected in step 2.
Period: This is the financial Period that the invoice will be logged in.
Their ref: the reference for the invoice.
Responsible: Selecting a User to be responsible will log the sales invoice under their name. This is useful for Authorisation Workflows.
Add multiple Lines and posting attributes.

Lines
Product: This is the Product being invoiced.
Account: If a Product is being used, this will be auto-completed and read only otherwise select an Account from the available list.
Description: Depending on the Force change setting in Chart of Accounts

If the Force change is not ticked, then the Description field will be auto-filled ...

... however; it can be edited.

- If the Force change is ticked, then the Description field will be blank and you will be forced to enter a description.

Project: You can link the invoice to a Project.
Unit: This is the Unit to measure the Product.
Qty: This is the quantity of the Product you are invoicing.
Unit price: This it the price per unit of the Product.
Posting attributes
The posting attributes are derived from the Chart of account rules related to the Account code. Common attributes include Cost centre and Department but can also include custom attributes.
Note
Deferred Income
This item will appear depending on the settings for the Invoice type selected - see Deferred income guide for further information.
Also, this item may or may not be ticked, depending on the Customer's Ignore deferred income setting - see the Defaults section on the Customer tab in the Customers guide for further information.
InterCo: Enter other Legal Entities that are being included in this sale. If this field is left blank, then it is assumed that the Legal Entity is the same as the main one entered initially.

When you are happy with the details, press Submit.
Clicking the
 links button on this new Sale Invoice (refresh list to view if not showing), will list the Manual Journals automatically created - see examples above in Cash Sale.
The Intercompany journal will also be updated - see example above in Cash Sale.
How to create Multi-company Cash Sales with External Company
Multi-company Cash Sales with External Company
There are some instances where a company has many Legal entities and haven't been able to migrate them all over to iplicit.
Any Legal entities that are still in a previous system are referred to as External companies.
Create a Cash Sale or Sale Invoice as shown above in Multi-company Cash Sale or Multi-company Sale Invoice.
In the Interco field on the Lines and posting attributes, enter External Interco.

This will only create one Manual journal, as a journal must have a Legal entity.

But it will be reflected in the Interco Journal.

Updated October 2024