Sale products
Sale products are created to be used within documents throughout the Sales features.
How to view Sale products
Viewing Sale products
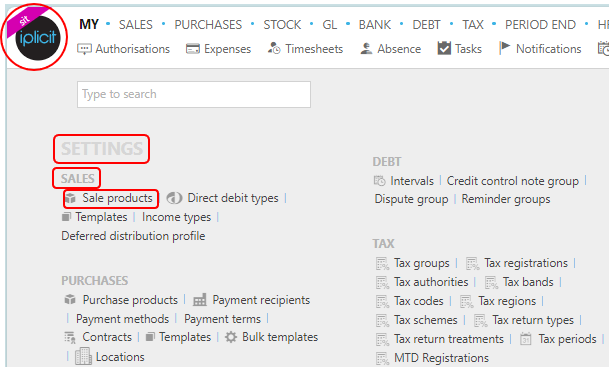
Select Sales / Sale products from the Settings section of the pulse menu -
Note
This is an example screenshot of the pulse menu.
Position of the menu items within pulse will vary according to available options and dependant on personal screen resolution.
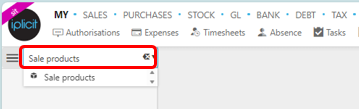
or enter Sale products in the Quick Launch Side Menu.
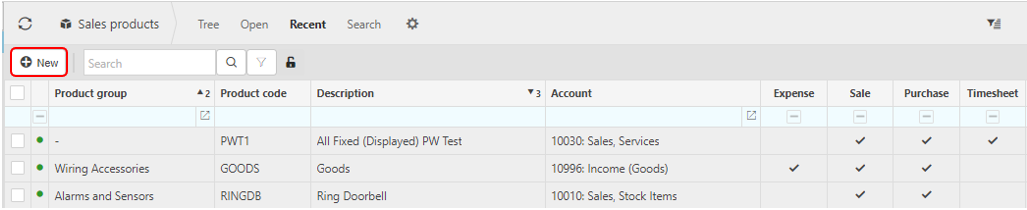
This will then show the Sale products on the system where normal customisation of Sets can be used.
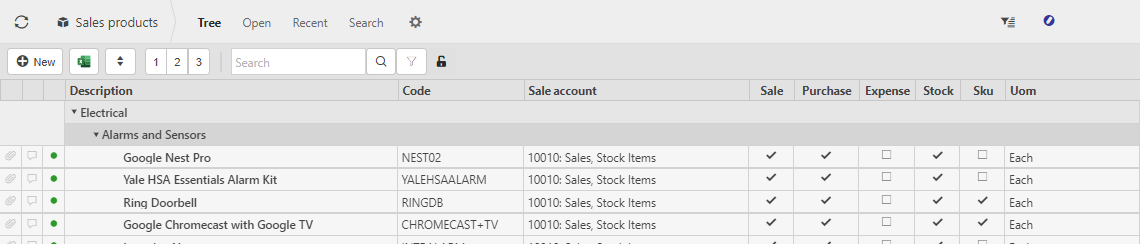
Description: This will describe the sale product.
Code: The unique code to identify the sale product.
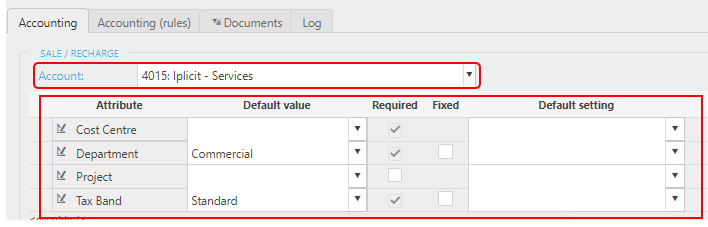
Sale Account: When the product is used it will be analysed under this Chart of account code on the P/L.
Product Group: A sale product can be put in a Product group. This will result in the sale product inheriting the defaults of the Product group such as availability for use in other features such as purchase, stock and timesheets.
Sale, Purchase, Expense, Stock, Timesheet etc: These boxes are ticked showing the other features that the Product can be used in.
Tip
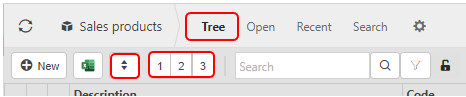
To modify the columns displayed, select
 on the top right of the page, then tick/untick the information you want to hide or display.
And Tree option will be available where you can toggle the rows to different levels.
How to create Sale products
Create a new Sales Product
Select Sale products from one of the options as shown above in Viewing Sale products.
Press New.
Enter the following fields as required, some will be mandatory.
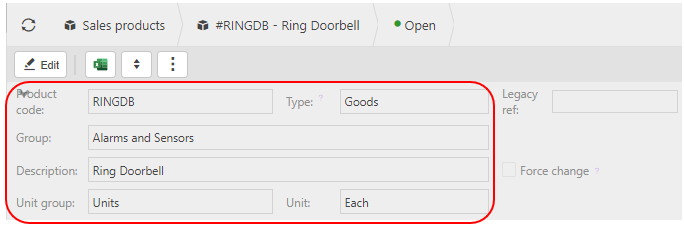
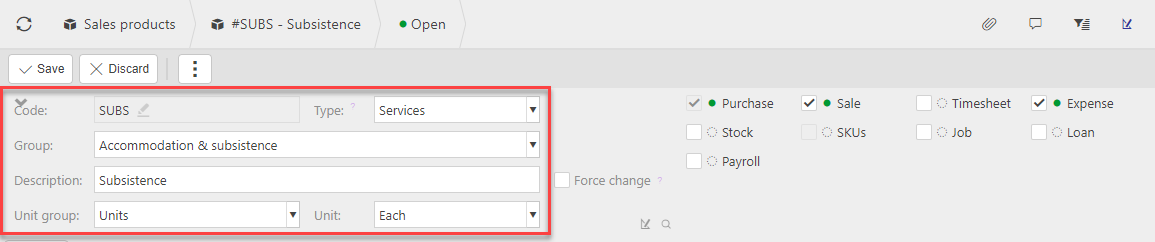
Product code: Enter a unique code.
Type: Select from the dropdown options.
Group: Select a Product Group from the dropdown options, which will result in some fields being auto filled with the group's defaults.
Description: Free text.
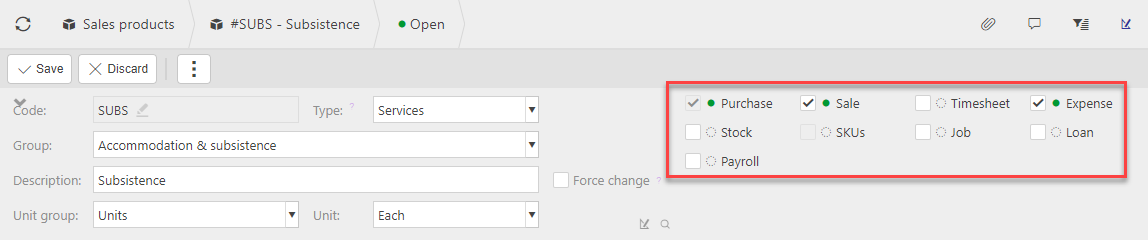
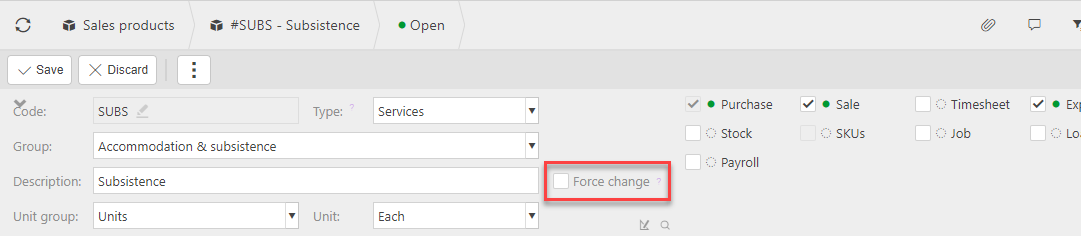
Force Change: Tick this if you would like Users to change the sale product's description upon using it.
Unit group: This is the Unit of measure group.
Unit: This is the Unit of measure. Choose a Unit group and the Unit both from the dropdown options.
If other features are to be available to on this product, then select them in the Tick boxes.
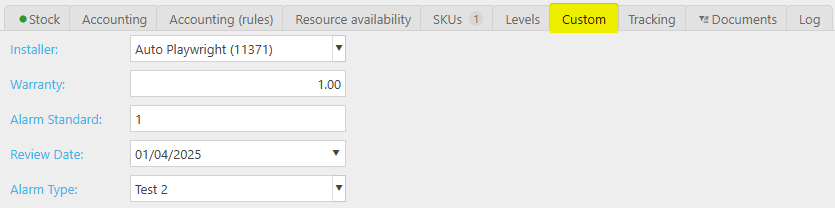
Depending on the feature boxes that have been selected, various tabs will be available.
The tabs

This tab will show if the Stock option is ticked in the main details
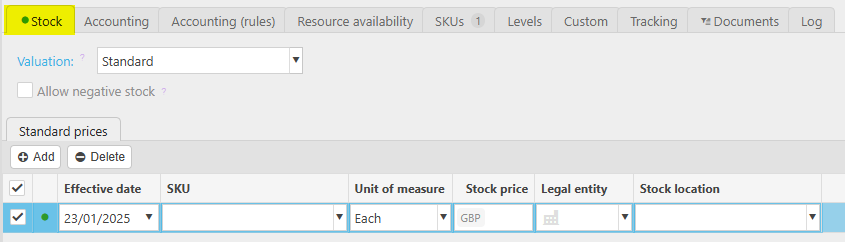


Once all Product details are entered, press Save.
- This Product will now be available for use.
How to add product availability
Add product availability
If you would like to change/amend a Sales product to allow the Product to be used in other features, double click the Product then press Edit.
You can now tick the features that you would like to add to the Products availability.
Press Save when finished.
How to change product information
Change product information
If you would like to change Sales product information, double click the Product then press Edit.
You can now make changes to the product information.
Press Save when finished.
How to force change to description
Force a user to change the description upon using a product
If you would like to force Users to change Sales product information upon using it, double click the Product then press Edit.
Tick the Force change tick box.
Press Save when finished.
How to Import/Export Sale Products
Import/Export Sale Products
Select Sale Products from one of the options as shown above in Viewing Sale products.
Select the
 icon and select Sales Product Import.
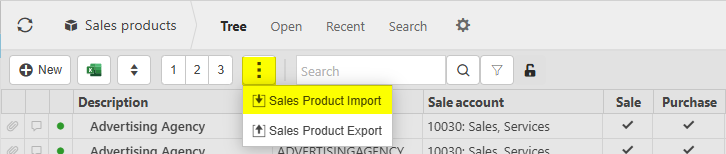
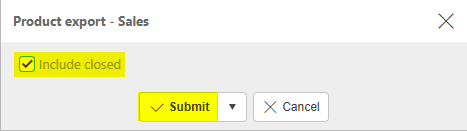
Enter the name of the Excel file, which is saved on an external source, and other options.
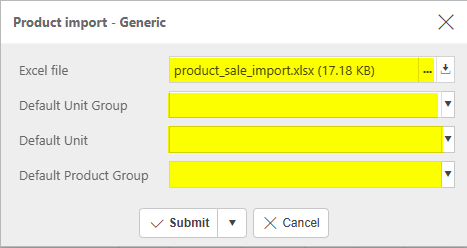
Tip
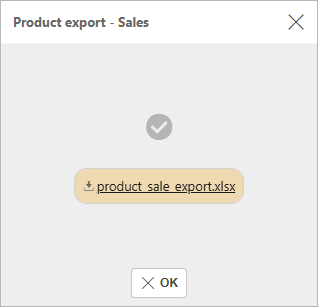
To create an Import file with the correct field names and formatting, Export a file first and save to your external source. Then use this file to add details ready to import.
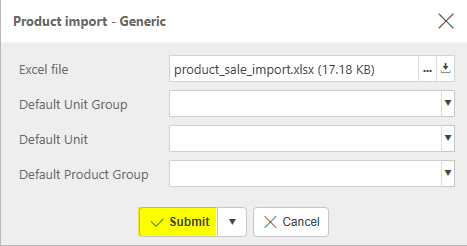
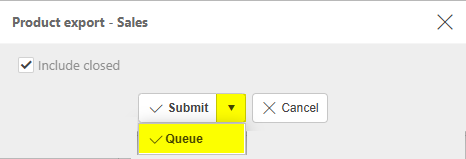
Select Submit.
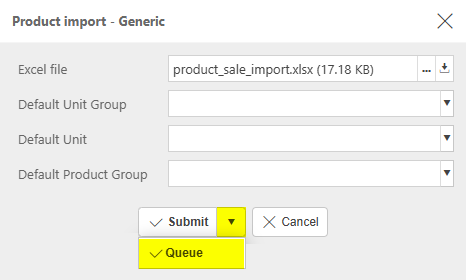
Selecting Queue from the dropdown option will queue the import process until other actions in iplicit are completed.
Warning
iplicit allows a maximum of 5,000 rows in a single Import.
If your Import is too large, an error message will tell you that the Import cannot be processed and will advise you to create smaller Import files.
If the latter is not possible, please contact Customer support.

Updated December 2025