Sales Dispatch
Sales Dispatches usually occur after a sales order. Once you have dispatched you can invoice the Customer.
The screenshot below shows a sample grid of dispatches, which includes some key information.
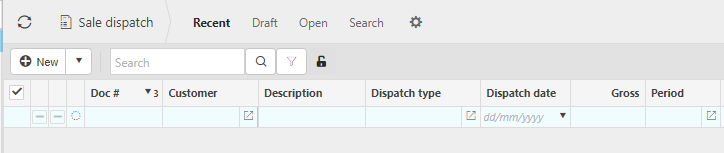
- Document: The document code.
- Customer: The customer receiving the dispatch note.
- Description: Of the dispatch note.
- Dispatch type: The Document type.
- Dispatch date: The date the dispatch was created.
- Gross: The amount of the product being dispatched.
- Period The dispatch period.
Tip
To modify the columns displayed, select
 on the top right of the page, then tick/untick the information you want to hide or display.
How to view a Sales Dispatch
Viewing a Sales Dispatch
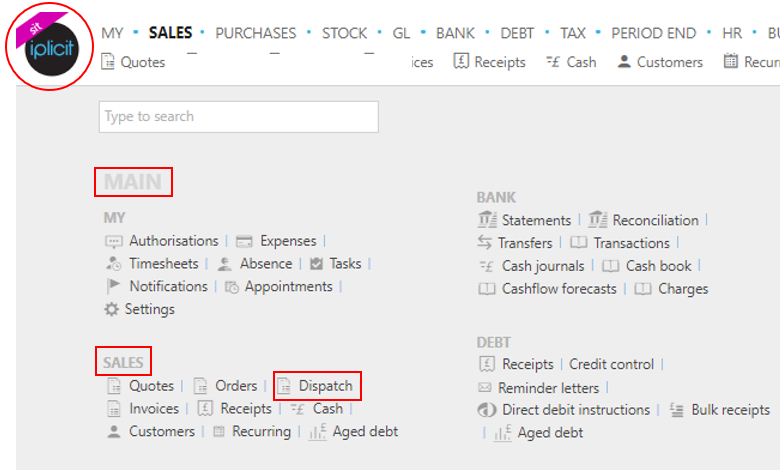
Either select Dispatch from the Sales section in the Main area of the pulse menu -
Note
This is an example screen shot of the pulse menu.
Position of the menu items within pulse will vary according to available options and dependant on personal screen resolution.
or from the Main Menu select Sales then Dispatch -

or enter Dispatch in the Quick Launch Side Menu.
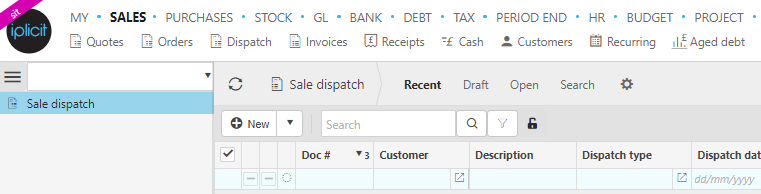
This will then show the Sales Dispatches on the system where normal customisation of Sets can be used. Also, depending on User roles, the My/All option will be showing.
How to create a Sales Dispatch
Create a new Sales Dispatch
Select Sale dispatch from one of the options as shown above in Viewing a Sales Dispatch.
Select either New or New (from template) - from the drop down menu.
Select the document required and select Create, or select the pre-existing template and then select Apply.
Enter data in the following as required -
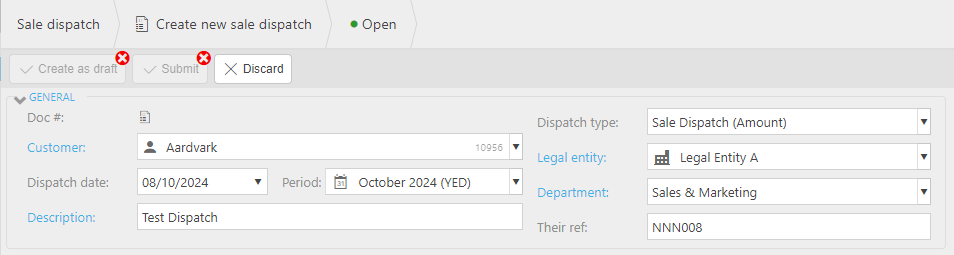
Customer: select from dropdown options.
Dispatch date: This will be auto filled but this can be changed.
Note
This date will default to the current date unless the Don't default current date option is ticked in Others tab within the Document type. In this case, when a user creates a new document this date is left blank.
Period: Enter period for the Dispatch.
Description: If Description required option has been ticked in the Document type, then this field will be mandatory. It will be automatically entered if a Default description was entered in the Document type.
Dispatch type: This will be auto filled with the document type selected in step 3.
Legal Entity: Select from dropdown options.
Note
When a Customer with multi tax authority configured, then the Customer Tax Authority field will show.

When converting to a Sales Invoice, the Tax authority is copied to the new document.
Department: Select a pre defined department from the dropdown list.
Their Ref: The unique reference given to identify the document. If Their ref required option has been ticked in the Document type, then this field will be mandatory.
Add Lines and posting attributes.

Lines
Product: This is the product being dispatched.
Account: If a product is being used, this will be auto-completed and read only otherwise select an account from available list
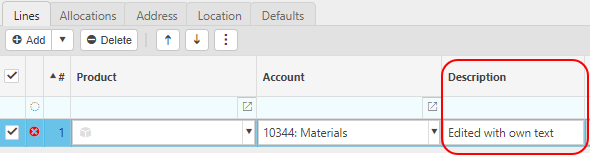
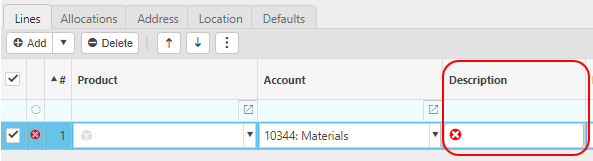
Description: Depending on the Force change setting in Chart of Accounts

If the Force change is not ticked, then the Description field will be auto-filled ...
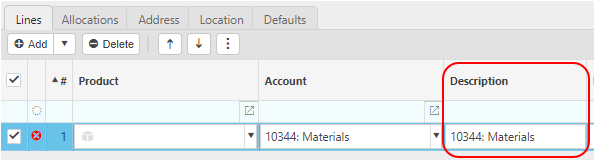
... however it can be edited.
If the Force change is ticked, then the Description field will be blank and you will be forced to enter a description.
Tax Band: The Tax band can be selected here.
Project: You can link the dispatch to a project.
Unit: This is the unit to measure the product.
Qty: This is the quantity of the product you are dispatching.
Unit price: This it the price per unit of the product.
Posting attributes
The posting attributes are derived from the Chart of account rules related to the Account code. Common attributes include Cost centre and Department but can also include custom attributes.
Note
Deferred Income
This item will appear depending on the settings for the Invoice type selected - see Deferred income guide for further information.
Also, this item may or may not be ticked, depending on the Customer's Ignore deferred income setting - see the Defaults section on the Customer tab in the Customers guide for further information.
Address

Defaults

Select either Submit once happy with details or Create as draft to be able to edit further before submitting.
Note
Returning to this document via the Edit option will notify other users viewing the same document that it is being edited.

Once the sales dispatch has been submitted it will be ready to be converted into a Sales invoice.
How to convert a Sales Dispatch into an Invoice
Convert a Sales Dispatch into an Invoice
Dispatches can be processed into sales invoices as per business process.
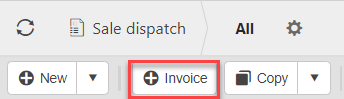
To do so, select the dispatch that you would like to invoice.
Press Invoice (If the invoice button is not available, it needs to be configured on the document type).
Press Submit.

Updated April 2025