Payment services
Payment processing services allow businesses to collect payments directly from customers' bank accounts. An example service is GoCardless payments, where the system can send out a Sales invoice with a link that allows the Customer receiving the invoice to click and pay via an instant bank payment.
Payments via open banking only - that is bank to bank payments.
Customers wanting to use the GoCardless payment service must become a Customer of GoCardless.
GoCardless only supports Sterling and Euro currency.
GoCardless maximum amount that can be collected is £25,000 - some banks may have lesser amounts.
The GoCardless link is only valid for 7 days. If a Customer selects the link after that time, then they will get a message saying that the link has expired.
GoCardless supports full payment only - Customers cannot make part payments.
There is no extra charge from iplicit for this Payment service.
How to view Payment Services
Viewing Payment Services
Select Bank / Payment services from the Settings section of the pulse menu -

Note
This is an example screen shot of the pulse menu.
Position of the menu items within pulse will vary according to available options and dependant on personal screen resolution.
or enter Payment services in the Quick Launch Side Menu.

This will then show the Payment services on the system where normal customisation of Sets can be used.

Tip
To modify the columns displayed, select  on the top right of the page, then tick/untick the information you want to hide or display.
Important
Prerequisites
Prior to creating Payment services there are various settings on other parts of the system, if not already done - Payment service prerequisites.
How to create a Payment Service
Creating a Payment Services
Select Payment services from one of the options as shown above in Viewing a Payment services.
Press New.

Fill in the appropriate data in the required fields.
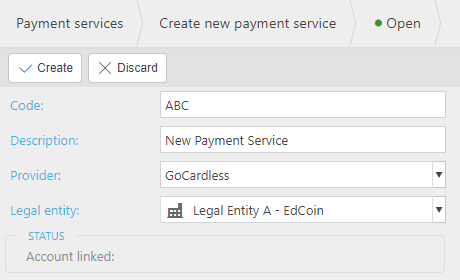
Code: Enter a unique code.
Description: Enter a description.
Provider: Select the payment provider from the dropdown list.
Legal entity: Select the Legal entity from the dropdown list.
Mandate communication: Select the communication to send to the Customer when sending a mandate.
Automated Posting

Enable automated posting: Tick this option to automatically create and post receipts when the end customer makes their payment.
- Payment service account: It's recommended to set up a new bank account to handle receipts, charges and where payouts are transferred from to improve accuracy on reconciliations.
Note
When a user is creating their Bank account to be used as the Payment Service Account to post the receipts to, they will need to ensure that the correct GoCardless payment method is selected when creating the bank account, otherwise the payment method on the receipt is not populated when they're automatically created.
The Bank account should also be in the same base currency as the Legal entity that the GoCardless integration is for; otherwise, it will not be displayed as a selection option in the Payment Service settings.
Select Create.
Until the new Payment service is securely linked to an Account, the Status will show the following.
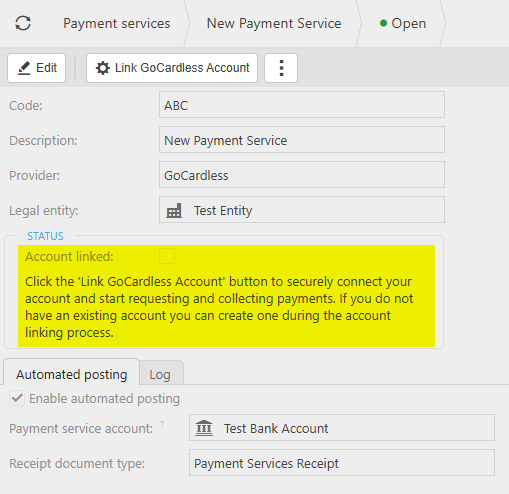
How to link a Payment Service to your Account
Linking Payment Service
Once a Payment service has been created, the payment service option entered in the Provider field needs to be linked to your external payment account e.g. GoCardless Account.
Select Payment services from one of the options as shown above in Viewing a Payment services.
Select the Payment services to "Link".

Select the new link account button that now displays in the top menu.

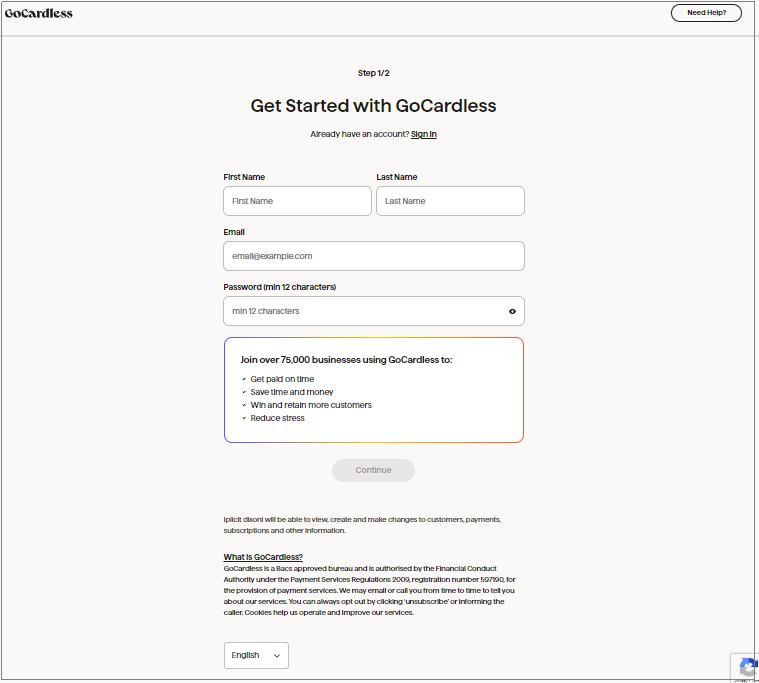
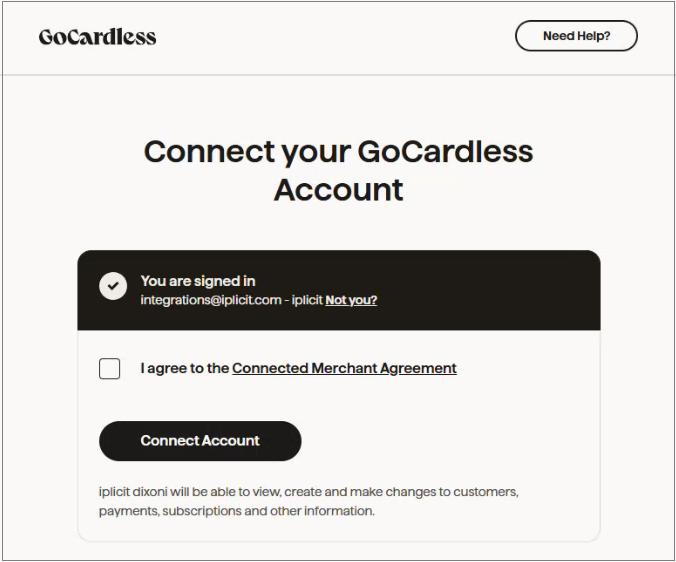
Taking GoCardless as an example, you will now be presented with the GoCardless screens to log into your account.
Note
If you already have an account, you can just sign in.
The first screen will ask you to set up an account.
Tick to agree to terms and conditions, then select
 .
.
Account/s will then connect.
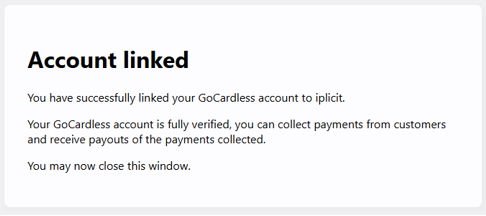
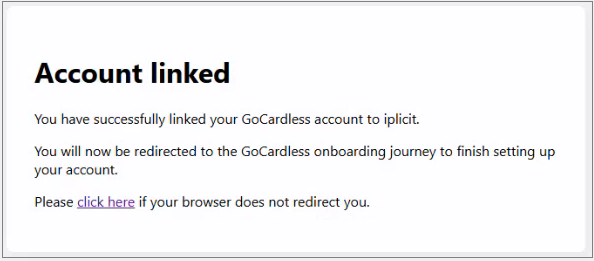
Once the process completes, you will get a confirmation message.
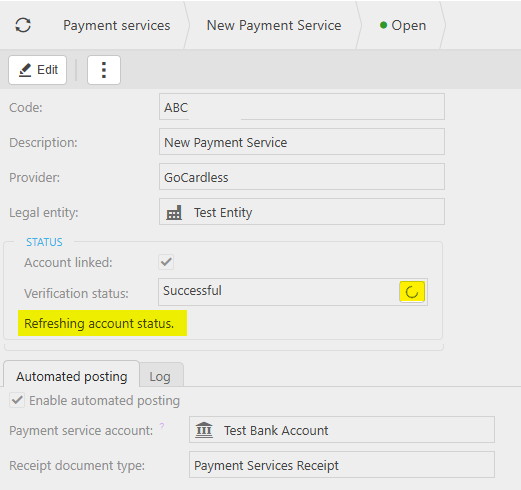
Return to the Payment services menu, and if the 'linking' was successful then your payment service will now have a status of Account linked and Verification status showing as Successful.
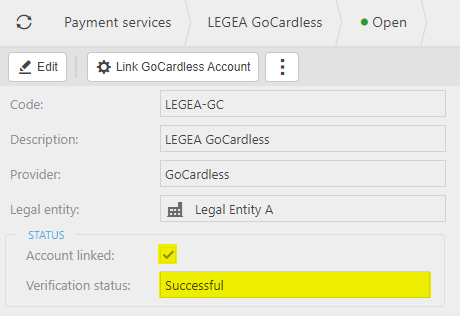
The Payment service cannot be used until the Verification status is showing as successful - the Refresh button can be used to re-check the status and will show the message as Refreshing account status. The system will automatically refresh the Payment services regularly.
How to set up GoCardless Direct Debits
Creating GoCardless Direct Debits
A Direct Debit Mandate instruction is an authorisation from your Customer to collect future payments.
The details of each authorisation are standardised:
All future payments are authorised so you can collect any amount at any time from your customer.
Your Customer must be notified of each payment before it is collected.
All payments are covered by the Direct Debit Guarantee which protects Customers from payments taken in error.
Note
Check the Payment service prerequisites - See above.
Check the Mandate communication has been entered on the Payment service.
Check the User roles for Payment Service Mandate: Admin and Payment Service Mandate: Core have been setup correctly.
Check that Contact accounts have Customer ticked.
Select Customers from one of the options as shown in the User Guide.
Select the Customer on which the mandate is to be setup.
Select the Payment Service Mandates tab.

Select the
 icon.
icon.
Enter data in the Request mandate screen.
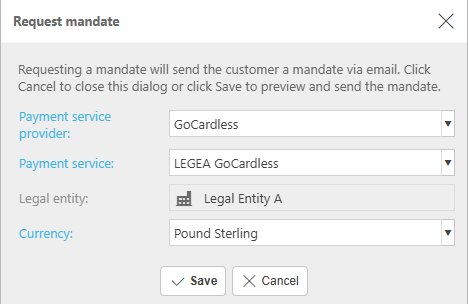
Payment service provider: Select the Payment Service Provider from the dropdown list.
Payment service: From the dropdown list, select a Payment service that has already been linked to GoCardless. Only Payment services that have been linked will show in the list. e.g.

Legal entity: Automatically populated with Legal entity that is linked to the Payment service.
Currency: Select Currency from dropdown list - Only available currencies will show. If you already have a mandate with a certain currency for that Payment Service for that Customer, you will not be able to select that currency again, unless the mandate is in an Inactive state.
Select Save. This will then show a preview of the communications that was selected in the Payment service. e.g.
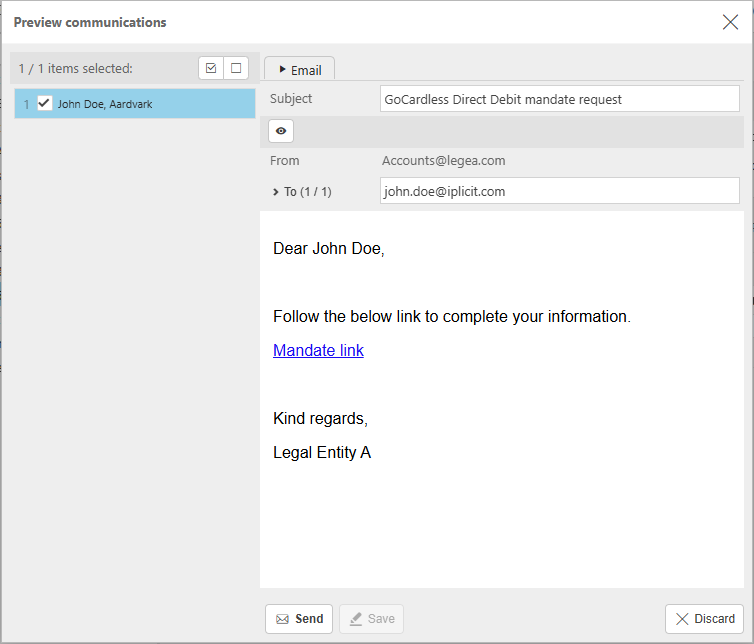
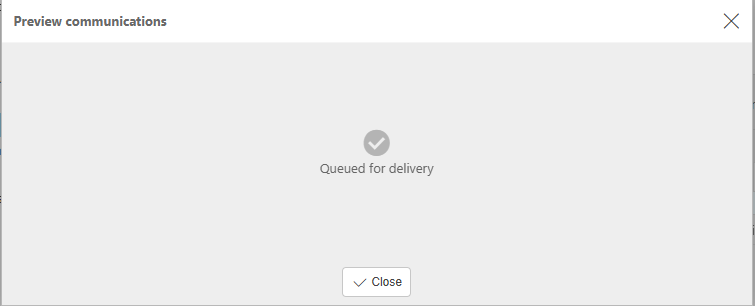
Select Send. A message saying Queued for delivery will show.
The Payment Service Mandates tab on the Customer screen will now show a Pending mandate.

This will also show in the Communication log.

Selecting and opening the Communication log will display the email that the Customer will receive to complete the Mandate.
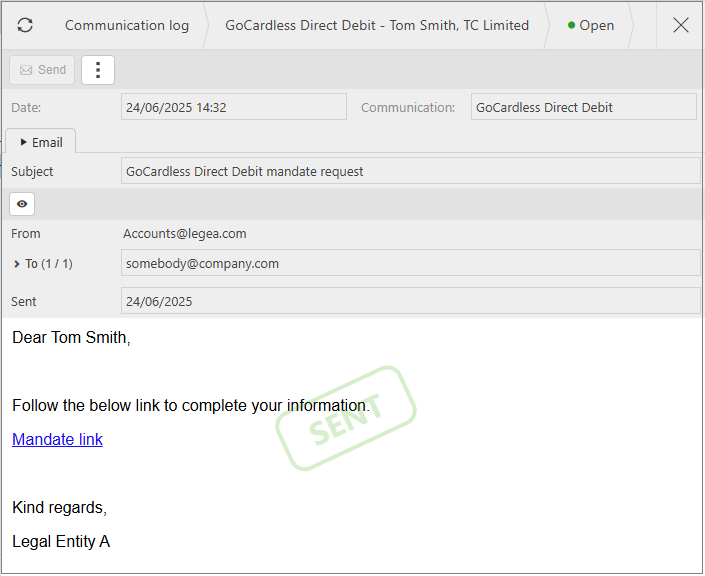
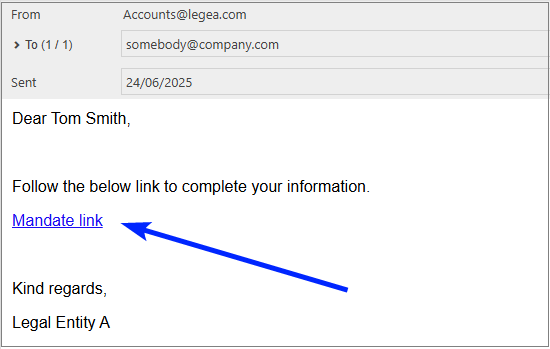
The Customer must now select the Mandate link option that appears within their email.
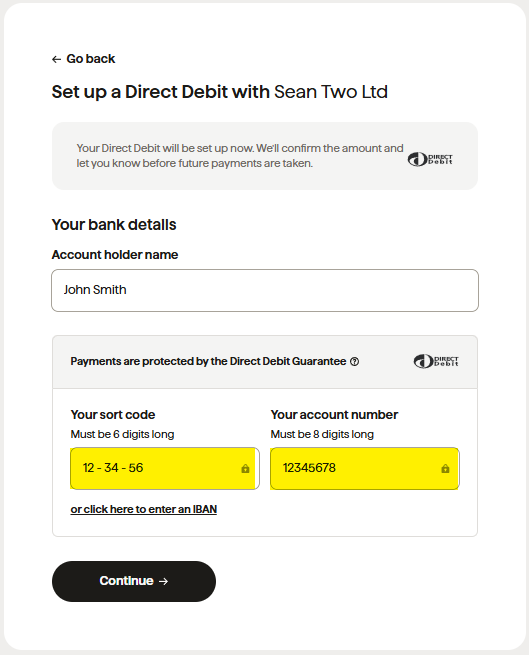
This will take the Customer to the GoCardless link where their information can be added.

Select Continue.
Enter Bank Sort-code and Account number - If it is a European account, it will ask for an IBAN number.
Next screen will ask to confirm details and to authorise the Direct Debit (tick box).
Then select
 to finish the process.
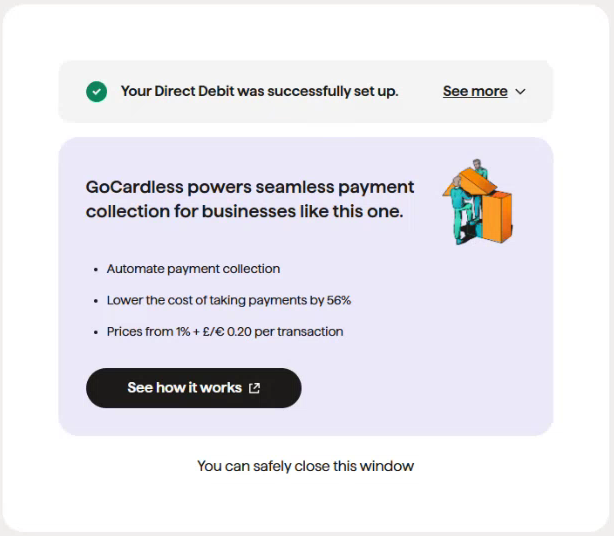
Once completed a message will show that the Direct Debit was setup successfully.
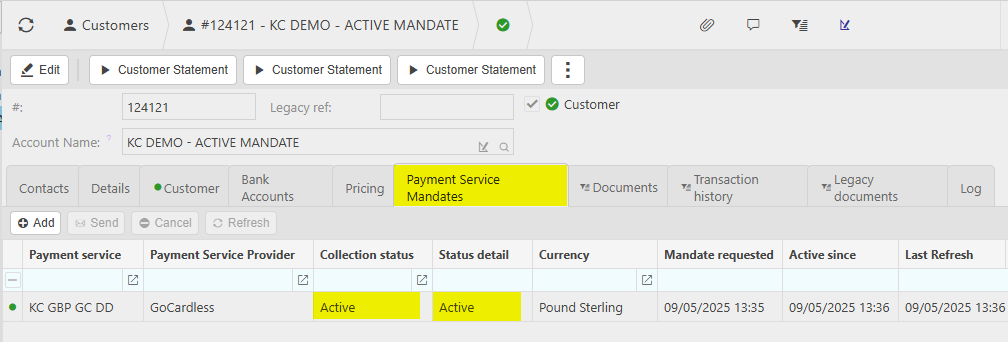
Once the GoCardless process is complete, the Payment Service Mandates tab on the Customer screen will now show both Collection status and Status detail as Active - The iplicit session my need to be refreshed to show the updates.
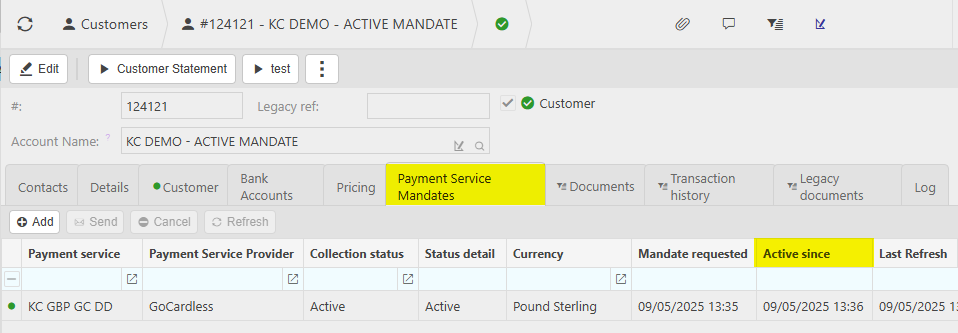
And once the Mandate is active, the Active since date will now be populated.
Note
Euro mandate
The Status detail for a Euro mandate will stay in a state of Pendingsubmission until a GoCardless direct debit payment is created This is due to the statuses working differently for Euro mandates than GBP mandates.
Note
Various banners will now show when creating Invoices.
With an Active mandate and a linked Payment service.

The Date within the banner will update if Due Date is changed within the Invoice.
If the Payment service is not linked.

If there is no Active Direct Debit Mandate.

If there are multiple warnings on the Invoice.

If the gross amount is under £1 or over £5,000.

If the gross amount is under €1 or over €5,000.

How to cancel Direct Debit Mandates
Cancelling Direct Debit Mandates
Select Customers from one of the options as shown in the User Guide.
Select the Mandate to cancel.
Select the
 option.
This will then show a message to confirm the cancelation.

This will now show as Inactive within the GoCardless system.
The Payment Service Mandates tab on the Customer screen will now show the Collection status as Inactive and the Status detail as Cancelled - The iplicit session my need to be refreshed to show the updates.

The Active since date will also be removed.
Note
This Cancellation method can also be used on a Mandate that is in Pending status i.e. before the Customer has setup the Mandate via the invite on the email communication.
How to resend Direct Debit Mandate invite
Resending Direct Debit Mandate invite
If a Customer does not receive the invitation email or mislays the original email, the invite can be resent.
Select Customers from one of the options as shown in the User Guide.
Select the Mandate to resend.
Select the
 option.
This will then show a preview of the communications that was selected in the Payment service. e.g.

Select Send. A message saying Queued for delivery will show.

This will also show in the Communication log with a Status showing Sent copy.

How to Import Direct Debit Mandates from GoCardless
Importing Direct Debit Mandates
Importing mandates refers to mandates that have been setup in GoCardless (i.e. have not been created via iplicit) and now need to be imported into iplicit to start taking payments from them.
Note
To be able to run these processes the User must have the appropriate User role - Payment Service Mandate: Admin.
There are two processes -
Matching the mandate to a customer that exists in iplicit.
Unmatching the mandate so that it is not matched to that customer in iplicit anymore. Without the unmatching, you would need to cancel the mandate, which would not be ideal.
Select Payment services from one of the options as shown above in Viewing a Payment services.
Select the Payment services to match mandates.
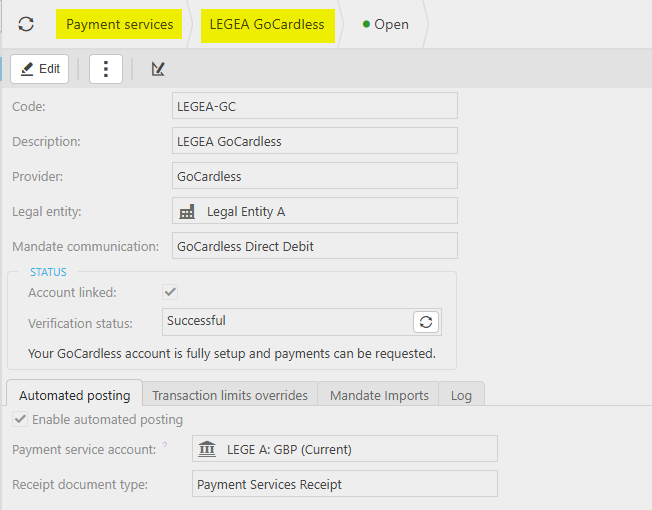
Select the Mandate Imports tab. Initially, this table will be empty.

Select Import Mandates to bring through mandates from GoCardless that are available for matching - they have not yet been imported into iplicit.

Select Match option on the mandate to import - this will show a message that explains what is able to be done in this process and options that are available.
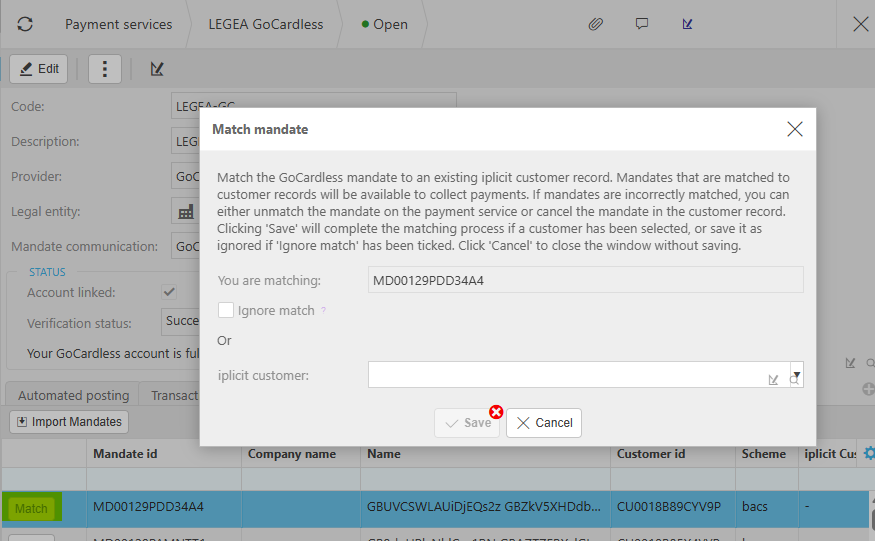
Option 1 - Ignore match: This will stop the mandate from being matched to an iplicit Customer.
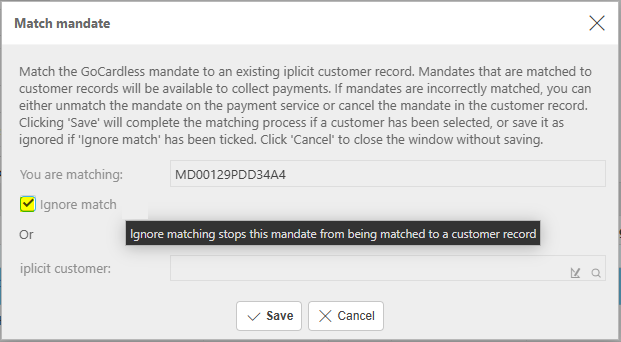
Ignore matching column will show as True.

Option 2 - iplicit customer: Enter an iplicit Customer to match this mandate to.
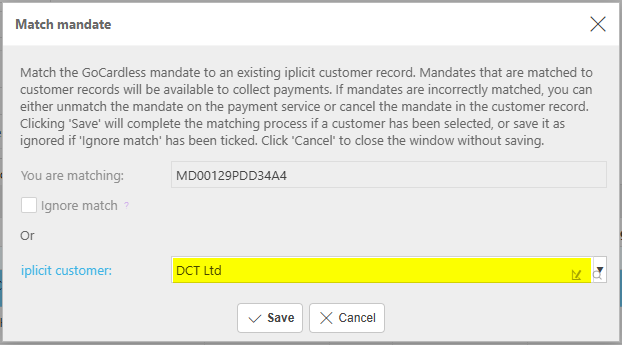
Select Save to import the mandate.
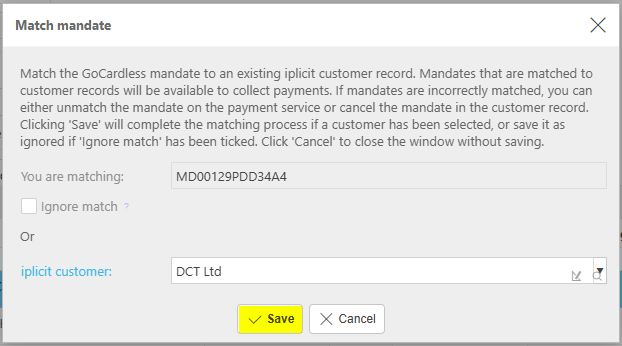
The Customer will show in iplicit Customer column and Ignore matching column will show as False.

The Mandate will now show under the Payment Service Mandates on the Customer record.

Warning
The process of a Vanilla reset or Copying an environment, will delete all the mandates.
Any Mandate Imports that have been created via the Import function will not be able to be imported again unless the user -
Unmatches those mandates first.
or
Deletes the iplicit specific meta data on the mandate in their GoCardless account.
Updated January 2026


