Suppliers
A supplier is a Contact account that can be used in a number of purchase Document types throughout the system.
See Contact accounts for more information on how to manage contacts.
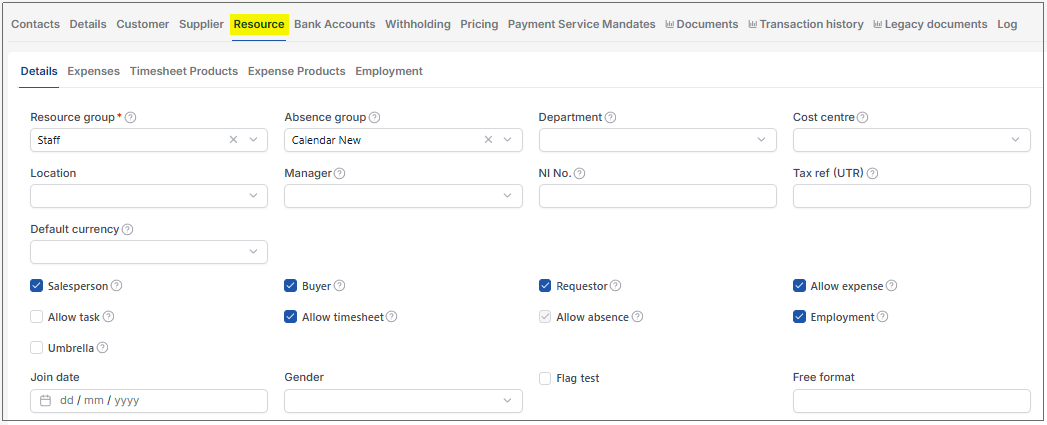
If needed, a supplier can be a resource as well. This is used in special circumstances e.g. if you have contractors submitting timesheets through the system and you wish to create self-billing invoices for them. This scenario would require them to be a resource and to have access to timesheets in the system as well as being a supplier to invoice.
Note
To view the legacy version, please select Legacy User Guide.
How to view Suppliers
View Suppliers
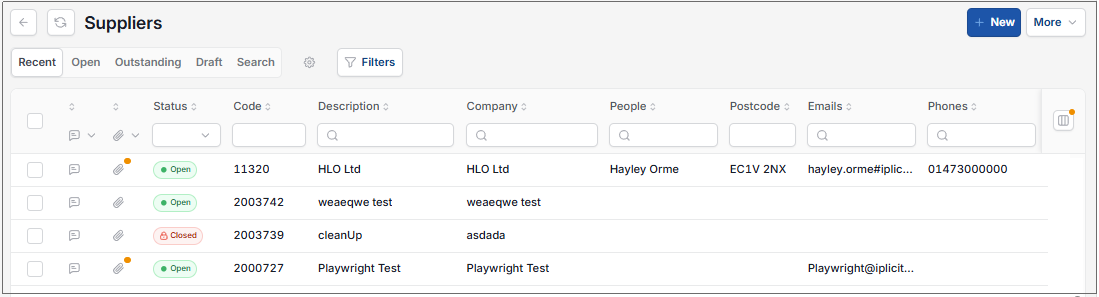
As per Generic Navigation options, either from left-hand navigation panel, select Suppliers from the Purchases folder or enter Suppliers in the Search option.
This will then show the Suppliers on the system where normal customisation of Sets can be used.
Tip
To modify the columns displayed, select  option on the right of the column display, then tick/untick the information you want to hide or display.
Note
If Enforce data access control is set on the Contact group, you will need the correct Data Access Control access on the Legal entity to see the correct records.
How to create a new Supplier
Create a new Supplier
Select Suppliers from one of the options as shown above in View Suppliers.
Select New.
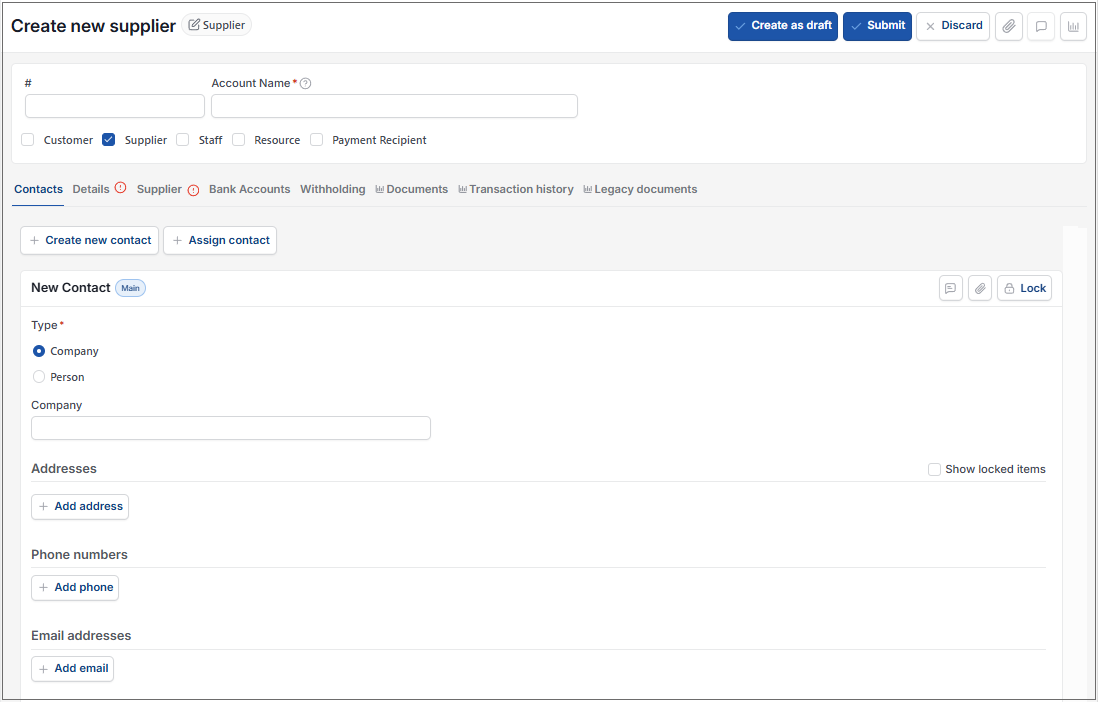
Fill in the required fields.
Required field explained
Account Name: Enter the account name to identify the contact account.
Tick boxes: Tick the type of contact account/s that you would like the supplier to be.

Depending on the type of accounts selected and the User roles, will depend on the Tabs that will be displayed.
The Tabs
- Contacts
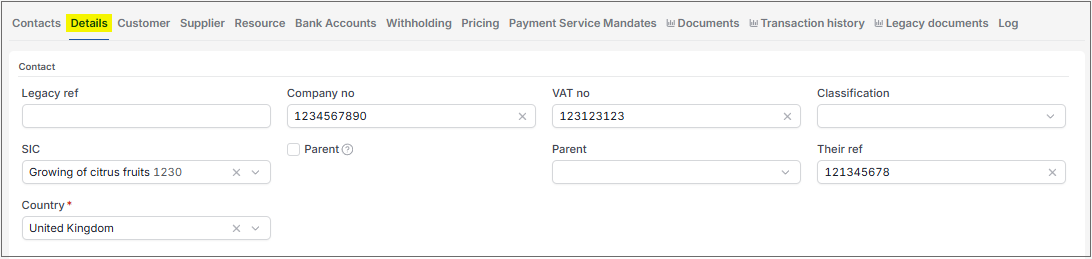
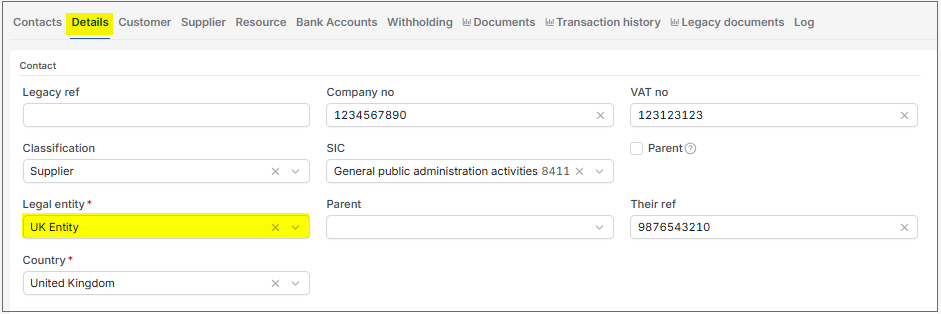
- Details
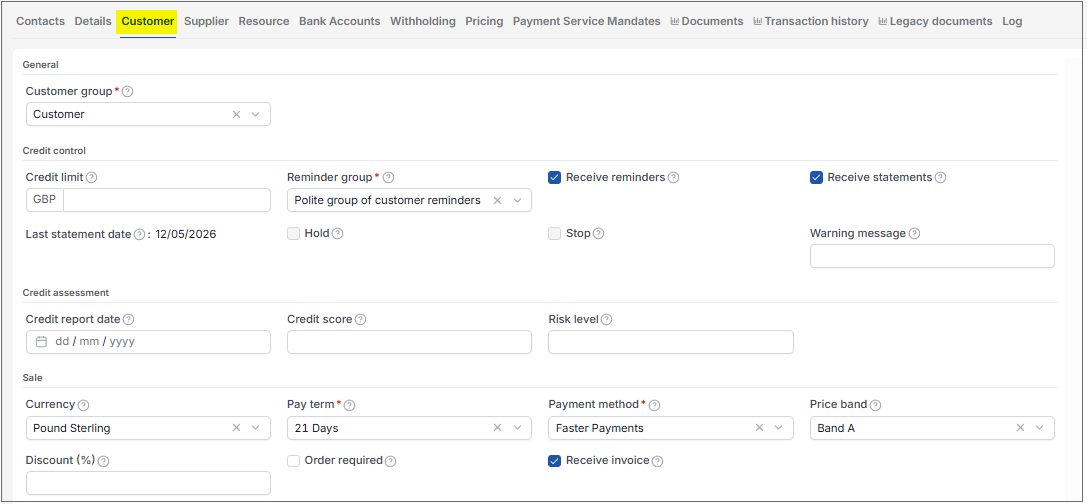
- Customer
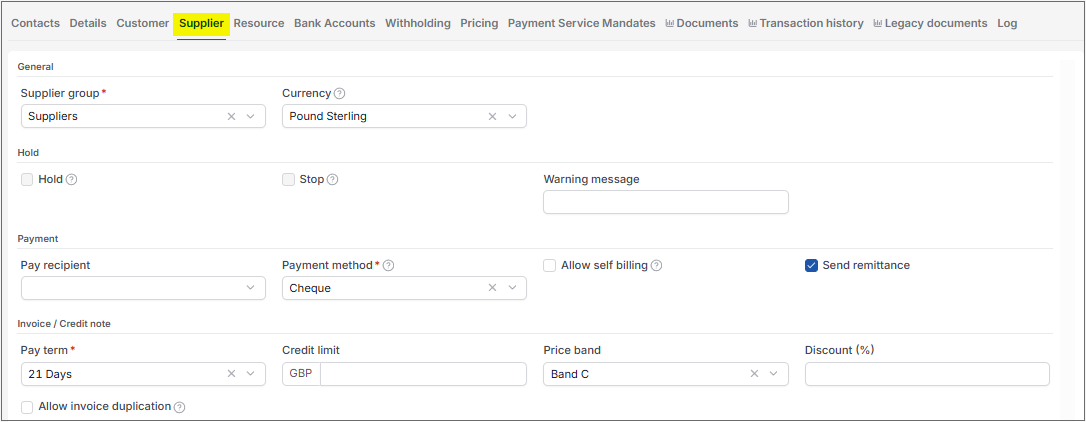
- Supplier
- Resource
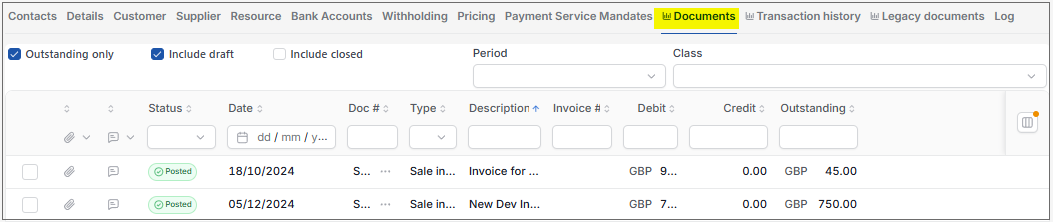
- Documents
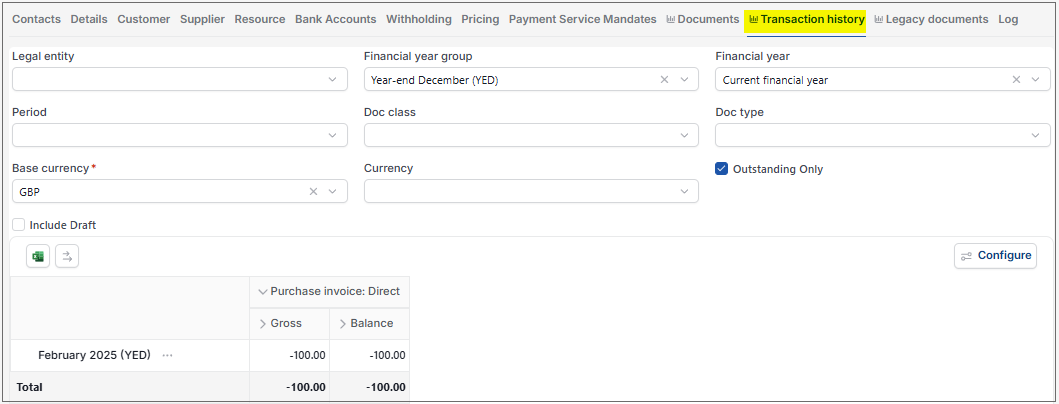
- Transaction history
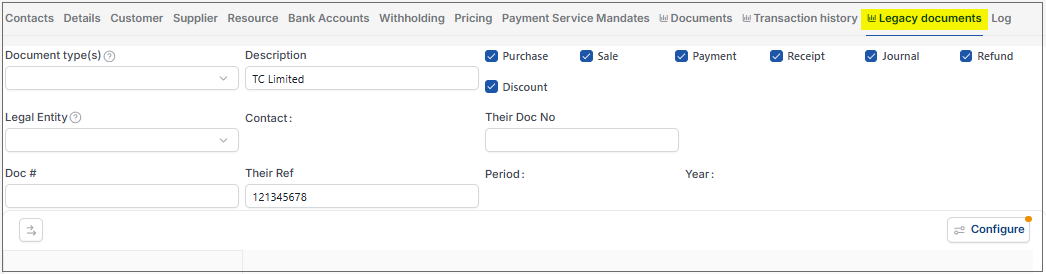
- Legacy documents
- Bank Accounts
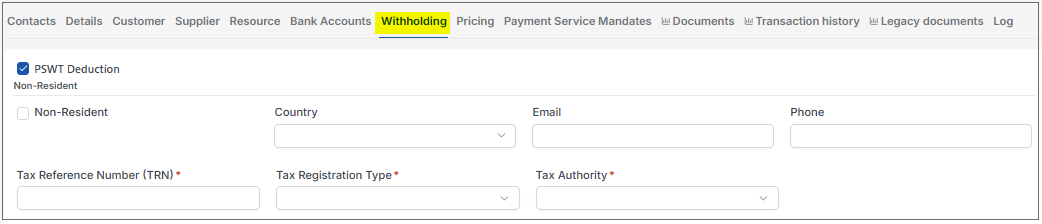
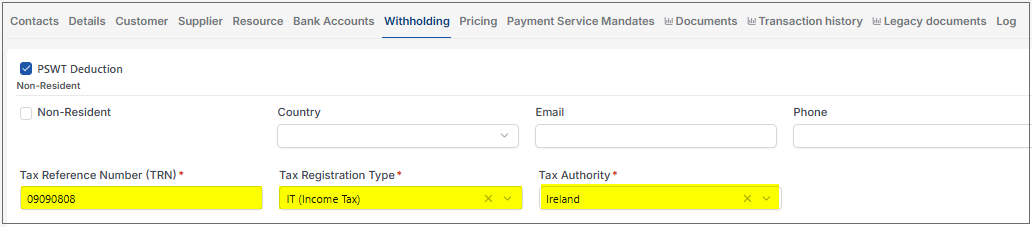
- Withholding
This section will present the contacts that you have listed for the supplier. Select Edit then Add to list more contacts under the supplier.
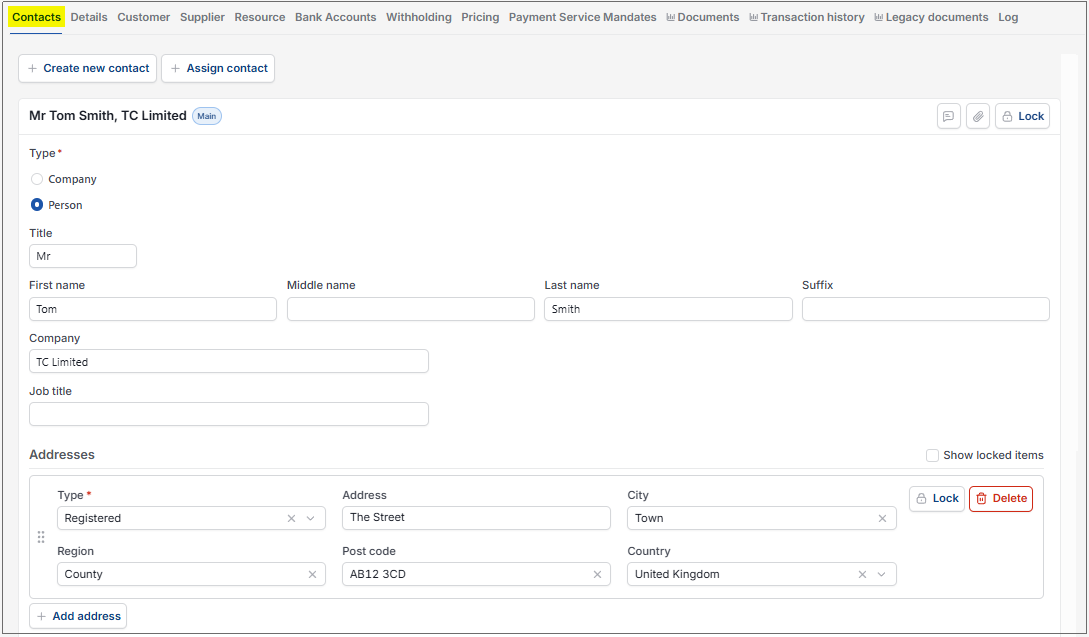
You can also Assign or Unassign a contact to be the supplier.
Select either Submit once happy with details or Create as draft to be able to edit further before submitting.
Note
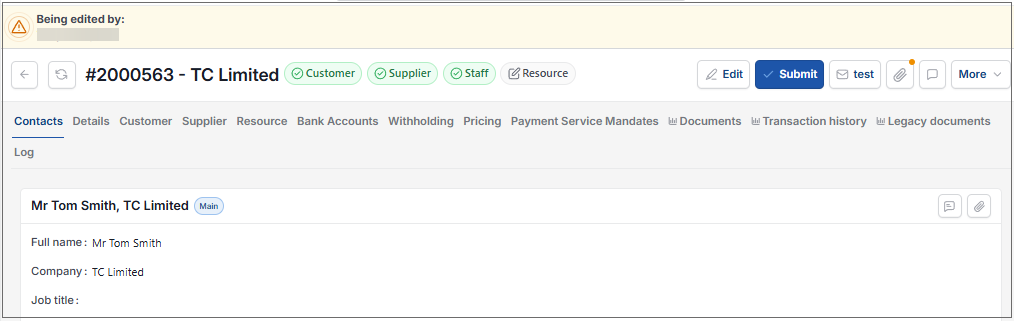
Returning to this document via the Edit option will notify other users viewing the same document that it is being edited.















How to submit a draft Supplier directly for finder menu
Submit draft Suppliers
This allows Users to Submit draft Supplier records directly from the finder view list instead of having to open each record individually to submit it.
The feature supports selecting multiple draft Suppliers.
Select Suppliers from one of the options as shown above in View Suppliers.
Select the draft Supplier to Submit directly.
Select Submit on the Action Bar.
How to amend Suppliers
Amend supplier's information
To amend a pre-existing supplier's information, select a supplier then select Amend for the
 option.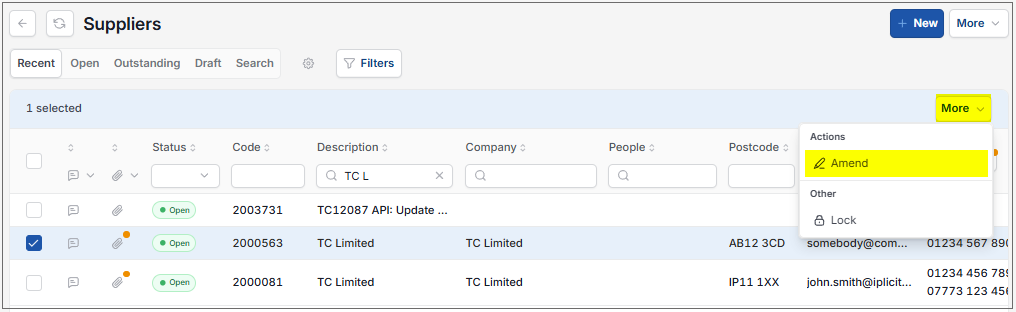
Make the required changes to the selection criteria then select Apply.
How to merge Suppliers
Merging suppliers
Merging Suppliers will transfer data from one Supplier to another Supplier and then lock the original supplier. Situations where this can be used is where a duplicate supplier has been created by mistake. So, instead of re-entering everything again, they can just merge from the old supplier to the new one.
Select Suppliers from one of the options as shown above in View Suppliers.
Identify the 'From' Supplier that is to be merged and the 'To' Supplier that it will merge into.
e.g.
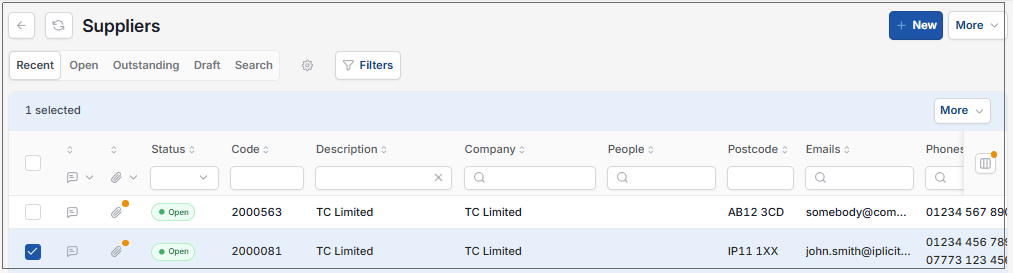
Select and open the 'From' Supplier that is to be merged.
From the
option, select the Merge supplier option.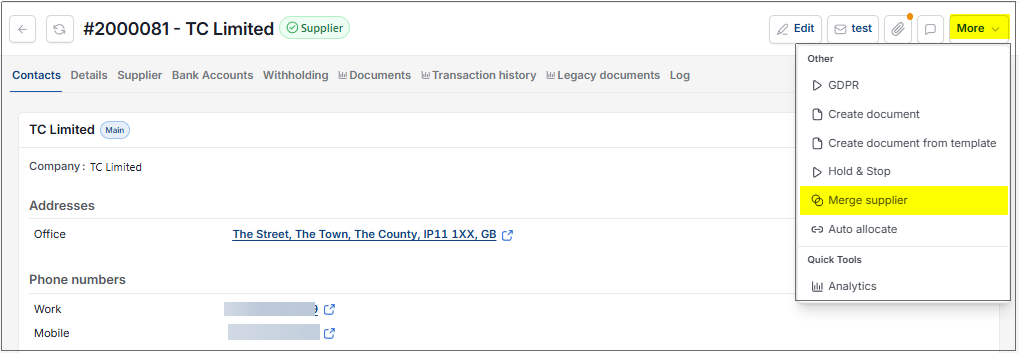
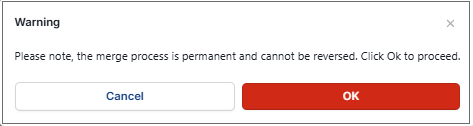
A message will show a warning that the merge process is permanent.
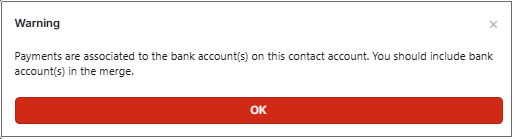
If payments have been made via this Supplier, then Bank accounts should be included in the merge. If this is the case, a message warns the user that bank account(s) will be included in the merge.
Note
If the Supplier is also linked to a Customer ...

... then the
option will also have the Merge customer option.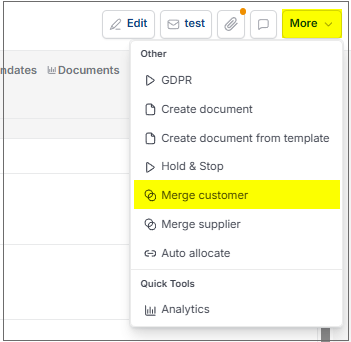
Note
This Merge supplier option will not be available for Suppliers that are Interco, a Legal entity, a parent or have a parent contact account.
Enter the 'To' Supplier to merge to.
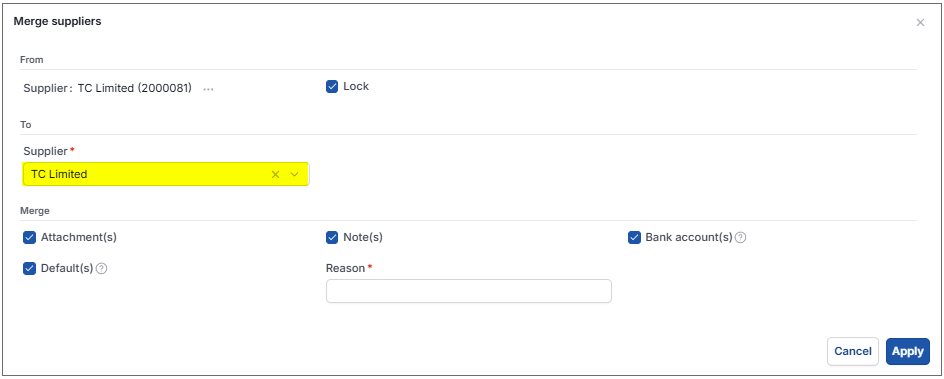
- Lock: This option will be ticked as default so that the 'From' Supplier will be locked and not available for use in the future. If, for some reason, this Supplier will still be required, then untick this option.
Merge options:
Attachments: Tick to copy any Attachments from the 'From' supplier to the 'To' supplier.
'To' supplier will show all Attachments once merged.
Warning
Deleting an Attachment from the 'To' supplier that has been merged from the 'From' supplier, will also delete the Attachment from the 'From' supplier.
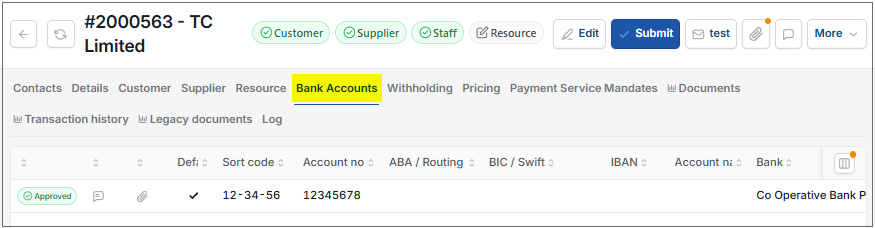
Bank account(s): This option will be ticked (or should be) when payments have been made to any of the bank account(s) on the 'From' supplier.
The 'To' supplier will show all Bank accounts once merged.
Note(s): Tick to copy Notes from the 'From' supplier to the 'To' supplier.
'To' supplier will show all Notes once merged.
Warning
Deleting a Note from the 'To' supplier that has been merged from the 'From' supplier, will also delete the Note from the 'From' supplier.
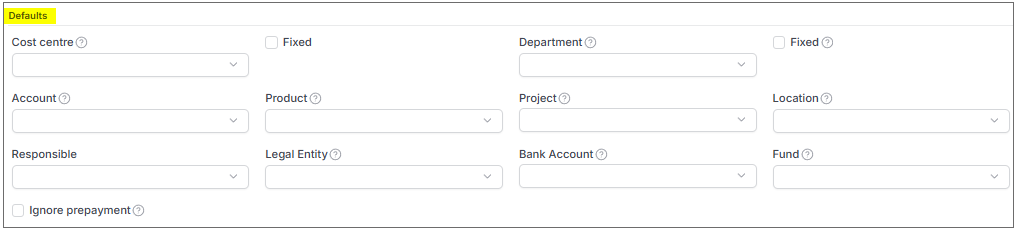
Defaults: Tick to copy default values from the 'From' supplier, if they exist, to blank default options in the 'To' supplier. If any default options are populated in the 'To' supplier, these will not be overwritten.
So, Cost Centre and Department will not be overwritten as they exist in the 'To' supplier defaults, but as Location is blank in the 'To' supplier, then it will be populated from the value that exists in the 'From' supplier.
Reason: Enter a reason why the Suppliers are being merged.
Note
If none of these options are ticked, it will still do the merge but only merge the appropriate documents, such as Purchase invoices and GL records to realign them to the 'To' supplier.
Select Apply to complete merge.
Once the 'From' supplier has been merged and the Lock option was ticked, then the Merge supplier will no longer show on the option.
Also, any documents that were linked to the 'From' supplier will now be linked to the 'To' supplier.
How to Import/Export Supplier details
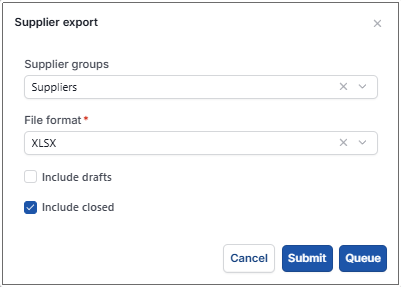
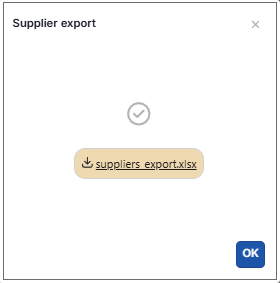
Import/Export Supplier details
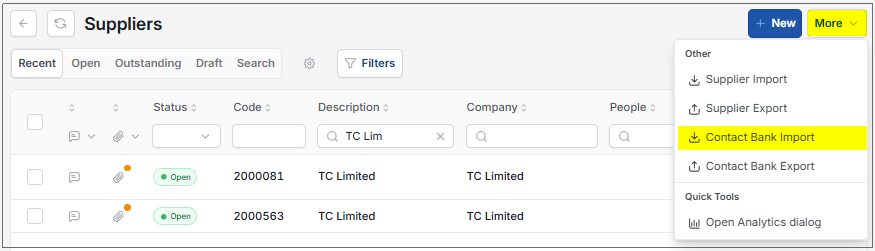
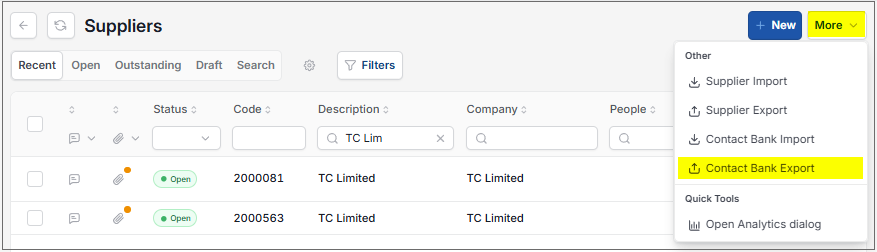
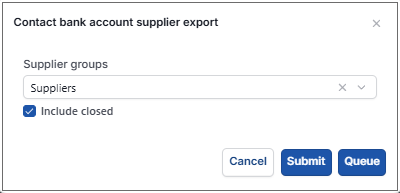
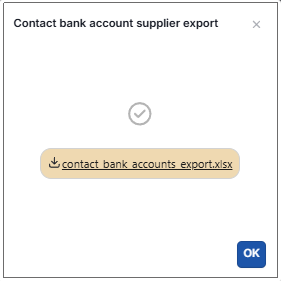
Select Suppliers from one of the options as shown above in View Suppliers.
Select Supplier Import from the
option.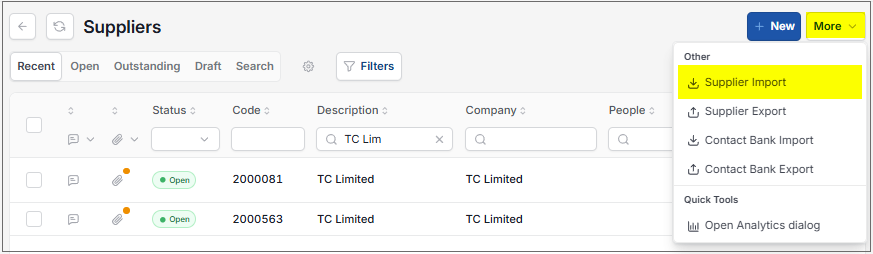
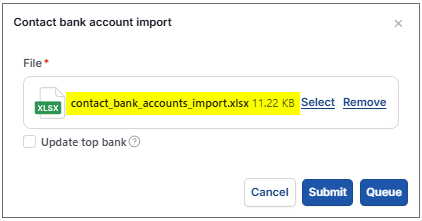
Enter options for Import.
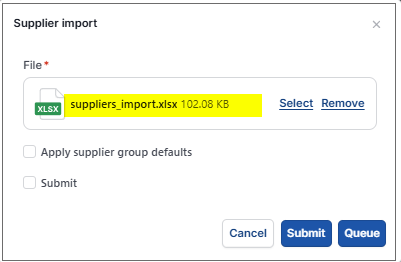
File: The source file created and saved previously.
Apply supplier group defaults: Tick this option for defaults.
Submit: Tick to import Suppliers as Submitted. Leaving blank will leave imported Suppliers in draft state.
Net Amount and Account Id on detail lines will be determined from related Product.
Legal Entity, Currency, Fund, UOM and Bank Account are all required parameters.
Department, Cost Centre and Fund will be added to the posting attributes on the detail lines from the import.
If the product is not identified, the import will fail.
Tip
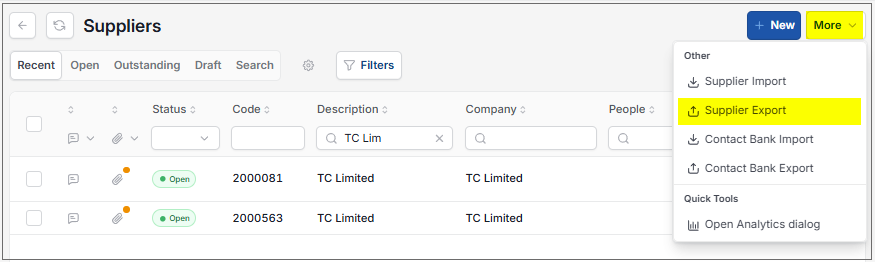
To create an Import file with the correct formatting, Export a file first and save to your external source. Then use this file to add updated Supplier details.
Select Submit.
Note
An error message will displayed if the URL type does not exist in iplicit.
Warning
iplicit allows a maximum of 5,000 rows in a single Import.
If your Import is too large, an error message will tell you that the Import cannot be processed and will advise you to create smaller Import files.
If the latter is not possible, please contact Customer support.
How to lock Suppliers
Lock a supplier
By locking a supplier, they will no longer be available for use in documents used in the features throughout the system.
To lock a supplier, select a supplier then select Lock from the
option.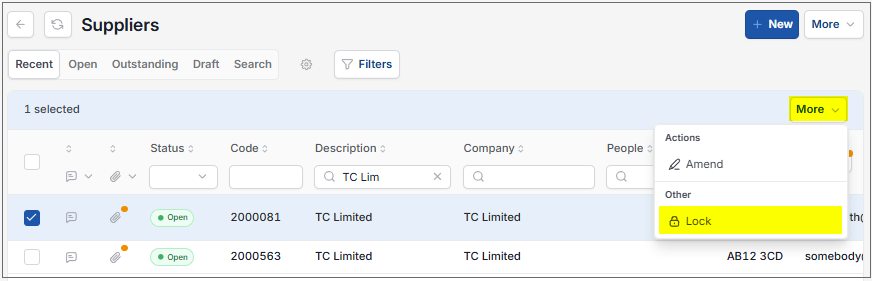
Updated September 2026