Generic Navigation
All modules within iplicit have common access routes and filter options.
Note
Menu items are grouped by module and remain visible at all times. The position of items will vary depending on your access permissions.
The left-hand navigation panel shows the available modules.
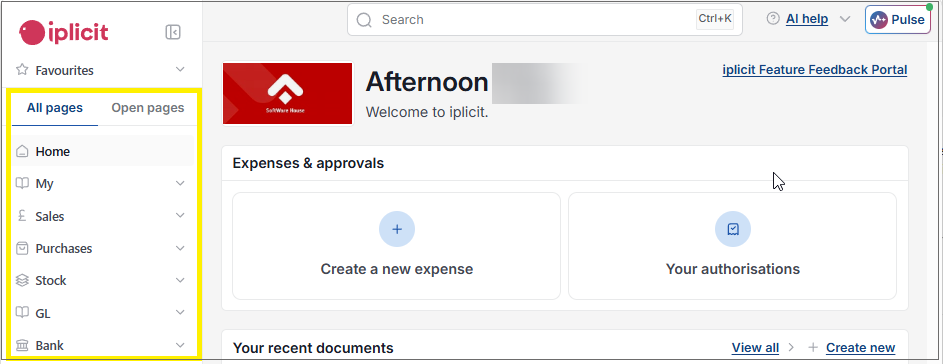
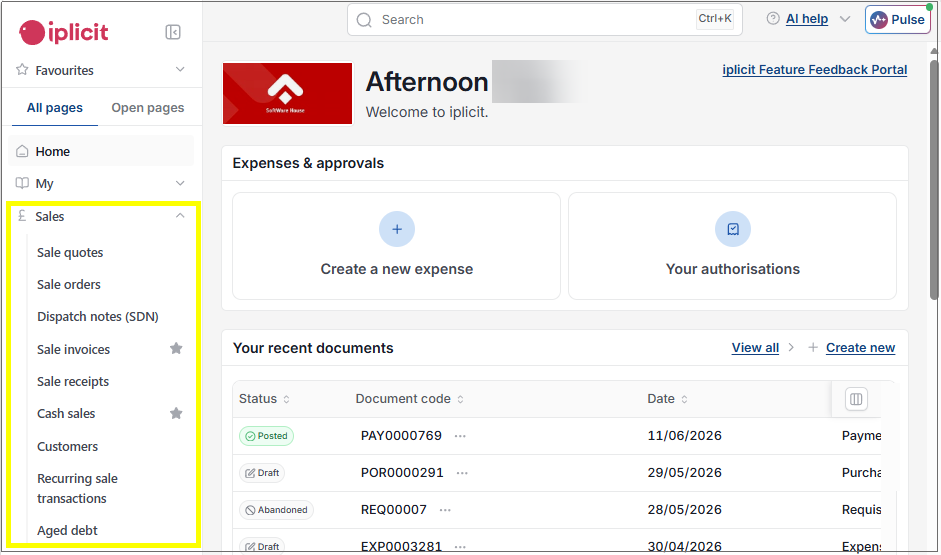
Selecting one of these options will expand to show further menu items for that module e.g. Sales.
Tip
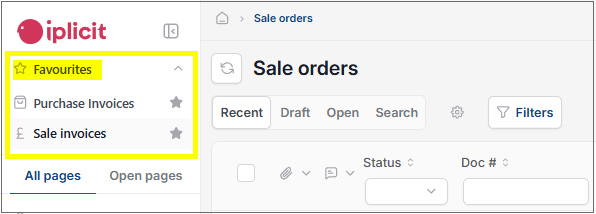
Select the  icon to add the menu item to your Favourites.
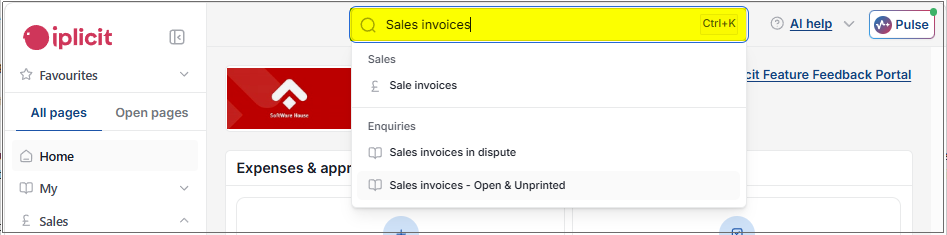
In the Search bar at the top of the screen (or use the keyboard shortcut Ctrl+K) ...
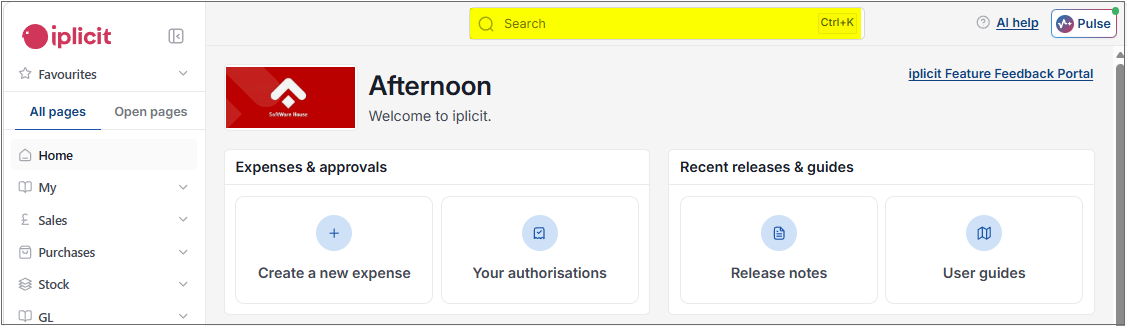
... enter the module required. e.g. Sales Invoice.
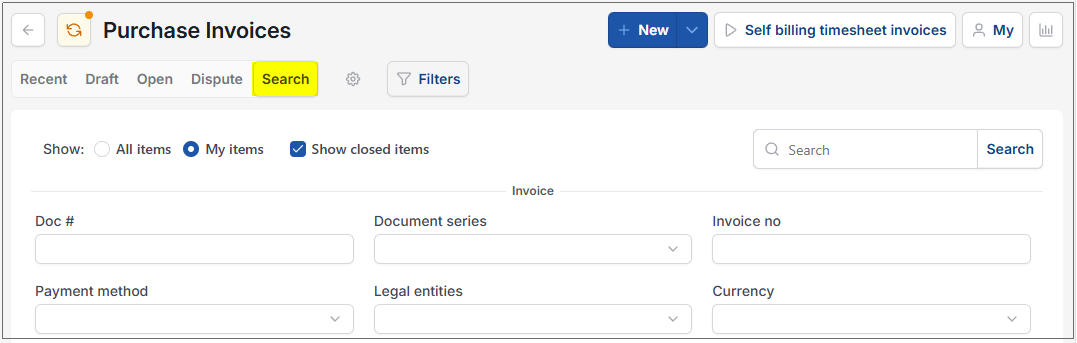
A Set is a great way to customise how you want to view data. Sets can be found within all finders and found along the top of the page.

There are pre-existing author based Sets and found on almost all finders:
Recent: typically shows the 50 most recent documents in chronological order for the data within the finder you’ve selected.
Draft: shows the document with a Draft status - this will show as Failed in AP Registered Documents.
Open: shows the document with a Open status - this will show as Converted in AP Registered Documents.
Dispute: Shows the document which are in Dispute.
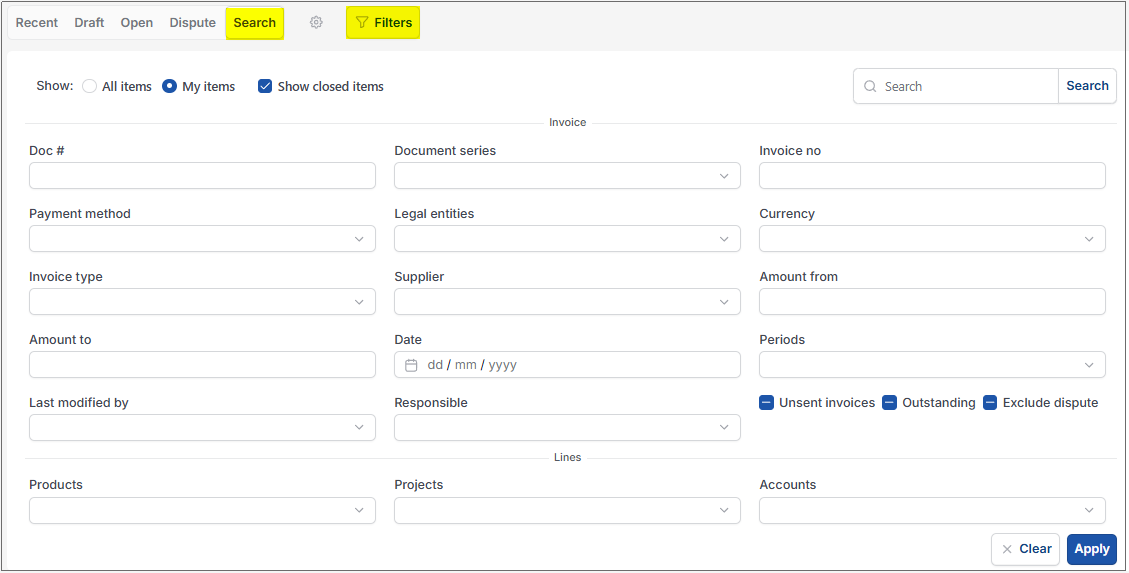
Search: presents filters to allow you to filter down into more detail to get a better view of the data.
This same filter can be found within other sets after clicking the
 option.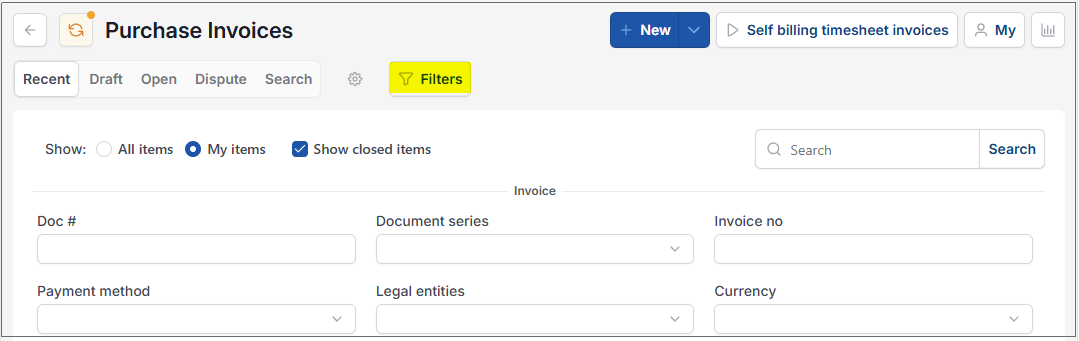
Other Sets could show, offering different toggles and filters, depending on the finder - examples are Invalid, Pending, With debt, Failed, Abandoned or Closed.
Clicking the  button will allow you to Create, Delete and Edit sets.

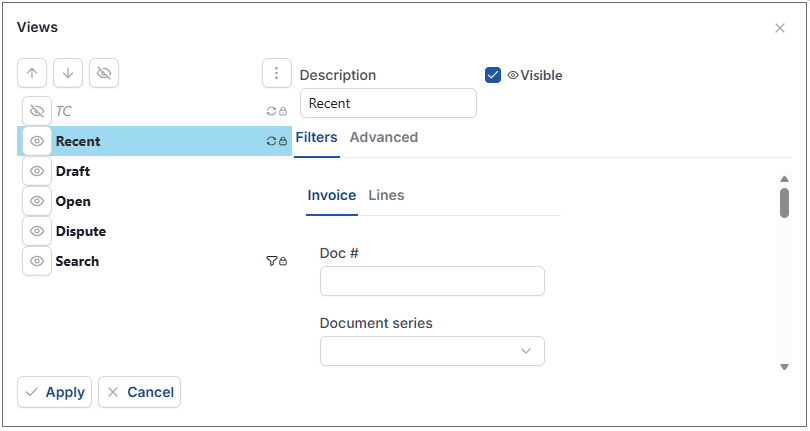
You can order the way in which the Sets load by using the arrows to change the order. The Set at the top of the column will be the first Set to appear when loading the finder. Click Apply and the finder will update the Sets immediately.
Highlighting a Set gives you the option to edit filters etc.
If you don't wish a certain Set to be visible in the finder just untick the Visible box and the 'eye' icon will be removed from that Set.
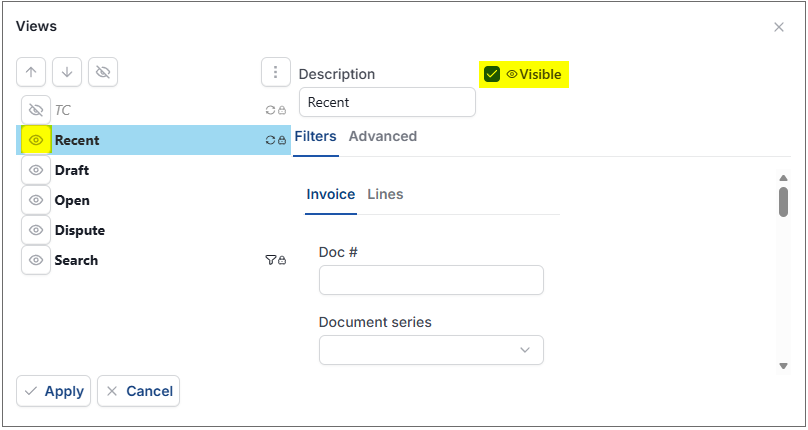
Creating a new Set:
Select the Set that the new Set will most emulate.
On the
 option, select Copy.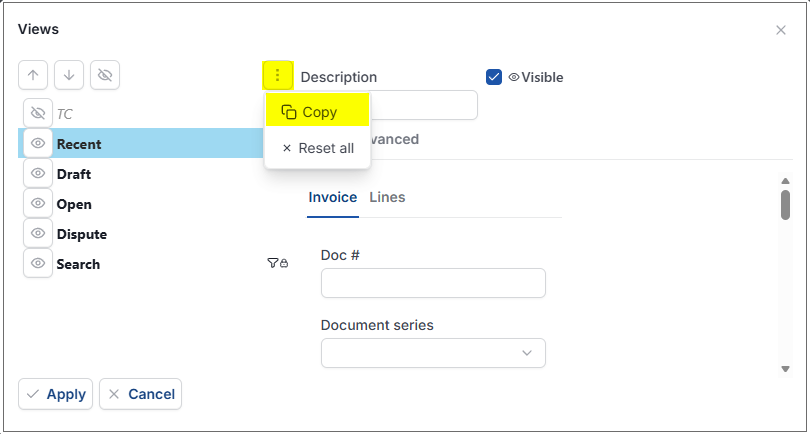
A new Set will be created. Enter a new Description.
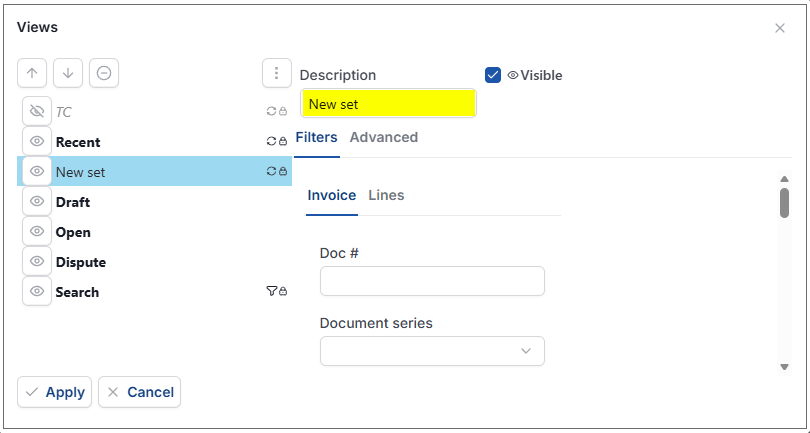
Design the Set as required (entering a new Description will automatically change the name in the left-hand list).
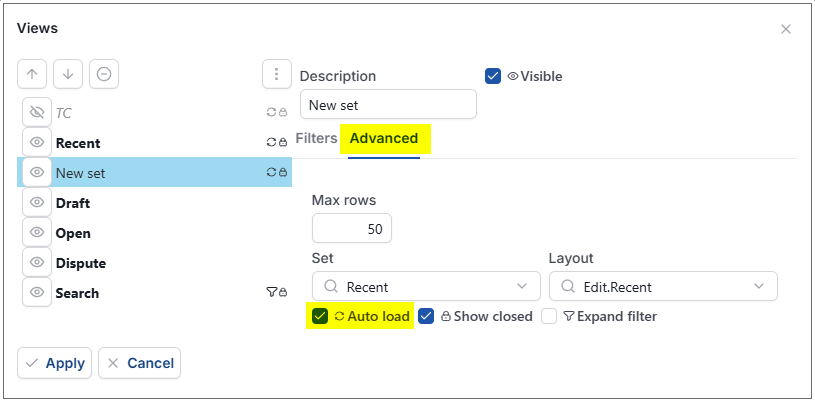
In the Advanced tab you can edit the maximum number of rows that will load when clicking the set.
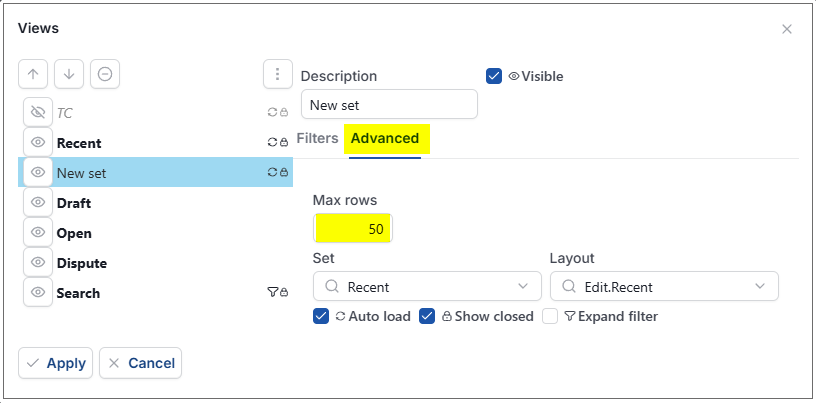
Ticking the Auto load box will refresh the Set every time it is entered.
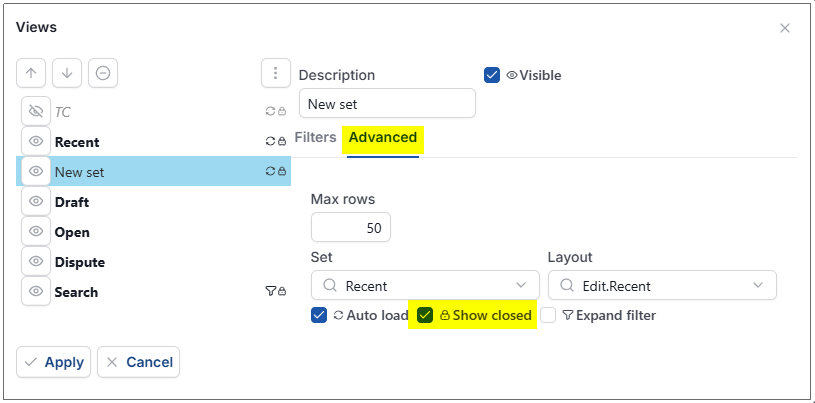
Dependent upon what finder you are in, you can Show closed items automatically alongside the open ones.
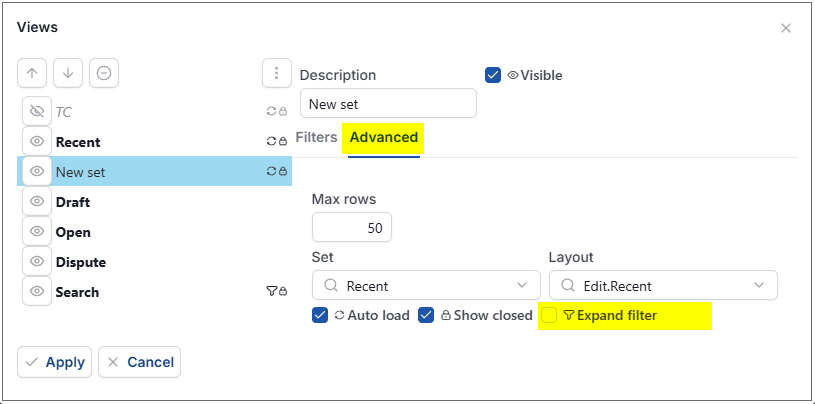
You can also set the filters to automatically Expand filter upon loading.
Select Apply
Clicking the option and selecting Reset all will undo any changes you have made in that session.
Select the Search option or the option to display the fields which will enable you to filter the results.
On each displayed column on the header, you can easily filter and sort all the documents - see tip to display other columns.
Tables can be found in several places across the system and all tables act in similar ways.
To sort your data by a column simply click on the column header and the data will sort accordingly. Clicking again sorts in reverse order. To resize a column click the lines separating the columns and adjust accordingly.
Filter down within columns by clicking on the row directly beneath the headers. There are multiple types of filters on offer from text filters, drop down lists and date filters. For further in depth filtering you can also use operation signs.
You can configure what columns appear in the table by using the table configurator. If an item has been ticked on the list of headers, then it’s respective column will appear on the table. If you can't find the column you are looking for then you can use the search bar to filter down to a specific column, equally you can sort the headers alphabetically too by clicking the sort button.
If you wanted to download the data in a table, select the download to CSV button.
At the bottom of the table you can see the numerical totals and the number of documents there are in the table.
You have the option to add notes and attachments to support documentation. You can add a note or attachment to a document at any time.
Click the note icon, to type in the note you would like to leave, then when you’re done, click the add icon.
Some documents require notes to be left upon status changes, whether this be a document being put into dispute or if a document is abandoned.
When adding an attachment, look for the paper clip next to the note icon. Click the icon and it will load different contextual tabs in which you can add the documentation. You can click the add icon and select the attachment from your computer; equally you could simply drag and drop files. You can see details about attachments by clicking on them and viewing the info and preview tabs.
Warning
There is no way to delete the note from the log tab which outlines the history of the document, the note will however be deleted from the notes section of the document outlined by the note icon.
Updated August 2026