Data Access Control
Data access control (DAC) is available to restrict access to e.g. Legal Entities for selected Users.
Note
When in force, these restrictions apply to the access of documents (e.g. Purchase Invoice) as well as any reporting & enquiries.
A User may be in multiple DAC Groups and when this is the case, will inherit the aggregate access.
Note
To view the legacy version, please select Legacy User Guide.
How to view Data Access Control
Viewing Data Access Control
As per Generic Navigation options, either from left-hand navigation panel, expand Settings and select Data access control from the User Access folder or enter Data access control in the Search option.
This will then show the Data access control on the system where normal customisation of Sets can be used.
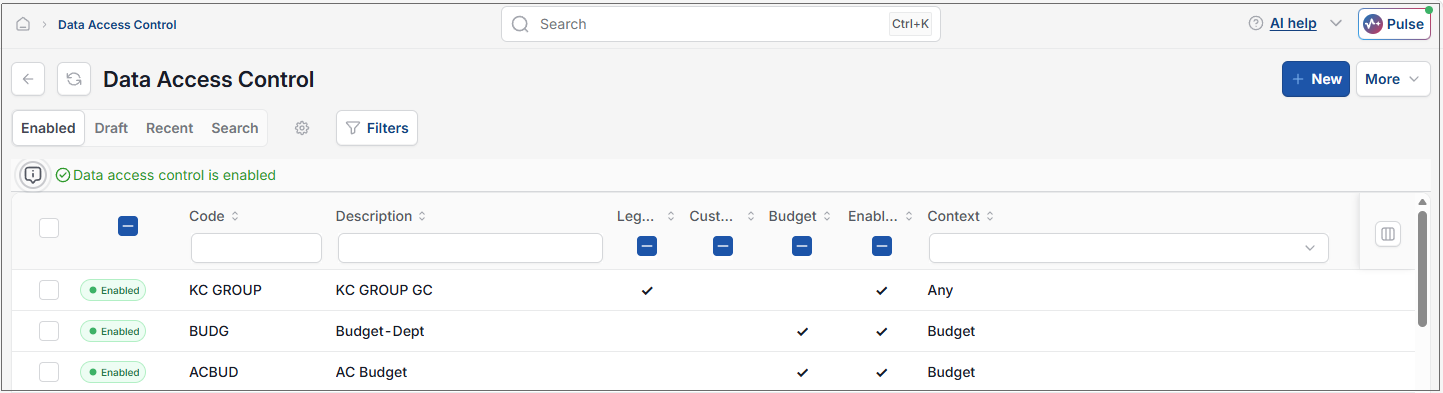
There is a column that shows if Enabled or not.
Tip
To modify the columns displayed, select  option on the right of the column display, then tick/untick the information you want to hide or display.
How to create 'ALL' Data Access Control
Creating ALL Data Access Control
Recommendation is that when creating DAC there should always be a role that has got all the available Legal entities. Similarly, there should be a role that has all the CDACs, so that at least one person always has everything.
Select Data Access Control from one of the options as shown above in Viewing a Data Access Control.
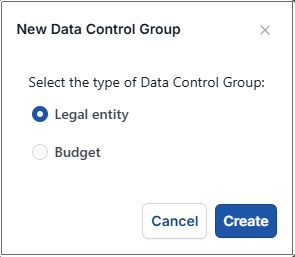
Create an All DAC Group. Select New.
Select either Legal Entity or the Custom Attribute set up for Custom Data Access Control, then select Create.
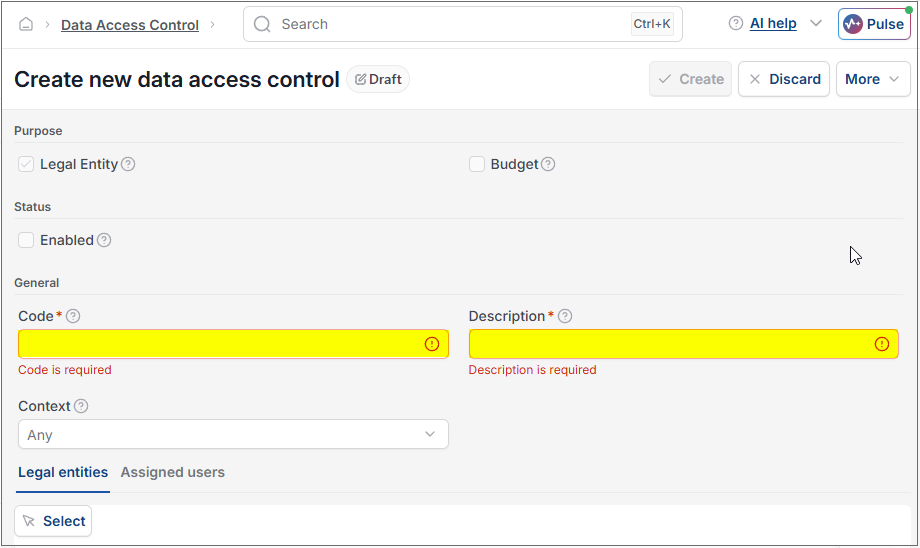
Enter Code and Description.
Tip
Create an ALL DAC group for Super Users so that at least one User has access to all Legal Entities.
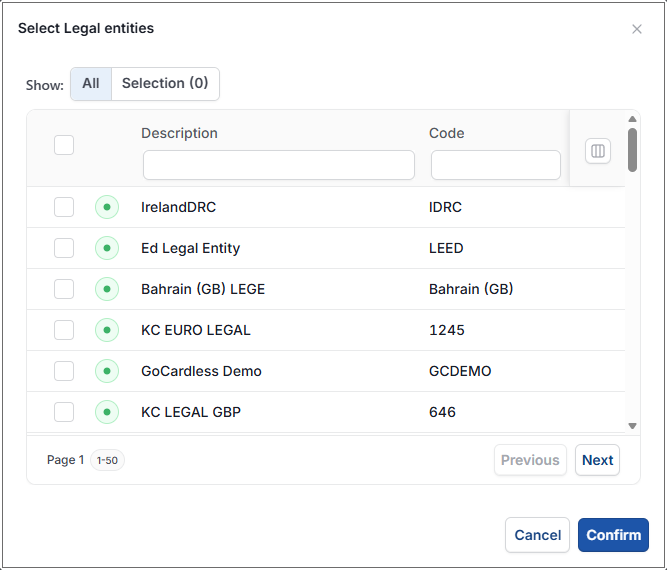
Press Select and choose all Legal Entities for this DAC Group.
Tip
Include Locked Legal Entities if you still wish to run enquiries and reports against them.
Tip
Legal Entities can also be added to DACs directly from the Legal Entity.
Add Super users to All DAC Group
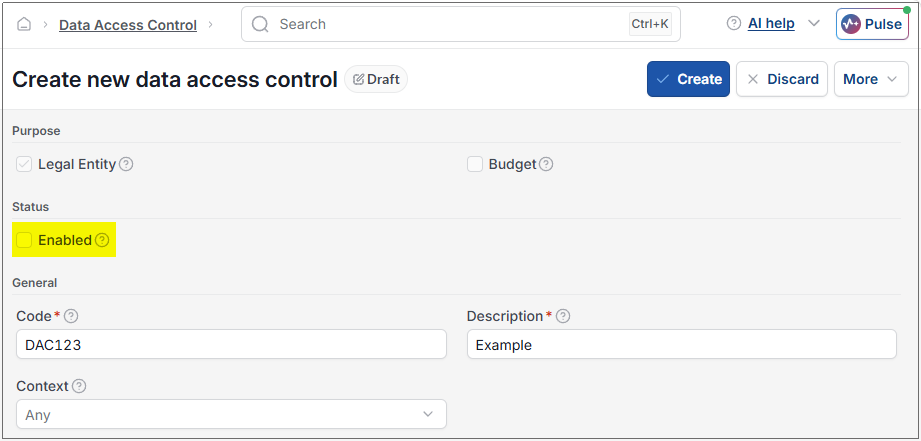
Press Enable to make the DAC group active.
Tip
Once a single DAC Group is made active then DAC is activated for all users. To ensure you don't restrict user access before you have finished setting up DAC Groups, you may want to create your DAC Groups in DRAFT and defer enabling them until this is complete.

How to create 'Other' Data Access Control
Creating other Data Access Control
Select Data Access Control from one of the options as shown above in Viewing a Data Access Control.
Note
In the example below, an additional DAC Group has been created for Legal Entity A with a restricted selection of Users.
Press New.
Select Legal Entity, then select Create.
Enter Code and Description for the new DAC Group.
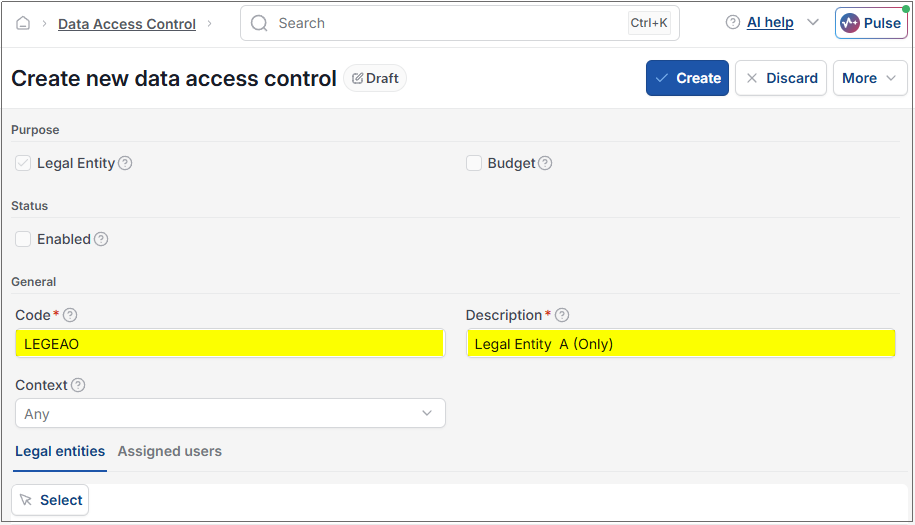
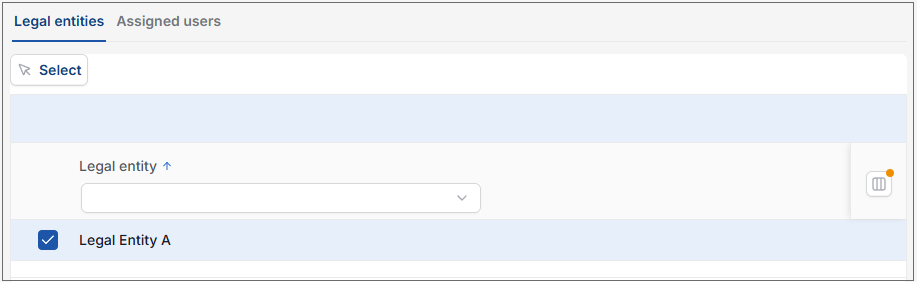
Add Legal Entity(s) and press Apply
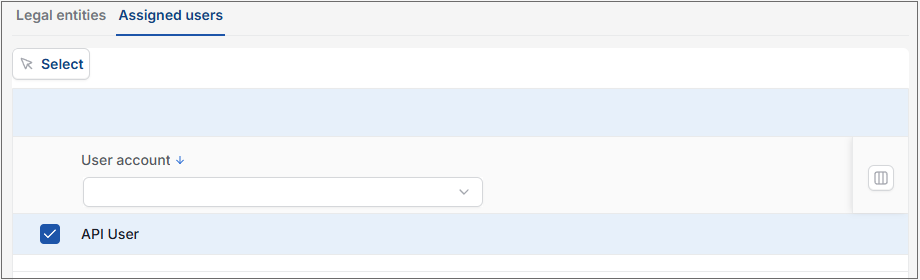
Assign User(s) - go to Assigned Users tab and press Select.
Select User(s), then select Confirm.
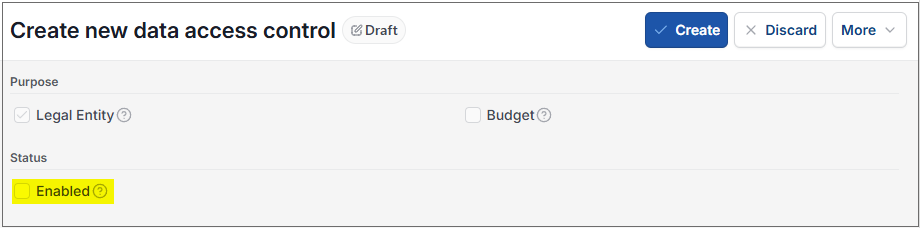
Select Enabled option, then select Create.
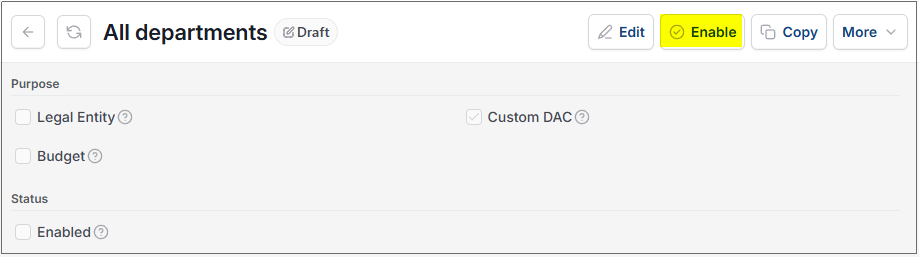
To make the DAC active, open and select the Enable button.
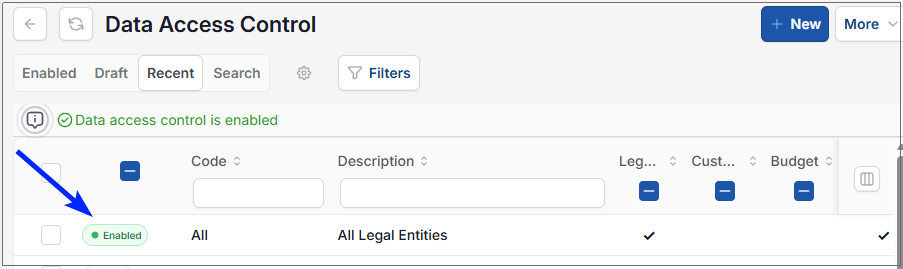
The DAC will then show with a green Enabled status.
To remove the DAC Group
Select Lock from the
 button.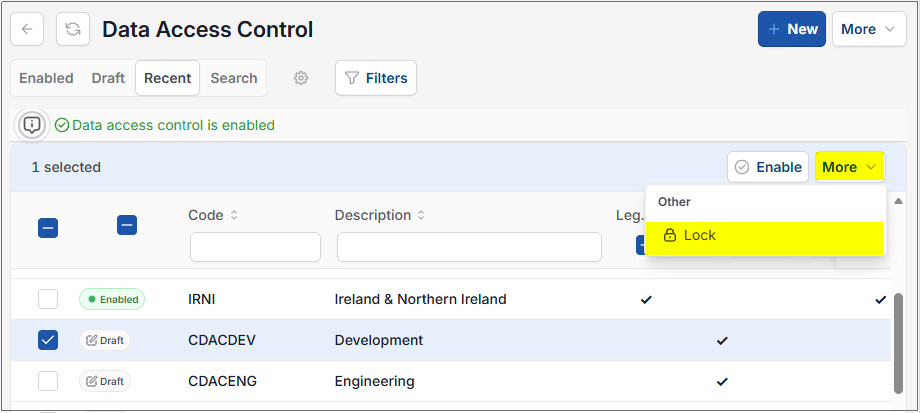
Then select Delete from the
button.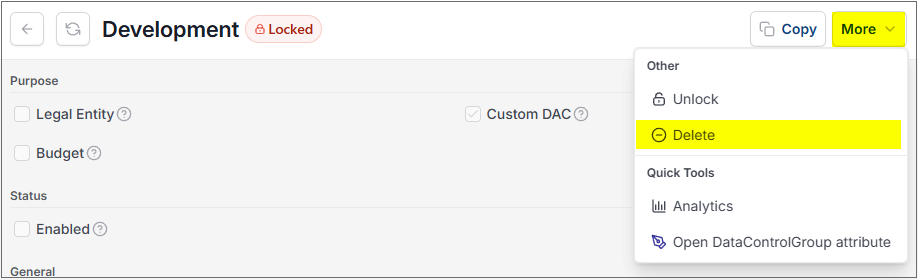
Or select Unlock if DAC is required.
How to Import/Export Data Access Control
Import/Export Data Access Control
Adds the ability to update existing Data Access Controls as well as creating new ones.
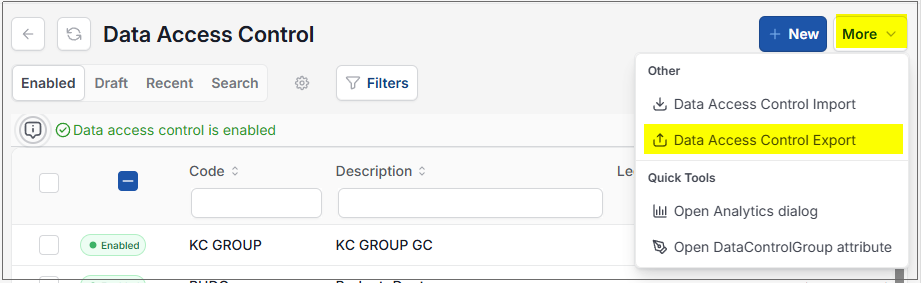
Select Data Access Control from one of the options as shown above in Viewing Data Access Control.
Select the
button and select Data Access Control Import.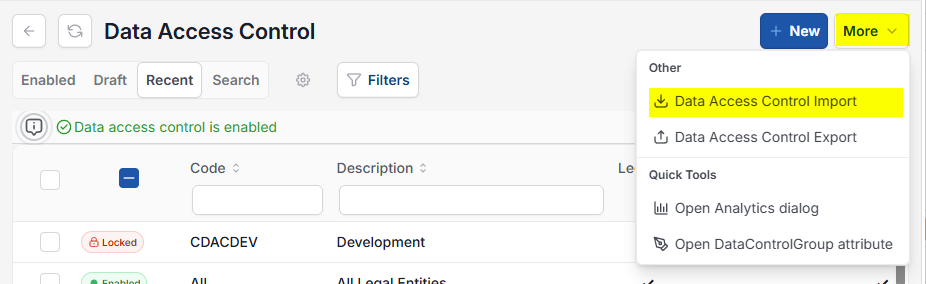
Enter the name of the Excel file to import, which is saved on an external source.
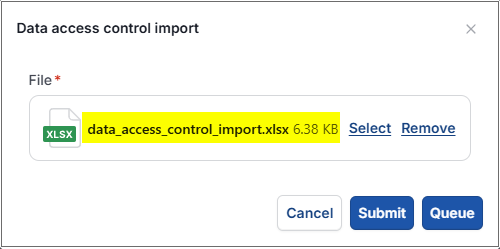
Tip
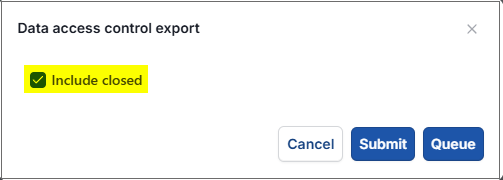
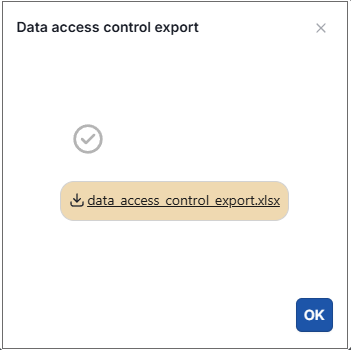
To create an Import file with the correct field names and formatting, Export a file first and save to your external source. Then use this file to add details ready to import.
Fields to be included in the file are as follows (Fields in bold are mandatory):
Code: Unique code for the Data Access Control not containing spaces or characters such as commas and apostrophes. If the import includes a code that already exists, the import will assume the Data Access Control is being updated and will not try to create it. If there is more than one code that is the same in the file, the import will error.
Description: The description of the Data Access Control.
Context: The context that is applicable for the Data Access Control. This will be validated against the list of available contexts in iplicit. Currently these are Any, Expenses Only or Budgets.
Purpose Legal Entity: Tick box if the Data Access Control is for legal entity.
Purpose Custom DAC: Tick box if the Data Access Control is for Custom DAC.
Purpose Budget: Tick box if the Data Access Control is for budget.
Note
Only one of the above Purpose fields can be ticked on one row of the file.
Status Enabled: Tick box if the Data Access Control is enabled.
Legal Entities: Legal Entities allocated to this data access control. This is only relevant if the purpose legal entity field has been ticked. This will be a multi-select field and it is suggested that each entry is separated by a semi-colon.
Custom DAC: This is a field to specify the values for the attribute that has been selected as the custom DAC attribute. Examples could be cost centre, department or team. This will only be relevant if the Purpose custom DAC field has been ticked. This will be a multi-select field and it is suggested that each entry is separated by a semi-colon.
Budget: This is a field to specify the values for the attribute that has been selected as the custom DAC budget attribute. Examples could be cost centre, department or team. This will only be relevant if the Purpose budget field has been ticked. This will be a multi-select field and it is suggested that each entry is separated by a semi-colon.
Assigned Users: Users that are allocated to this Data Access Control. This needs to be validated against users in iplicit and will be a multi-select field with values separated by a semi-colon.
Select Submit.
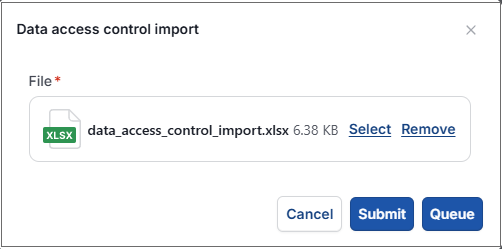
Selecting Queue from the dropdown option will queue the import process until other actions in iplicit are completed.
Warning
iplicit allows a maximum of 5,000 rows in a single Import.
If your Import is too large, an error message will tell you that the Import cannot be processed and will advise you to create smaller Import files.
If the latter is not possible, please contact Customer support.
Updated August 2026