Recurring purchase transaction
If you are repeating a purchase transaction on a regular basis, this feature allows you to set up a recurring transaction to avoid creating the same document over and over again.
How to view Recurring purchase transactions
Viewing Recurring purchase transactions
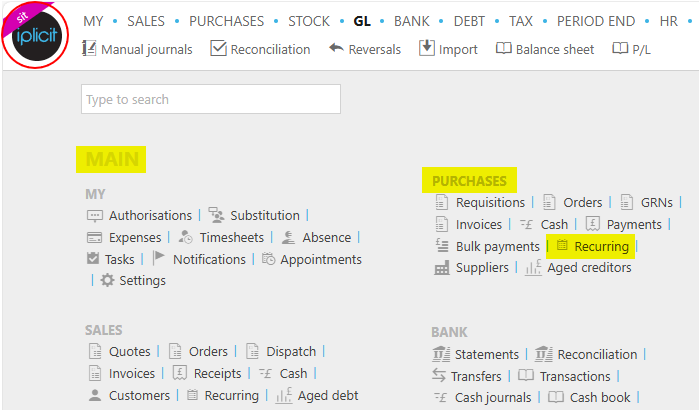
Select Purchases / Recurring from the Main section of the pulse menu -
Note
This is an example screen shot of the pulse menu.
Position of the menu items within pulse will vary according to available options and dependant on personal screen resolution.
or from the Main Menu select Purchases then Recurring -

or enter Recurring purchase transactions in the Quick Launch Side Menu.

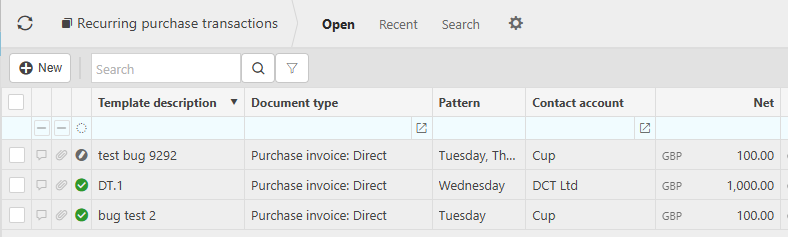
This will then show the Recurring purchase transations on the system where normal customisation of Sets can be used.
Tip
To modify the columns displayed, select  on the top right of the page, then tick/untick the information you want to hide or display.
How to create a recurring transaction
Creating a Recurring purchase transaction
Press New.

Select the document type then press Create.

Enter a document description and select the Supplier.

Other fields -
Invoice type: This is the document type selected in step 2.
Legal Entity: You can select with legal entity will be performing the recurring purchase.
Invoice Date: This is the day of the first invoice.
Note
This date will default to the current date unless the Don't default current date option is ticked in Others tab within the Document type. In this case, when a user creates a new document this date is left blank.
Fill out the recurrence fields on the Template tab.
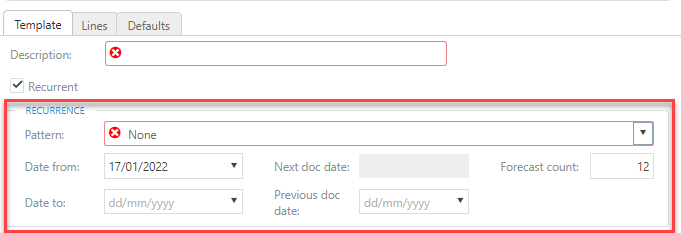
- Pattern: This is the pattern of recurrence e.g. weekly.
- Date From: This is the date of the first invoice.
- Date to: This is the date of the last recurring purchase.
- Next doc date: The date of the next purchase document.
Go to the Lines tab and enter the line(s)

Lines
Product: This is the product being ordered.
Account: If a product is being used, this will be auto-completed otherwise select an account from the available list.
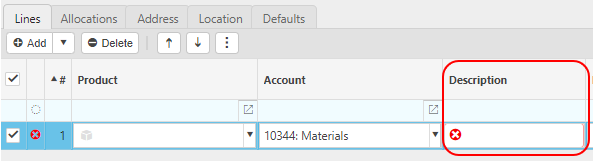
Description: Depending on the Force change setting in Chart of Accounts

If the Force change is not ticked, then the Description field will be auto-filled ...
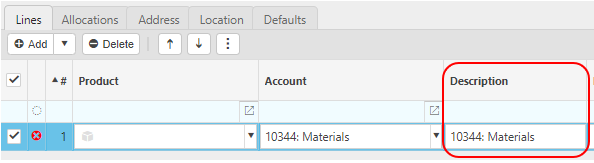
... however it can be edited.
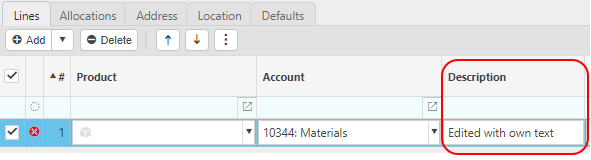
If the Force change is ticked, then the Description field will be blank and you will be forced to enter a description.
Tax Band: The tax band can be selected here.
Unit: This is the unit to measure the product.
Qty: This is the quantity of the product.
Unit price: This it the price per unit of the product.
Posting attributes
- The posting attributes are derived from the chart of account rules related to the account code. Common attributes include cost centre and department but can also include custom attributes.
Tip
If the product price is going to change at a certain date then you could create two lines with different prices. Simply input the date that each line is valid from and to within their respective appropriate field column.
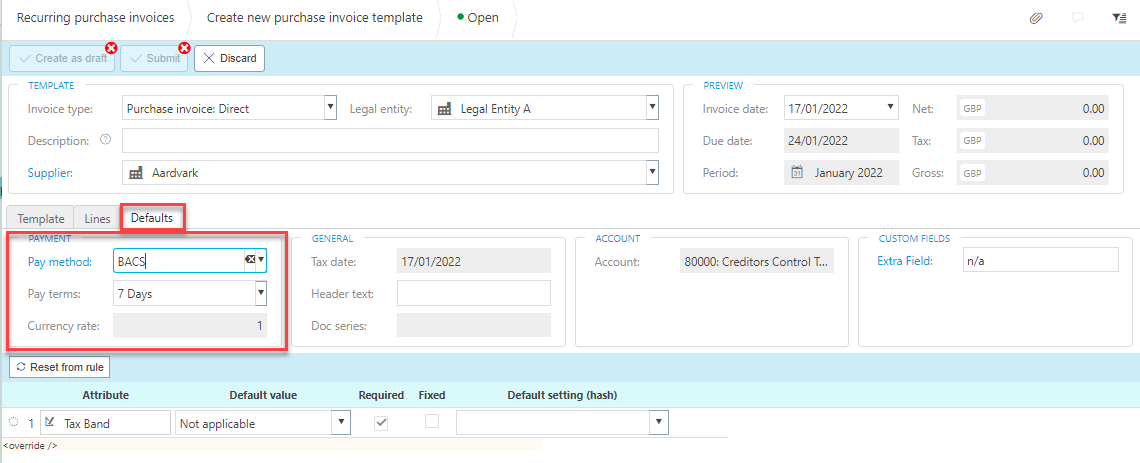
Open the Defaults tab and check that the pay terms and pay method have been set appropriately.
Select either Submit once happy with details or Create as draft to be able to edit further before submitting.
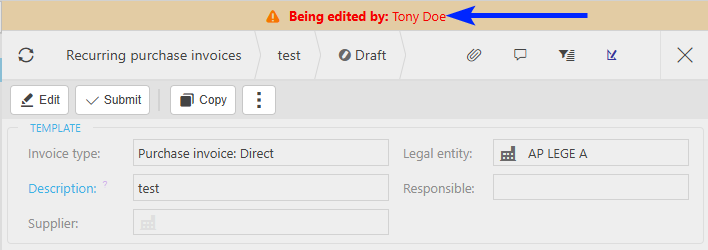
Note
Returning to this document via the Edit option will notify other users viewing the same document that it is being edited.
Updated April 2025