Communication setup
Communications are setup for a variety of functions throughout the system e.g. Authorisations or Sales invoices.
How to view communications
View communication
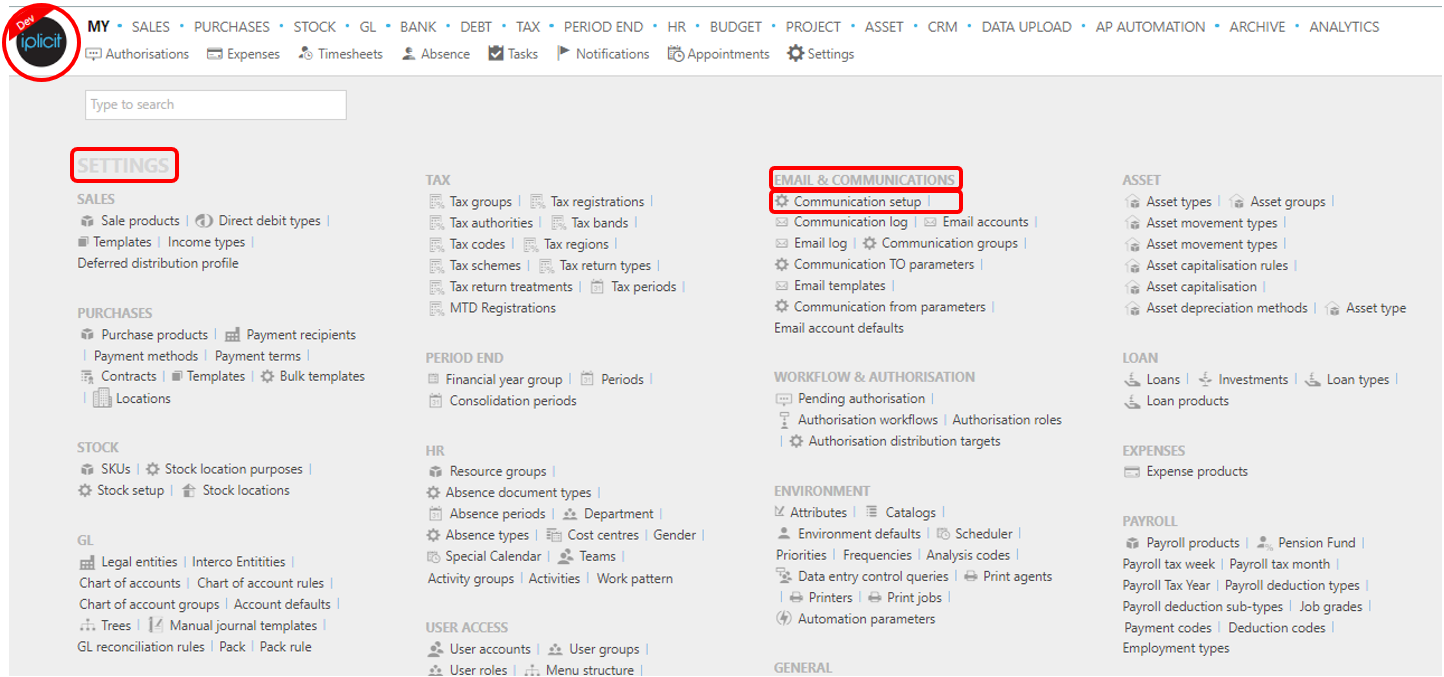
To view Communications, either select Communication setup from Email & Communications in the Settings section from the pulse menu -
Note
This is an example screen shot of the pulse menu.
Position of the menu items within the pulse will vary according to available options and dependant on personal screen resolution
or enter Communication setup in the Quick Launch Side Menu.

The screenshot below shows a sample grid of the communication setup where normal customisation of Sets can be used.

Description: Used clearly to identify the communication setup.
Group: identifies the Communication Group.
From: the email account used to send the communication.
Contact field: the contact group that the communication is linked with.
Attribute: The purpose of the communication.
Tip
To modify the columns displayed, select
 on the top right of the page, then tick/untick the information you want to hide or display.
How to create new communications
Create a new communication
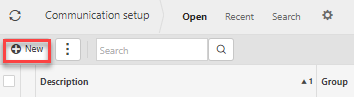
Select Communication setup menu from View Communication above.
Press New.
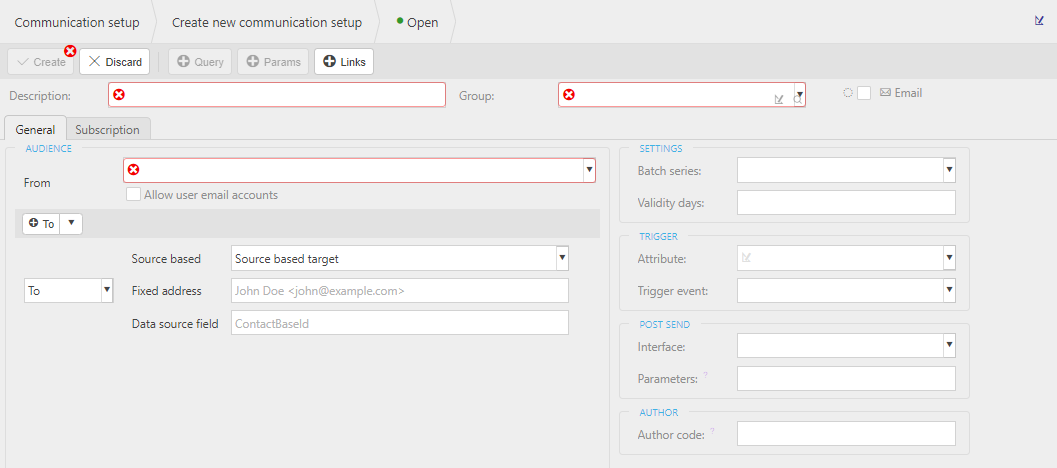
Fill in the required fields.
- Description: This must uniquely identify the communication.
- Communication Group: The Communication Group is used to group the communication(s) (Use the dropdown box to view valid groups).
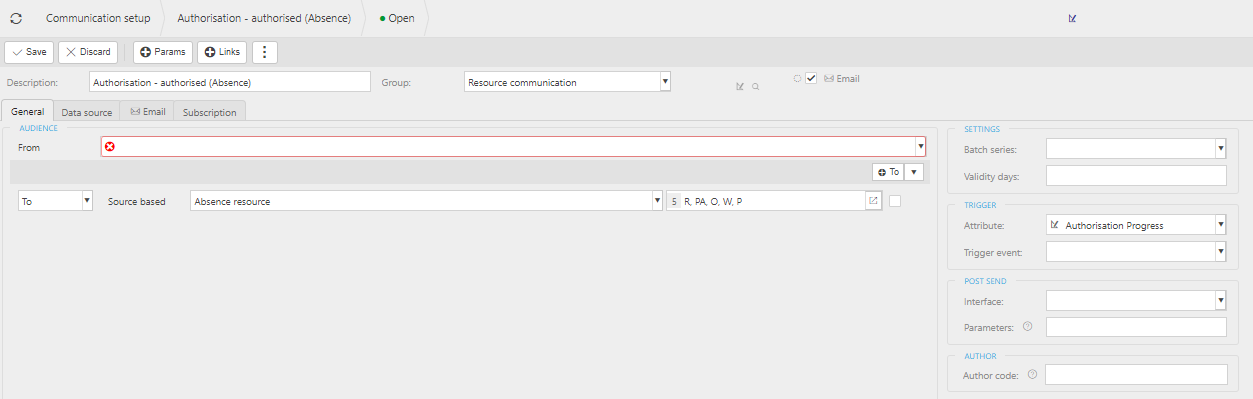
In the General tab
From: This identifies the email account that will be used to send the communication from and can be based upon a communication from parameter (use dropdown box to view valid values) or a named Email account.
Group - this is one of the previously defined Communication Groups, selected via the dropdown option.
Note
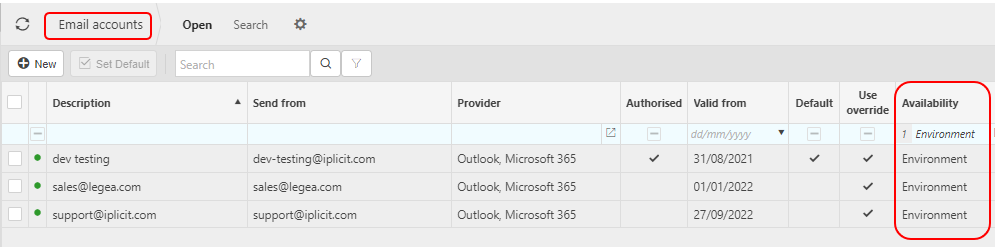
If the Email account availability is not set to Environment, it cannot be hard-coded on the communication.
Tip
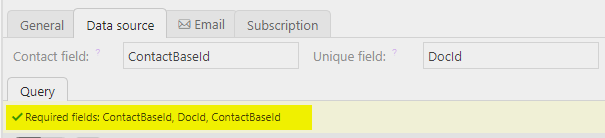
Certain FROM options require differing parameter values in the Data Source e.g. when Document legal entity email parameter is used, then DocId must be included in the data source.
These parameters are validated in the data source tab, e.g.
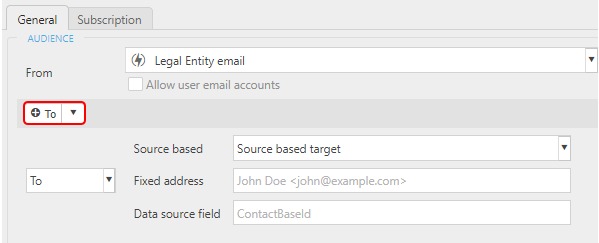
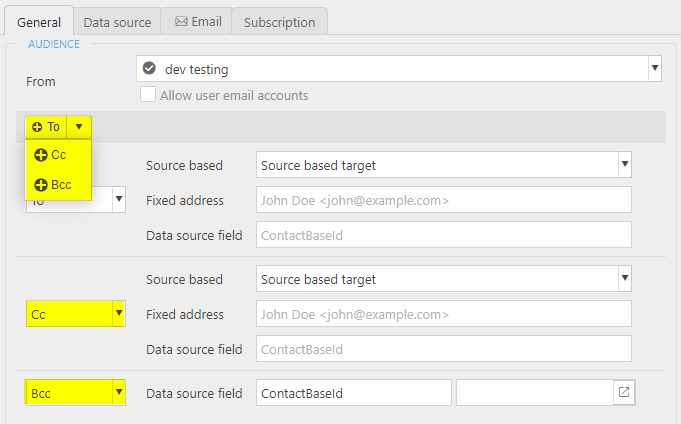
Select who the communication is going to by adding details in the +To option.
Selecting the dropdown option in the +To option allows you add details for Cc and Bcc.
Press Create.

The communication will now be ready for use or testing.
You also have the option to Discard if you don't wish to create the communication (you will get a prompt message to confirm this option)
How to find communications
Find a communication
Type a description e.g. sale in the search bar and the system will present all the communications with 'sale' in the description.

You can also move between Recent, Draft or Search to help find communications depending on your needs. (you can even create your own sets - see creating a new set in Getting Started - Sets)

How to edit communications
Edit a communication
Select and open the communication that you would like to edit.
Press Edit

You can now make changes to the fields that are white.
Tip
You can add parameters or links in a communication.

Once you are happy with your changes, press Save.

How to copy communications
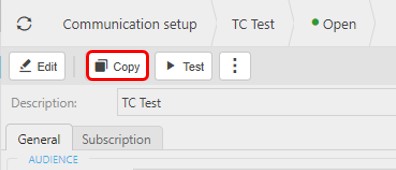
Copy a communication
Select and open the communication that you would like to copy.
Press Copy.
How to test communications
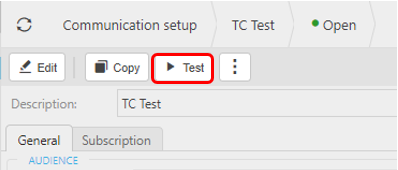
Test a communication
The system allows you to test a communication. This is useful for security checks e.g. the correct communications are being sent to the correct recipients.
Select and open the communication that you would like to test.
Press Test
How to check communications
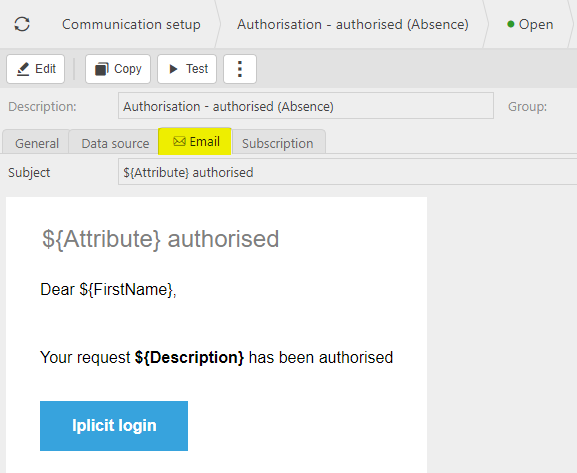
Check a communication format
Select and open the communication that you would like to check.
Open the Email tab.
How to lock communications
Lock a communication
Select and open the communication that you would like to lock.
Press the
 three dot icon.
Press Lock.
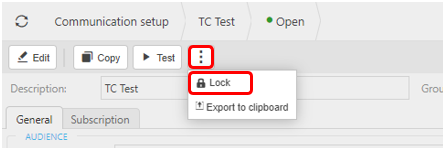
A black message showing Locked will be displayed for a few seconds.
How to delete communications
Delete a communication
Select a locked communication that you would like to delete.
Press the
three dot icon.Press Delete

How to export communications
Export a communication to clipboard
Select and open the communication that you would like to copy.
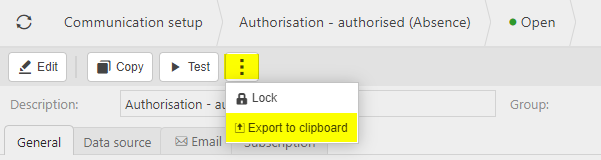
Press the
three dot icon.Press Export to clipboard.
How to import communications
Import a communication from clipboard
- This is typically used when copying a communication from one environment to another.
Press the
three dot icon.Select Import from clipboard

Paste the Clipboard content into the dialog and select Apply.
Updated March 2026