Bulk Receipts
Receipts are created when a Sales invoice is paid.
If you have many Receipts to create, these can be done as a Bulk Receipt process.
For a breakdown of debts in different time periods go to Aged debt
Pre-requisites to set up for Bank receipts
Bulk templates - setup templates for Bulk receipts
Legal entities - setup Legal entities, if not already setup.
Bank accounts - where you can set up Payment methods.
Note
To view the legacy version, please select Legacy User Guide.
How to view Bulk Receipt
Viewing Aged Debt
As per Generic Navigation options, either from left-hand navigation panel, select Bulk Receipt from the Debt folder or enter Bulk Receipt in the Search option.
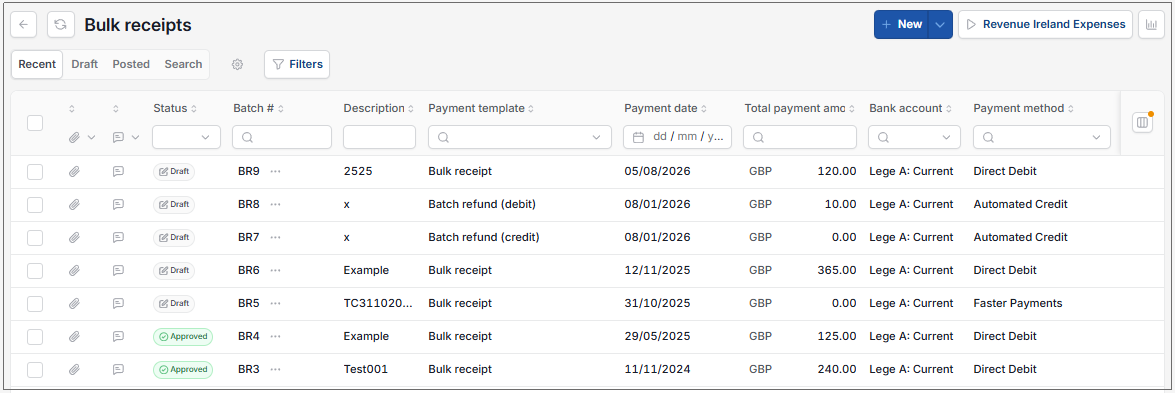
This will then show the Bulk Receipts on the system where normal customisation of Sets can be used.
Tip
To modify the columns displayed, select  option on the right of the column display, then tick/untick the information you want to hide or display.
- Status: State of the Bulk receipt
- Batch #: Unique code/number.
- Description: User entered description.
- Payment template: Receipt template
- Payment date: Batch payment date.
- Total payment amount: The total amount received from all the Receipts in the batch.
- Bank account: The bank account that will receive the payment.
- Pay method: The Payment method.
- Interco: Includes intercompany entities.
Highlight the Bulk receipt to view, double click to open.
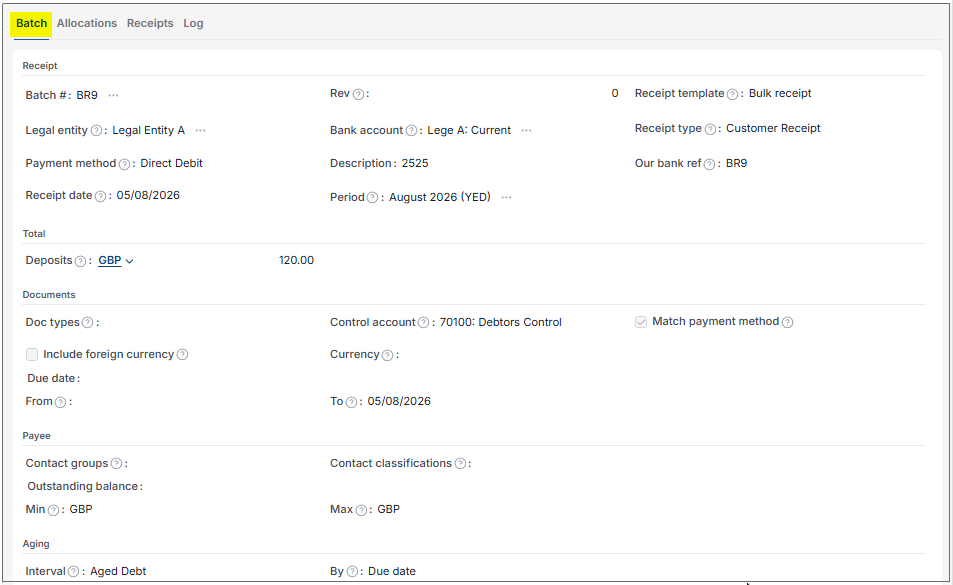
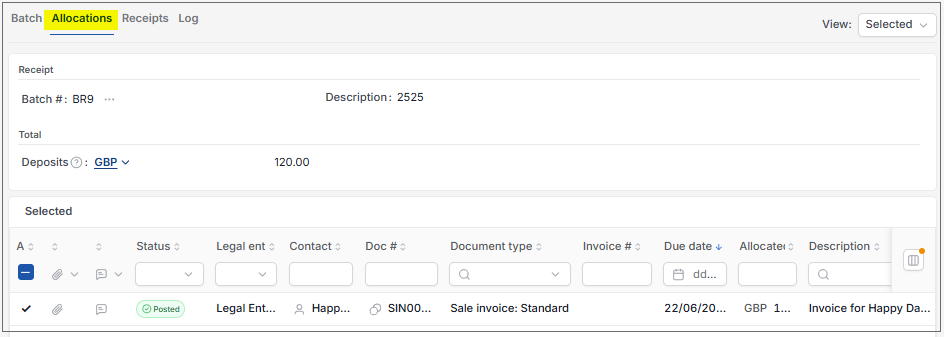
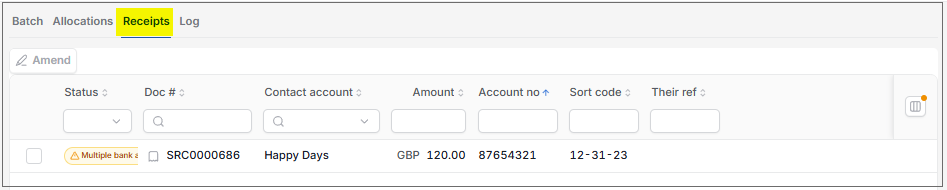
The Batch tab shows the details of the Bulk receipt
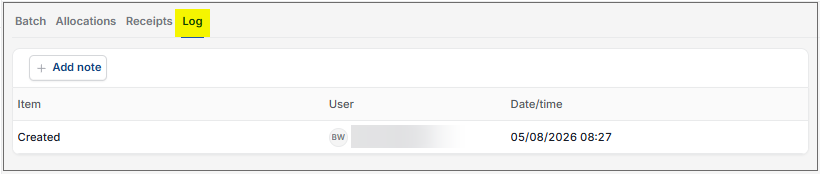
How to create a Bulk Receipt
Creating a Bulk receipt
Select Bulk receipts from one of the options as shown in Viewing a Bulk receipt above
Select New.
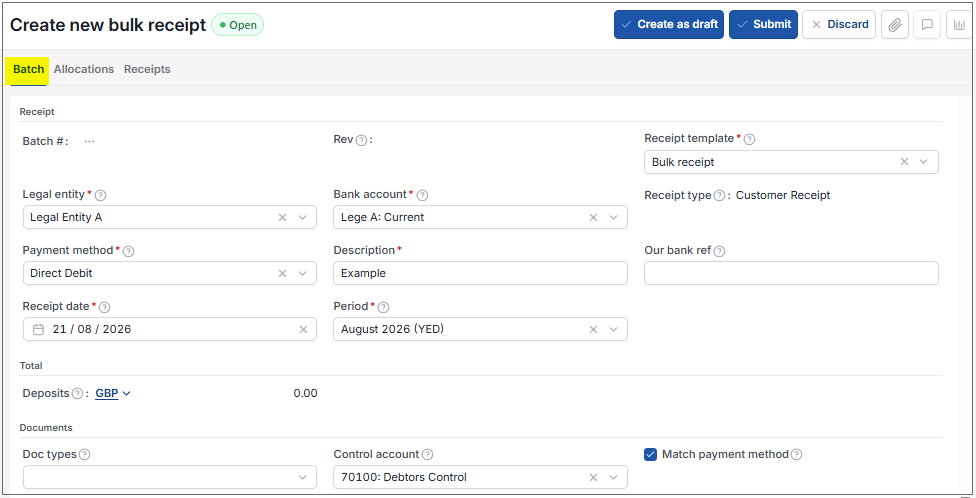
Legal entity: Select the Legal entity that will make the payment.
Bank account: Select a bank account for the selected Legal entity.
Description: Enter a unique description.
Receipt date: This is the payment date that will be specified in the payment file.
Note
If this date needs to be changed following submission (and before posting) and you have the correct access, you can use Amend to change it.
Payment method: Select the Payment method to use for the payment file creation.
Note
You can only select payment methods that have been setup against the Bank Account for batch payments.
The payee bank account must match those required for the payment method e.g. account no and sort code required.
Cheque does not require any columns to be matched.
Enter any other field as necessary.
Select Submit.
Tip
Alternatively, you can select Create as draft, this will save the receipt in drafts for later use.
or Discard to abandon the creation.
After refreshing the screen, the Bulk receipts will show Pending authorisation. Select the Bulk receipt and select Approve option.
Note
This will only be applicable if there is a workflow in place for authorisation.
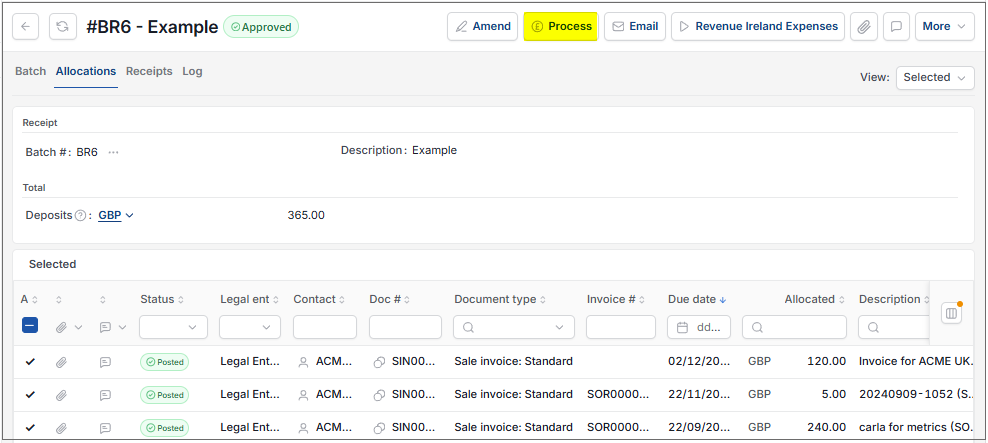
Refreshing the screen again will show Approved. Select the Bulk receipts, if not already open, and then select Process option.
Select OK when the output message appears.
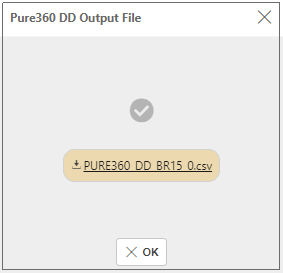
The Bulk receipt will now show as Processed, select the Bulk receipt, if not already open, and then select Post.
Your Bulk receipt will now show as Posted, after a refresh, and individual Sales invoices will show as Paid.
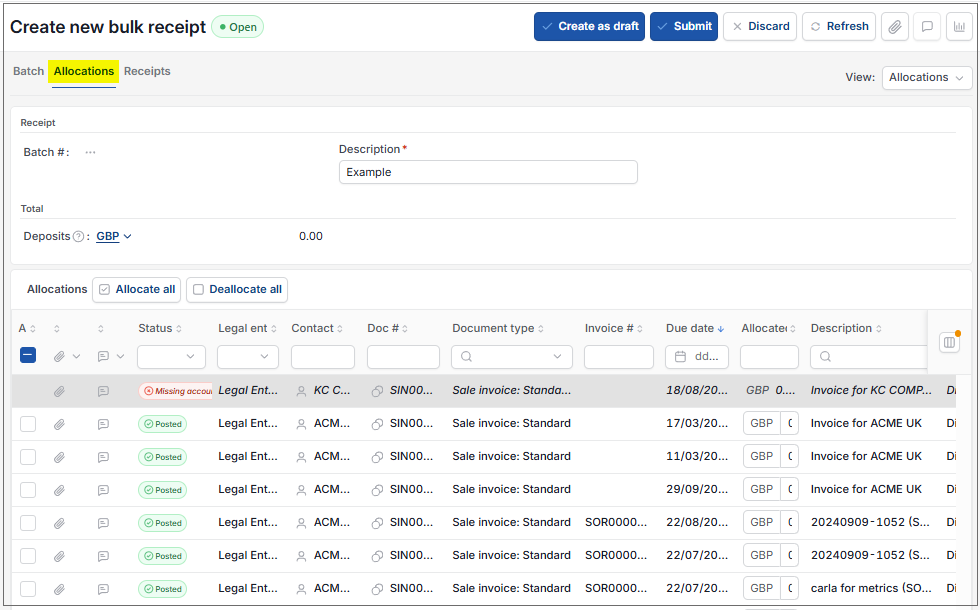
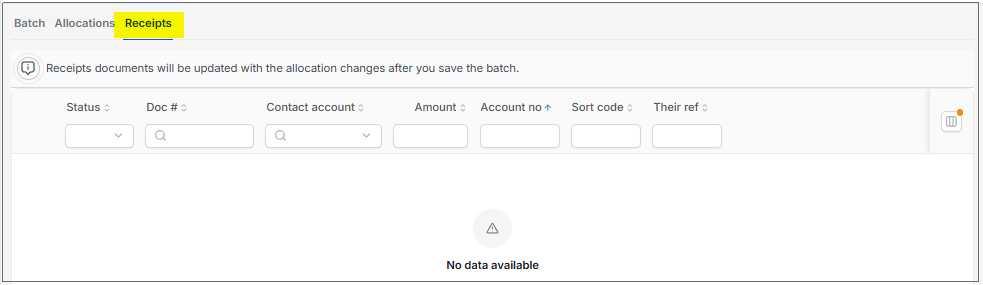
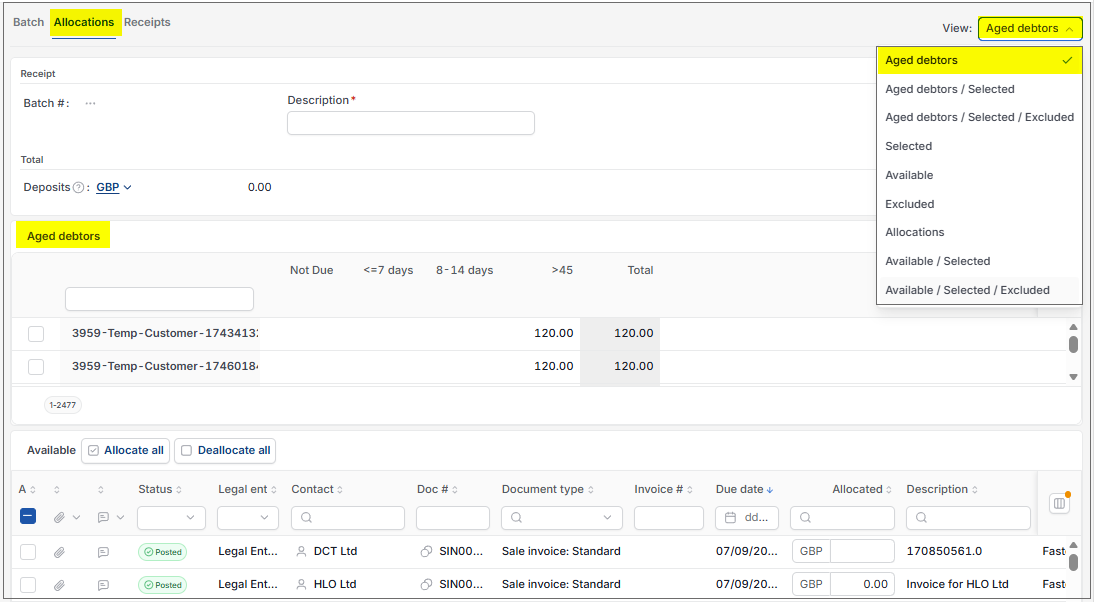
 button on the right of the screen and select your required layout.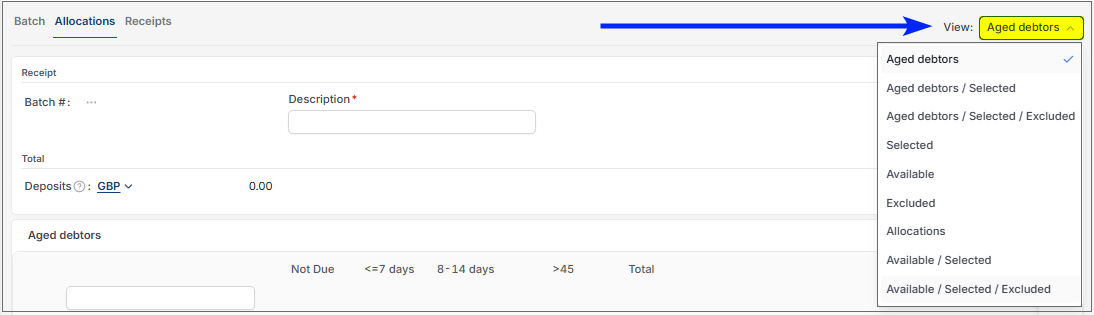
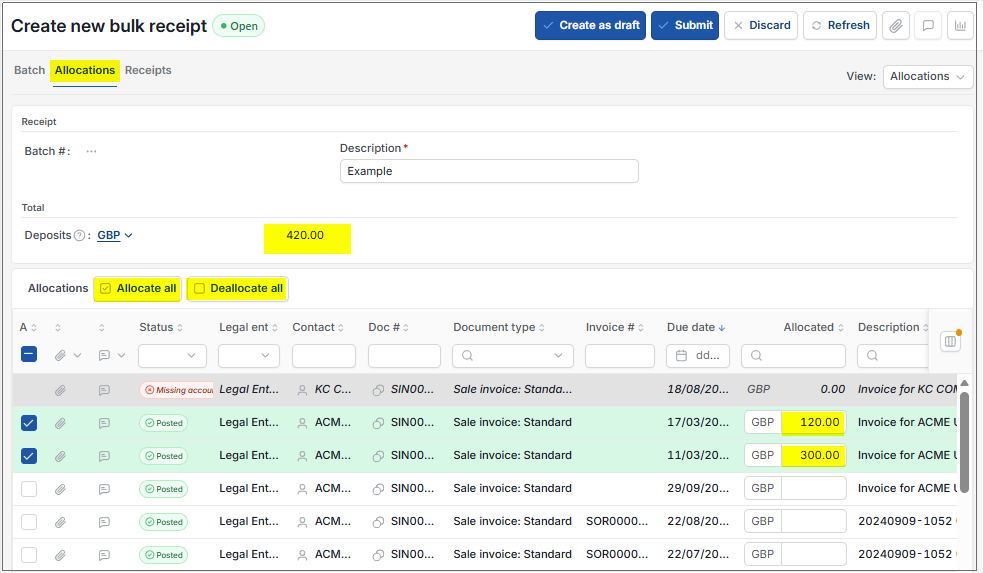
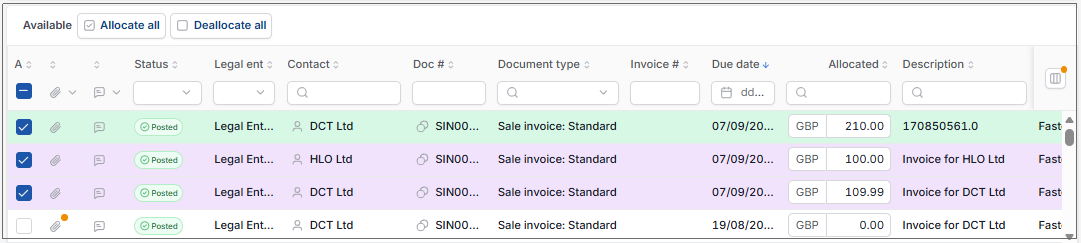
 button, deallocate all using the
  button.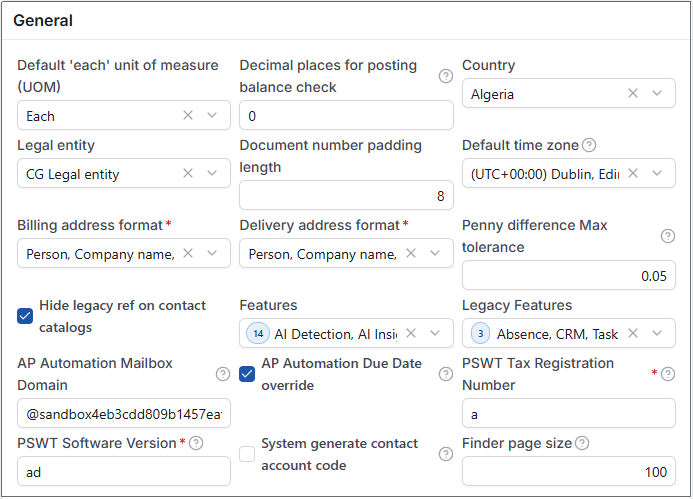
Interco Bulk Receipts
Definition - Intercompany also known as Interco
An Interco Bulk Receipt can also be set to allow the inclusion of multiple Sales Invoices which have differing Legal entities.
Pre-requisites to set up for Interco Bank receipts
Bulk templates - setup templates for Bulk receipts where Interco can be added showing which Legal entities are linked
Legal entities - setup Legal entities, if not already setup.
Bank accounts - where you can set up Payment methods
How to create an Interco Bulk receipt
Creating an Interco Bulk receipt
Select Bulk receipts from one of the options as shown in Viewing a Bulk receipt in the Bulk Receipts section above.
Select New.
Select a Interco Bulk receipt template in Receipt template -
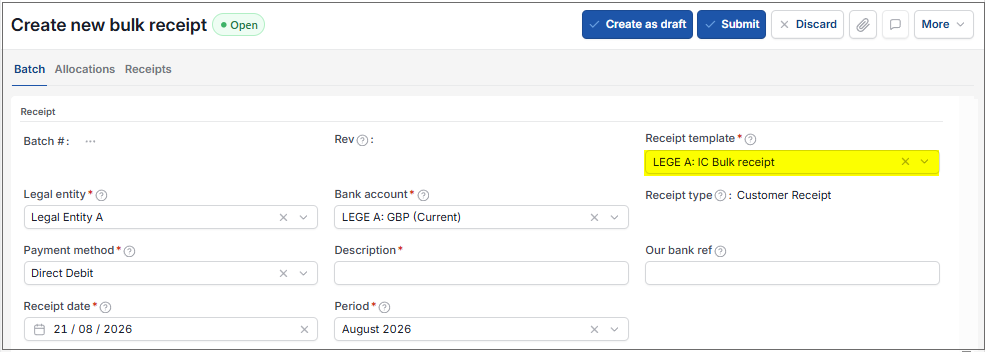
Legal entity: Select the Legal entity that will make the payment.
Bank account: Select a bank account for the selected Legal entity.
Description: Enter a unique description.
Receipt date: This is the payment date that will be specified in the payment file.
Note
If this date needs to be changed following submission (and before posting) and you have the correct access, you can use Amend to change it.
Payment method: Select the Payment method to use for the payment file creation.
Note
You can only select payment methods that have been setup against the Bank Account for batch payments.
The payee bank account must match those required for the payment method e.g. account no and sort code required.
Cheque does not require any columns to be matched.
Enter any other fields as necessary.
Select Submit.
Tip
Alternatively you can select Create as draft, this will save the receipt in drafts for later use.
or Discard to abandon the creation.
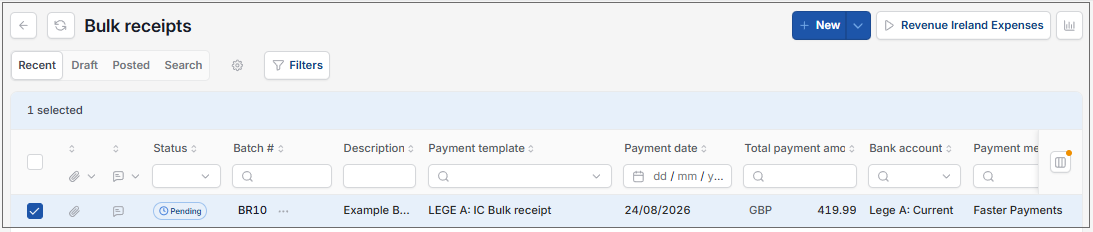
After refreshing the screen, the Interco Bulk receipt will show Pending authorisation. Select the Interco Bulk receipt and select Approve option - This will only be applicable if there is a workflow in place for authorisation.
Note
You have other options at this stage that allow you to Reject or Cancel this Interco Bulk receipt.
Refreshing the screen again shows Approved. Select the Interco Bulk receipt, if not already open, and then select Process option.

Select OK when the output message appears
The Interco Bulk receipts will now show as Processed, select the Interco Bulk receipt, if not already open, and then select Post
Your Bulk receipt will now show as Posted, after a refresh -
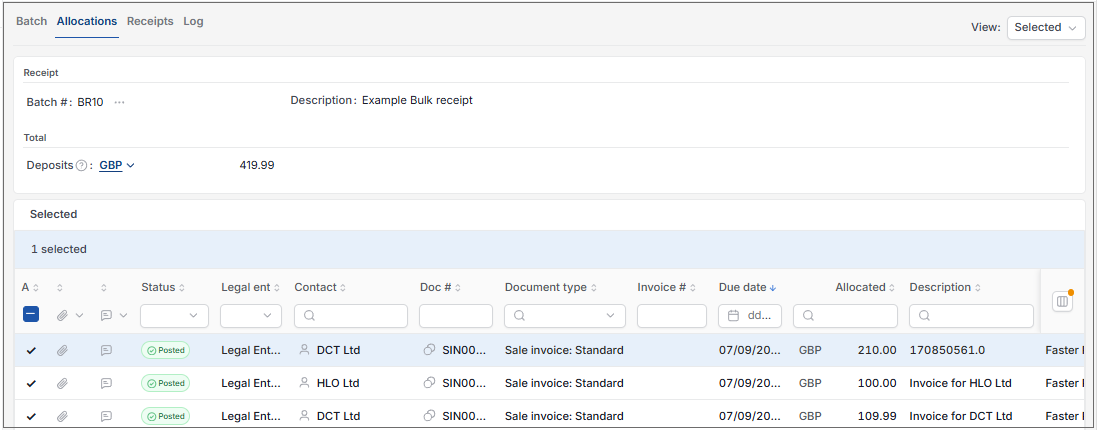
and individual Sales invoices will show as Paid.
Updated August 2026