Custom Data Access Control
Custom Data Access Control (CDAC) is available to restrict access to certain types of documents by forcing the user to enter a control field. For example, a customer may wish to split their users into departments. Then CDAC can be set up so that each user can only enter and see documents that they are entitled to according to the CDAC groups that you are in. This is also available for Custom attributes.
How to setup Custom Data Access Control
Setup for Custom Data Access Control
Environment defaults- go to the Access Restrictions section.
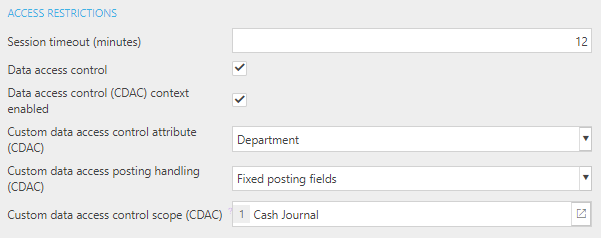
Session timeout (minutes): this is how many minutes a user can sit idle before their session times out. A timeout requires them to re-enter their password to resume.
Data access control: this needs to be ticked for DAC.
Data access control context enables:
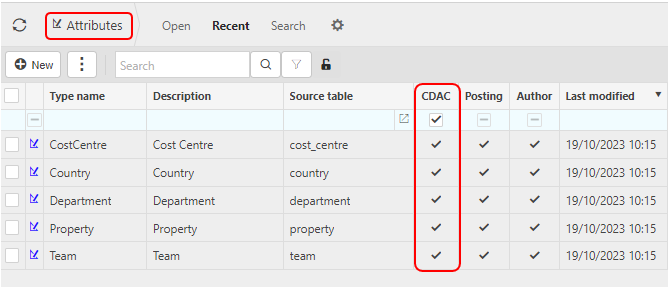
Custom data access control attribute (CDAC): this is the Attribute you wish to use for CDAC - a column called CDAC is in Attributes and needs to be ticked if it is to be a CDAC Attribute. Users must be assigned to CDAC Groups per attribute value.
Note
If the Attribute has the Author column ticked, then that Attribute has been decided if it is or isn't available for CDAC to prevent complications of certain documents.
Tip
Custom attributes can be created and used for CDAC. See Attributes
Custom data access posting handling (CDAC): this is the behaviour of the CDAC value on the posting lines - it will either enter the default posting field, do nothing or fix the field from the CDAC - i.e. if fixed you can't change the field on the posting line.
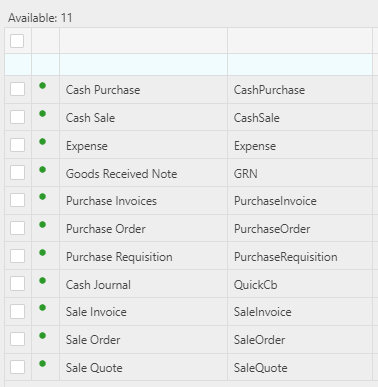
Custom data access control scope (CDAC): these are the document classes you wish to use for CDAC. Some users may only wish to use CDAC for one or two documents, some may wish to add all document types.
Note
These are the available documents that are supported at the moment - more will be available later.
-
Select Data Access Control from Pulse or Quick menu.
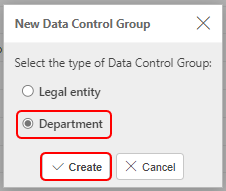
Press New and select the Custom Attribute used for CDAC. In this case, select Department, then select Create.
Enter Code and Description for the new DAC Group.
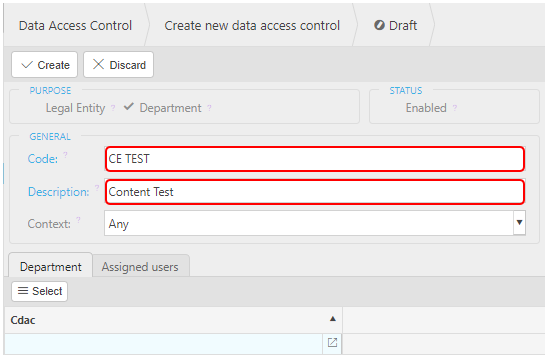
Add Department(s) via the Department tab - press the select button, tick departments from left-hand 'Available' column and move to right-hand 'Selected' column. Press Apply button to save selection.
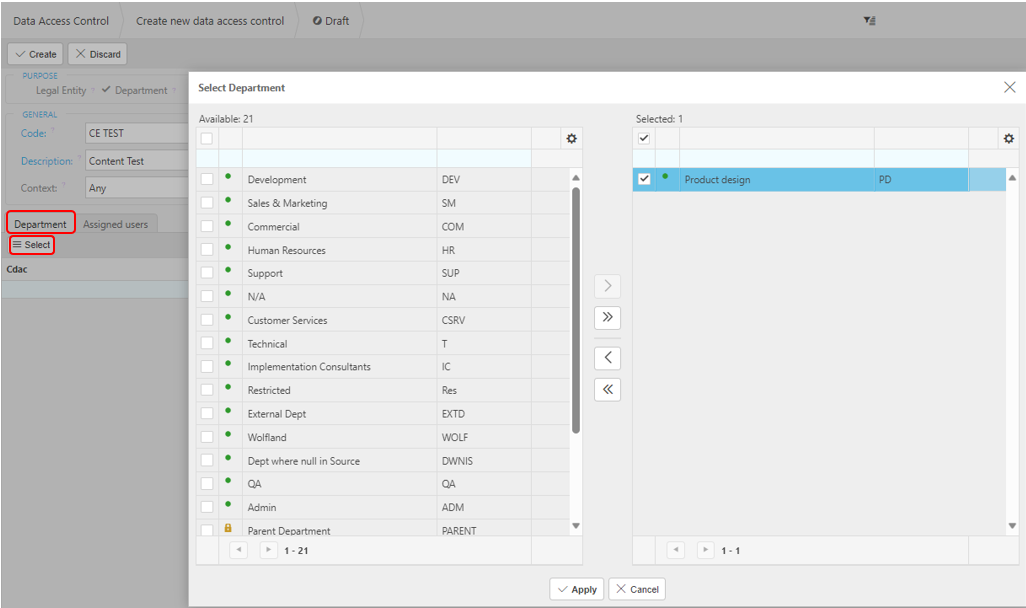
Assign User(s) via the Assigned User tab - press the select button, tick Users from left-hand 'Available' column and move to right-hand 'Selected' column. Press Apply button to save selection.
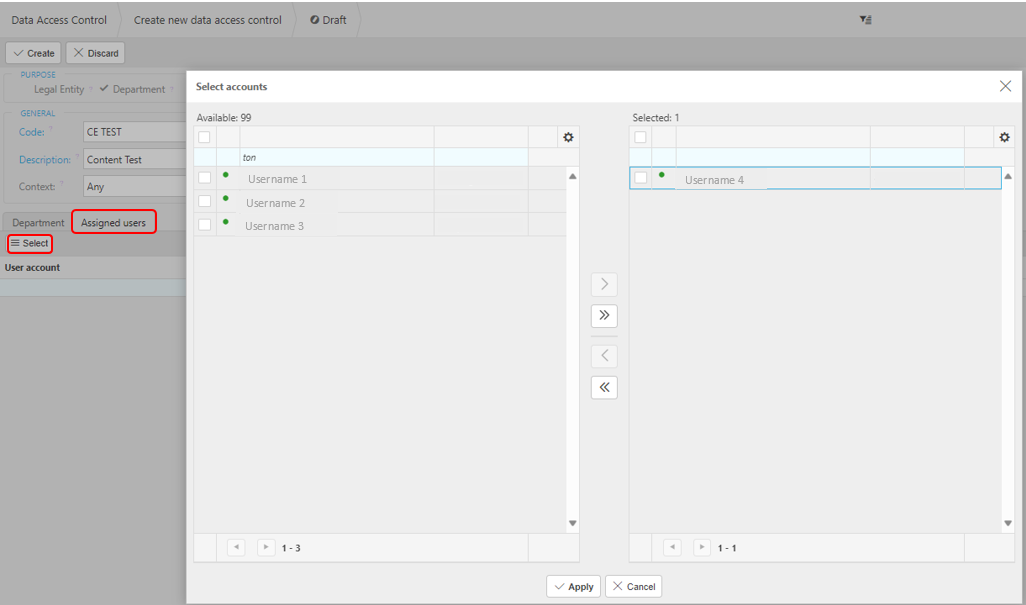
Select Create and Enable the DAC Group
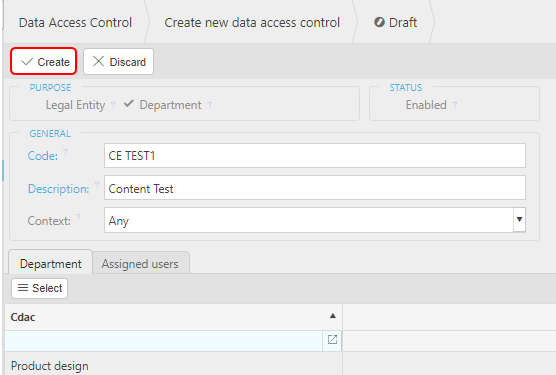
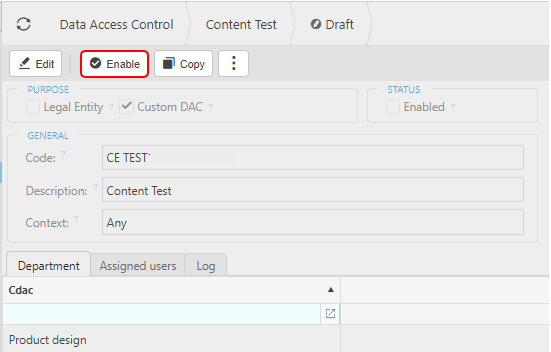
To make the DAC active, select Enable button.
The DAC will then be stamped with a green Enabled mark.
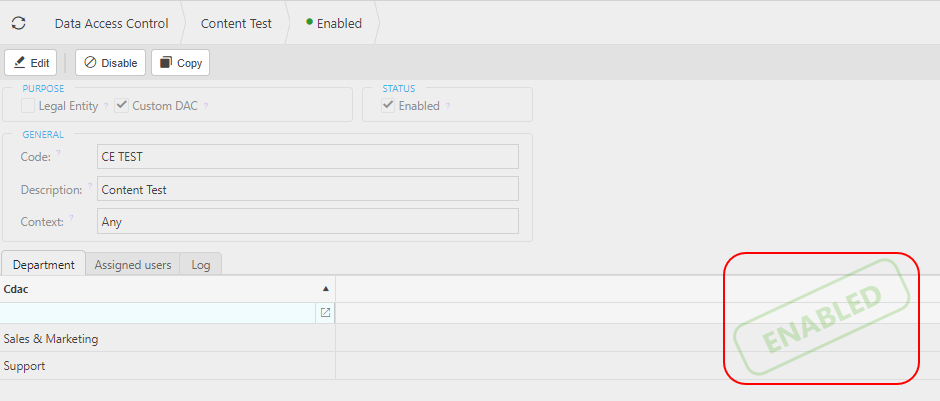
Example showing Custom Data Access Control
Example showing Custom Data Access Control
The following Guides will use a Purchase Invoice as an example (as long as it has been selected as in scope for CDAC), but the process is similar for other Documents that are in scope - see Custom data access control scope (CDAC) in Access restrictions in Environment defaults explanation above.
Select Purchase Invoices from one of the menu options.

Using the
 cog button, select the Department and the Owner attributes.
Select New, and then select appropriate Purchase Order.
The CDAC attribute will now be a field in the General section.
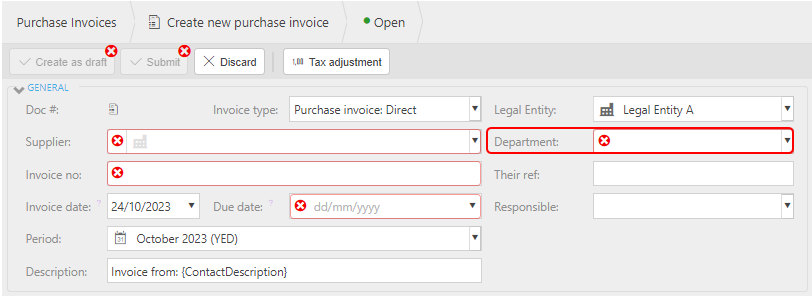
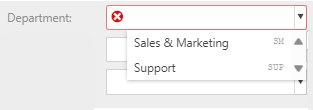
Using the
 dropdown option on the Department field will show only the options available as previously setup in the Data Access Control - see above.
Adding Lines, the CDAC attribute will show in the Posting line attributes.
Depending on the setting on Custom data access posting handling (CDAC) in Environment defaults (see above) will determine if this field can be changed, defaulted or fixed. If it can be changed, you will only be able to change it to a Department that is available to you.

Updated November 2025