Chart of Account Rules
Note
To view the legacy version, please select Legacy User Guide.
Only users with access to the ‘Account admin’ User role will be able to view the Chart of account rules.
Each new Account created on the Chart of Accounts must be assigned a set of rules. iplicit has pre-defined rules which can be edited, copied or new rules created.
The rules are the Attributes that are relevant to the account when used on a transaction, for instance Tax codes, Departments, Cost Centres.
Account rules can be assigned to Product records, which will take priority over the rule set on the account.
For instance, there may be a single Chart of Accounts for Travel costs but depending on the Product some types of expense may/may not include Tax.
How to view Chart of Account Rules
Viewing Chart of Account Rules
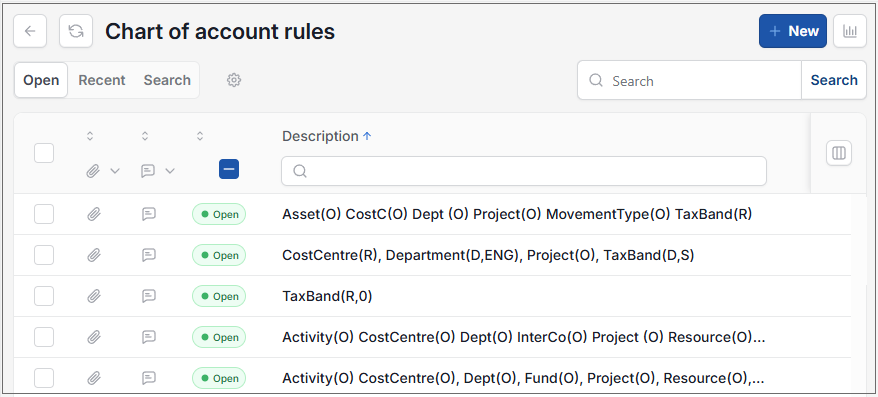
As per Generic Navigation options, either from left-hand navigation panel, expand Settings and select Chart of account rules from the GL folder or enter Chart of account rules in the Search option.
This will then show the Chart of account rules on the system where normal customisation of Sets can be used.
Tip
To modify the columns displayed, select  option on the right of the column display, then tick/untick the information you want to hide or display.
How to create Chart of Account Rules
Create a Chart of Account Rules
Select Chart of account rules from one of the options as shown above.
Select New.
Enter a description for the rule.
Tip
Make the Description a useful means of identification of the rules
The rule below shows Cost Centre, Department & Project are all Optional, the Tax Band is Required & Defaults to Standard.
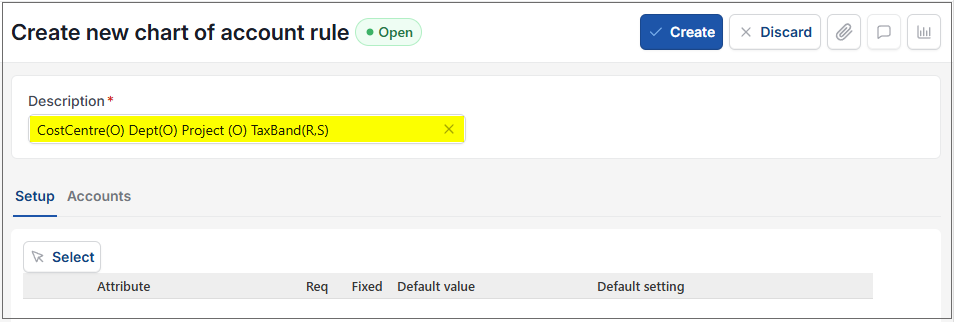
This is very useful for identification purposes at the time of selection.
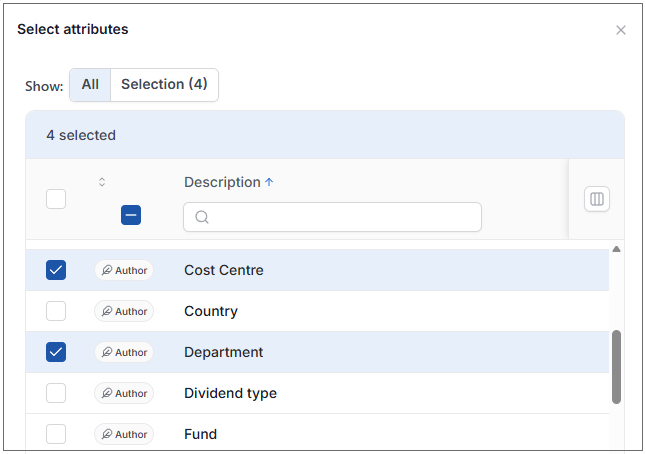
Click on the Select button on the Setup tab and select required Attributes.
Note
You must always include the Tax Band Attributes and it must be required Req.
Only Attributes identified as Posting can be selected. This includes custom Attributes.
Select Confirm to save the selected attributes.
Tip
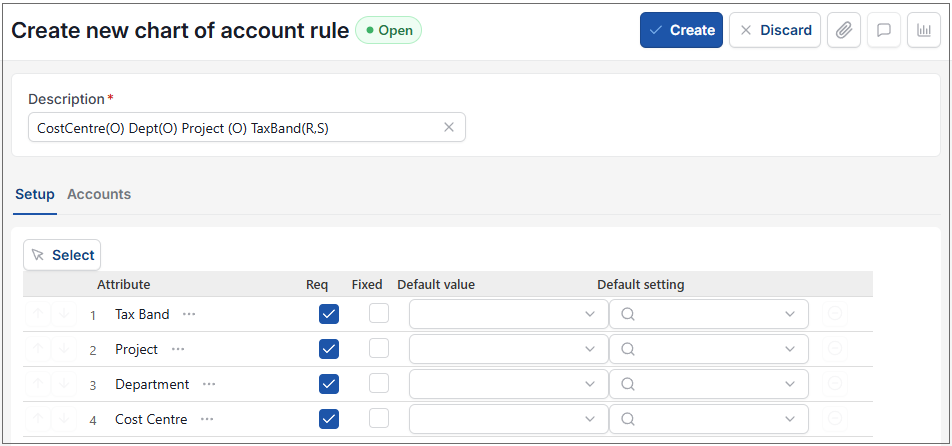
The order of lines can be re-arranged using the arrows.
Also, the end of the line displays the Delete icon if the attribute is no longer required.
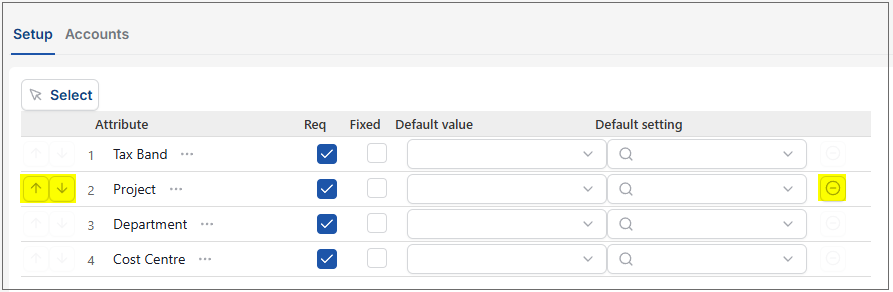
Apply settings to each selected Attributes.
Each of the Attributes can have different settings applied for efficiency when used at transaction level.
Default value: optional field if populated the content will be pre-populated at transaction level.
Req (Required): if selected this means the field must be populated at transaction level.
Fixed: if selected this will block the default value from being altered at transaction level.
Setting hash, where relevant rather than using a default value the detail can be based on a setting on the system.
Note
In the example below the department field will be populated from the user department as per the user My Settings rather than from the default value on the rule.
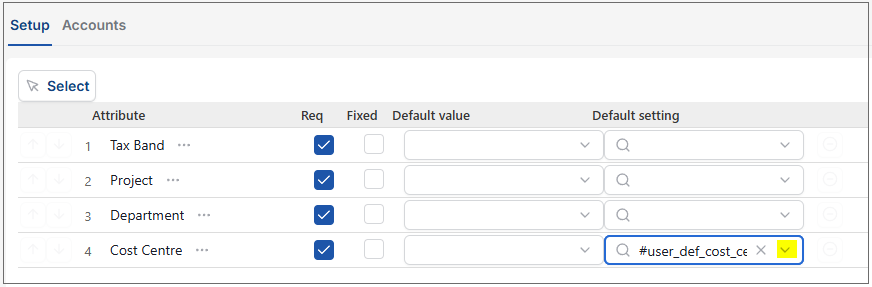
Once complete, select the Create button.
Tip
Open existing rules can be Locked or Copied via the
 option.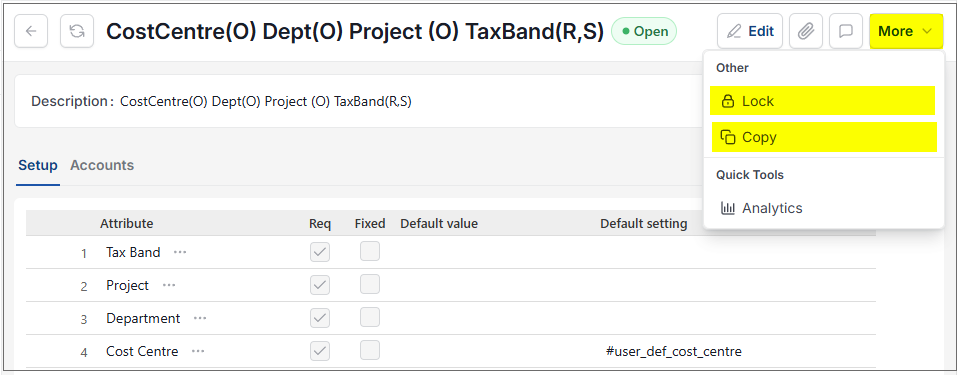
Rules can be Locked via the finder, if no longer required
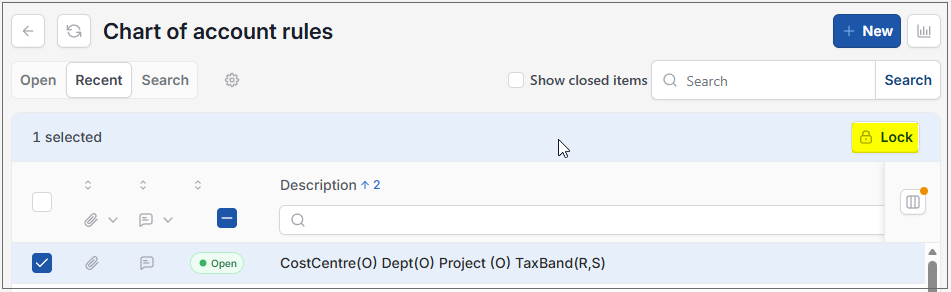
Locked rules can also be deleted if they are not used by any Chart of Accounts.
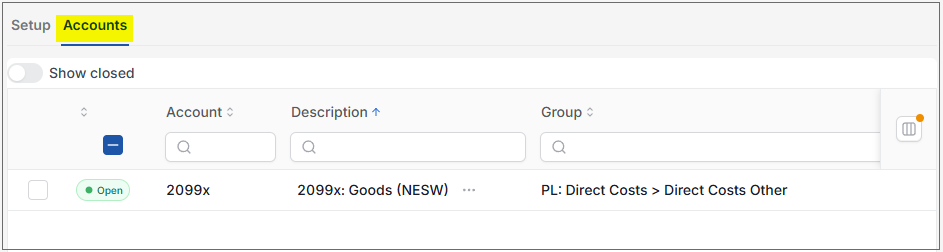
The account tab of the record displays the Chart of account/s using this rule
How to see Chart of Account Rules in use
Show example of Chart of Account Rules in use
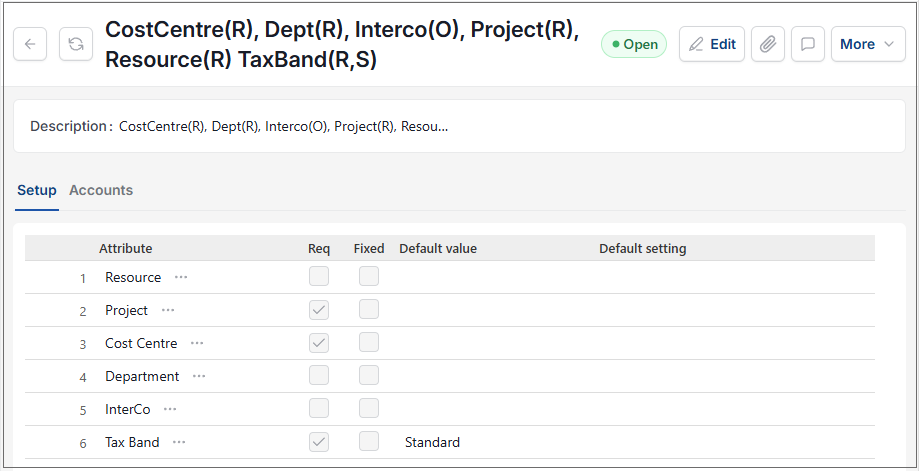
For Chart of Account Rule - CostCentre(R), Dept(R), Interco(O), Project(R), Resource(R) TaxBand(R,S)
This has the follow attributes set. Tax Band has a default value set as Standard.
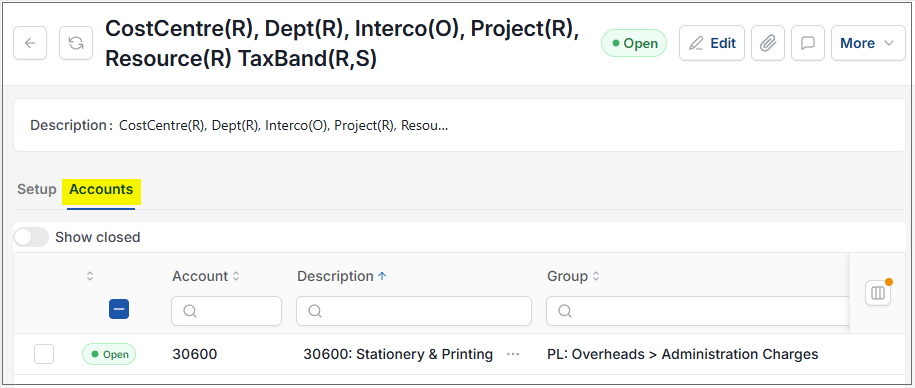
The Accounts tab shows the Chart of accounts that use this Chart of account rule.
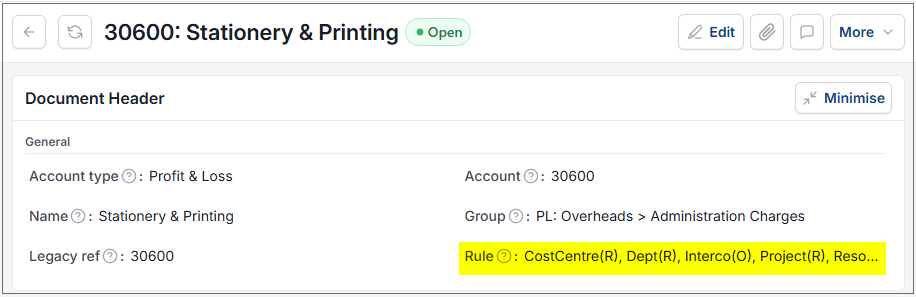
Now select one of the accounts using the Chart of accounts menu e.g. 30600: Stationery & Printing
The Rule option shows the Chart of accounts rule above has been selected.
Now when this Chart of accounts is selected when creating, for example, a Purchase invoice, the account 30600: Stationery & Printing can be selected. This will then have dropdown boxes showing for each attribute that was defined in the Chart of account rule
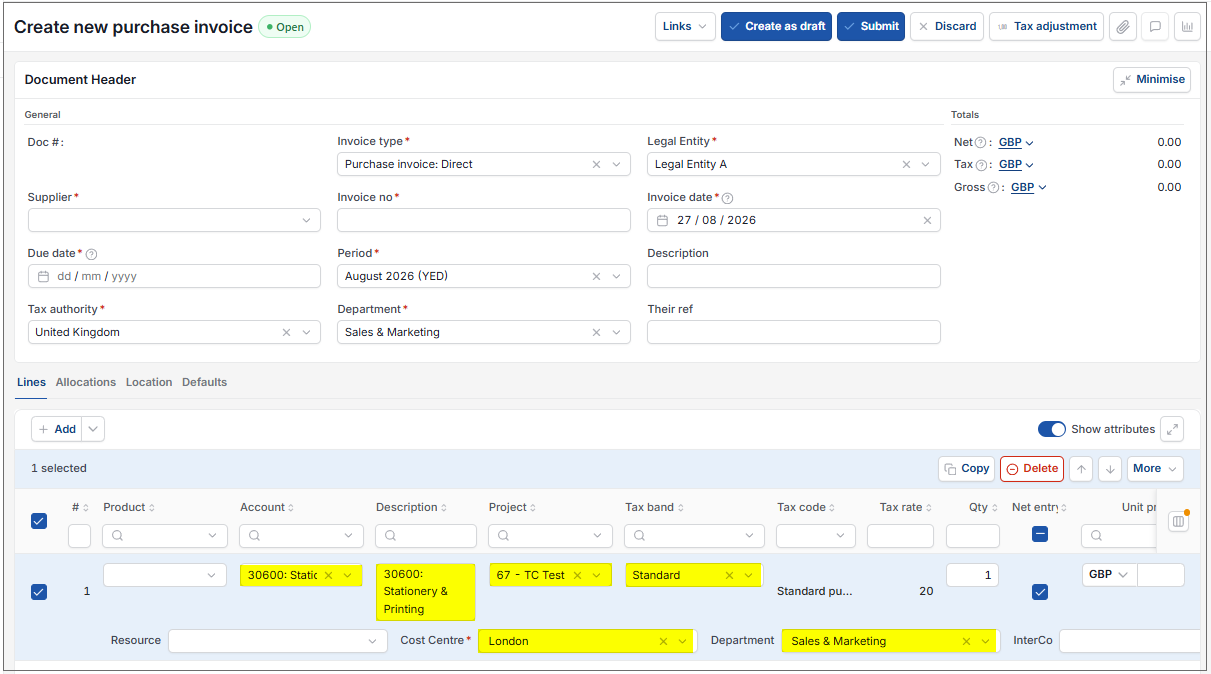
Tax band has automatically populated with Standard as that was set as a default setting in the Chart of account rule.
How to set Interco on Chart of Account Rules
Interco
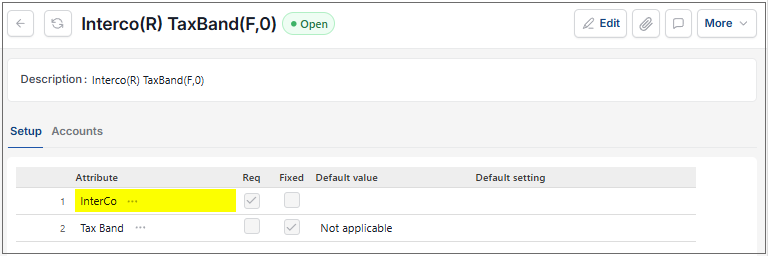
Interco Chart of accounts must have "Interco" ticked on the account and the attribute must be included on the related Chart of Account rule.
Updated August 2026