Timesheets
Timesheets can be entered by the user for themself only or for other users (where timesheet entry has been delegated to allow entries by another user e.g. Timesheet Administrator). The method of timesheet entry is common for both, but access differs as follows.
How to view Timesheets
Viewing Timesheets
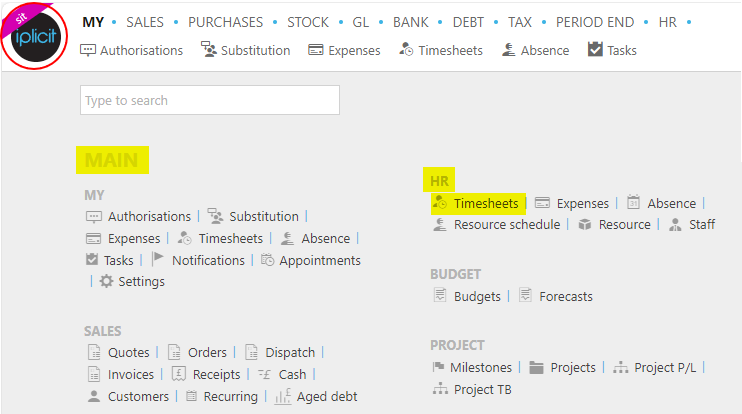
Select HR / Timesheets from the Main section of the pulse menu -
Note
This is an example screen shot of the pulse menu.
Position of the menu items within pulse will vary according to available options and dependant on personal screen resolution.
or from the Main Menu select HR then Timesheets -

or enter My Timesheets in the Quick Launch Side Menu.

This will then show the Timesheets records on the system where normal customisation of Sets can be used.

Icon:
 = Approved /
  = Pending authorisation /
  = draft.
Date from: The start date of the timesheet.
Date to: The end date of the timesheet.
Quantity: The total amount of hours logged in the timesheet.
Created date: This will be presented as the UTC date and time.
Created by: Who created the timesheet.
Last modified: This will be presented as the UTC date and time.
Last modified by: The person who last modified the timesheet.
Tip
To modify the columns displayed, select
 in the top right of the page, then untick the information you do not want to see.
How to enter timesheets
Entering timesheets
To enter your own timesheets, select My timesheets or entering a timesheet for another user, select Timesheet manager from one of the options as shown above in Viewing Timesheets from option above.
Press New.

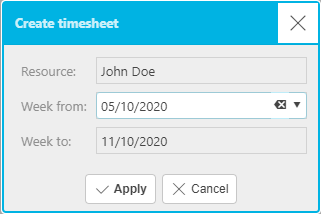
Add the Resource for the Timesheet. If creating your own timesheet, the popup will show with you as the Resource. Enter the correct Week from and then press Apply.
Note
Timesheets are always weekly, week starting Monday.
Timesheets can be entered against Resource without the resource needing to be a user.
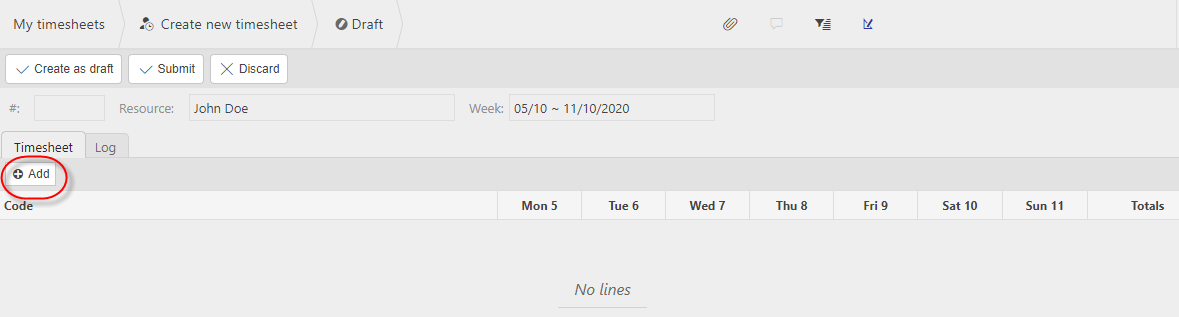
Select Add to create new timesheet line(s).
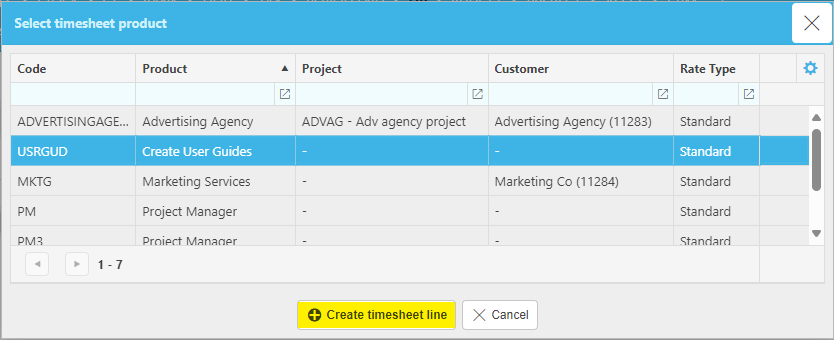
Select a Timesheet product then press Create timesheet line.
Tip
The same timesheet product can be entered multiple times in the same week.
Add the posting attribute Project.

If the Project selected was created with additional attributes e.g.
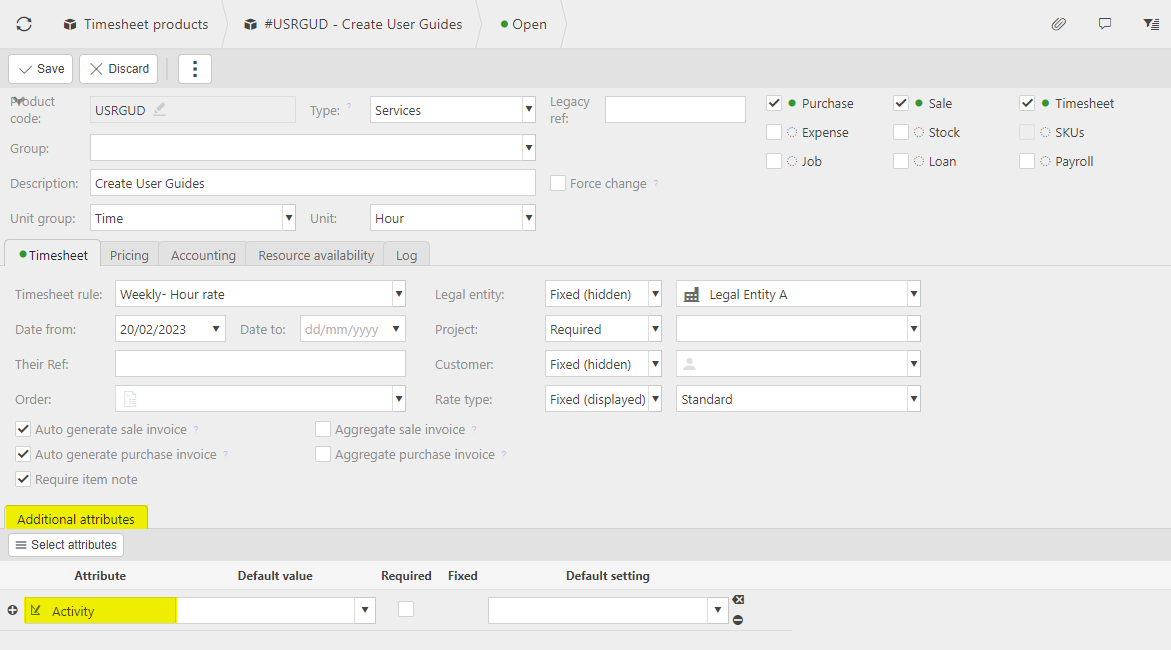
... then the additional attribute will show which will allow further detailed analysis for the timesheet.

Press Apply.

Now enter the timesheet values.

Tip
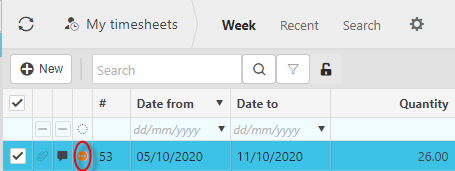
Click on the day to enter start/end times and notes - the
 icon will show if notes are required.
Once you are happy with your timesheet select Submit.
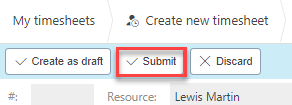
If you have not setup an Authorisation Workflows the timesheet will automatically convert to an approved status.
How to abandon a timesheet
Abandon a timesheet
Only saved timesheets can be abandoned.
Following abandon, the timesheet can be deleted.
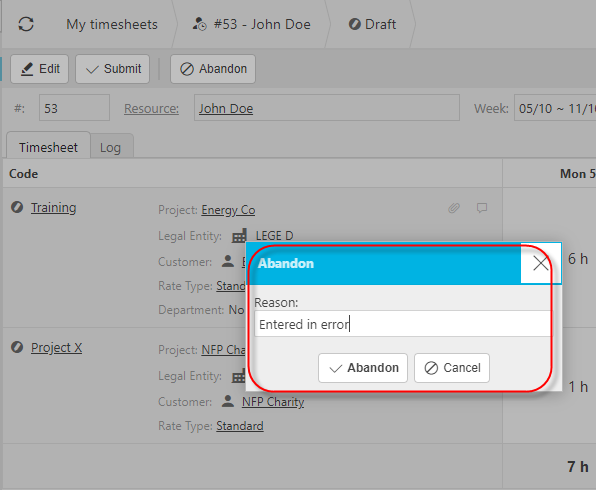
You must enter a reason to explain why you wish to abandon a timesheet.
How to delete a timesheet
Delete a timesheet
Only abandoned timesheets can be deleted.
Beware, delete will remove the timesheet and all related timesheet lines.
Select the
 icon, followed by Delete.
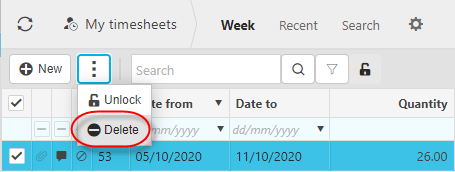
Note
Rather than delete an abandoned timesheet, it is also possible to Unlock and Edit an abandoned timesheet.
Select the
icon, followed by Unlock.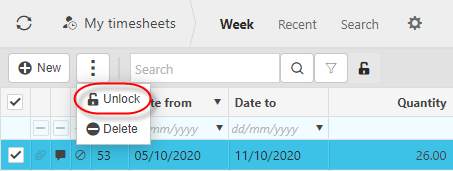
How to Submit a timesheet
Submit a timesheet
Find the timesheet that you would like to submit.
Select Submit to send the timesheet for approval.
Note
If no timesheet authorisation workflow is setup, the timesheet will auto approve.
If a timesheet is sent for approval, it will be assigned a Pending status and icon.
If a timesheet is approved, it will be assigned an approved status and icon.
How to Authorise a timesheet
Authorise a timesheet
Authorisation workflow must be set up for timesheets to be distributed for authorisation.
Commonly, daily emails are sent to authorisers requesting that they authorise timesheets.
The User who needs to authorise timesheets will see them waiting authorisation in MY authorisations.
Following authorisation, sale timesheets are available for sale invoice creation from the timesheet.
Self-billing invoices can also be generated from timesheets.
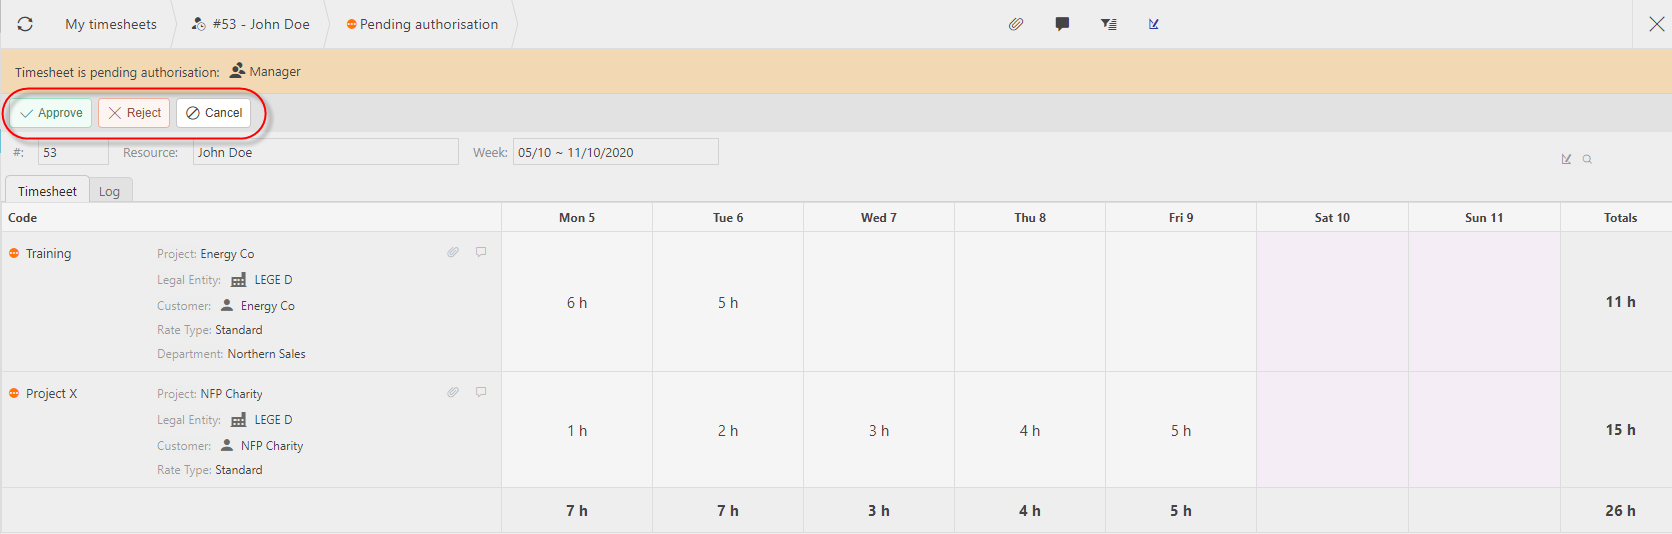
Approve in the either MY authorisations or the timesheet editor itself.
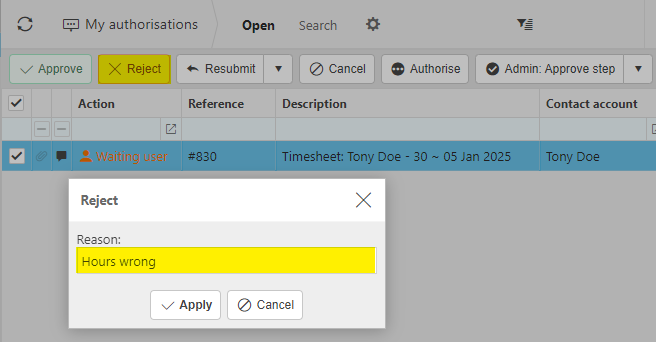
MY Authorisations

Timesheet editor
Note
You can also choose to reject a timesheet.
Timesheet rejection
Upon rejection, the timesheet will typically be returned as a task to the timesheet resource of the person who entered the timesheet.
Rejection requires an explanation of why the timesheet was rejected. This is used to advise the person receiving the rejection, how to progress it.
How to copy timesheets
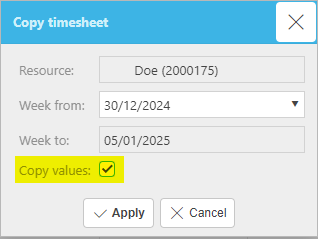
Copy a timesheet with or without the values
It is now possible to copy timesheets, with or without timesheet values.
Important
Only Timesheets created by the User can be copied.
To do so, press Copy.

You can now choose whether or not you would like to Copy values.
Note
Copying without values will copy the timesheet with blank fields in the days.
How to stop/hold timesheets
Hold and stop timesheets
Timesheets status can now be set to hold or not to be invoiced (Stop).
The status of the timesheet will be presented by the following icons:
 = Available to be invoiced.
 = Invoiced.
 = On hold.
 = Not to be invoiced.
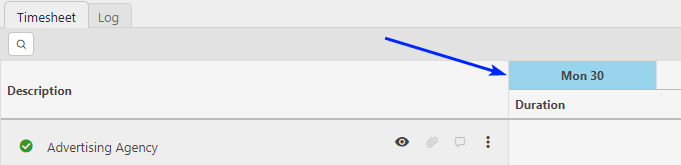
To set a status, press the day you would like to set a status for.
From the
option, select Amend invoice status.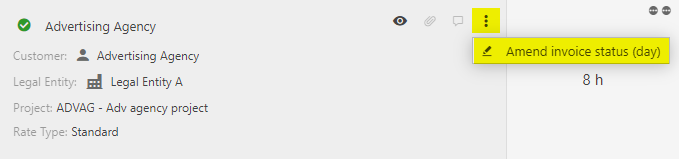
Select the status that you would then press Apply.

Tip
You can Amend invoice status for the whole week by following the same process but not selecting an individual date as stated in (step 1).
Price a timesheet by resource group
Price a timesheet by resource group
- Timesheet product pricing can now also be setup by Resource Group. This supports reduced price maintenance.
Open Timesheet products
Select the timesheet product that you would like to price.
Open the Pricing tab.
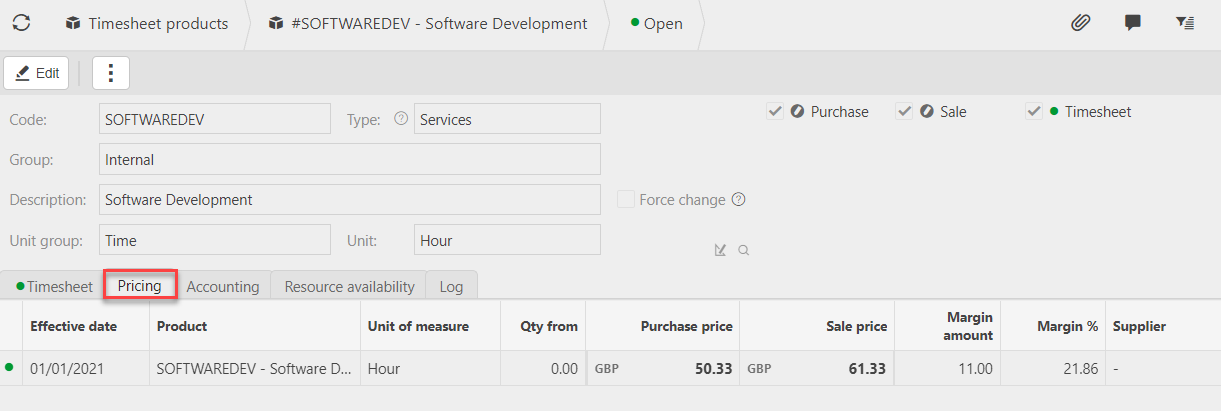
Press Edit
Select the resource or resource group for the timesheet product pricing.
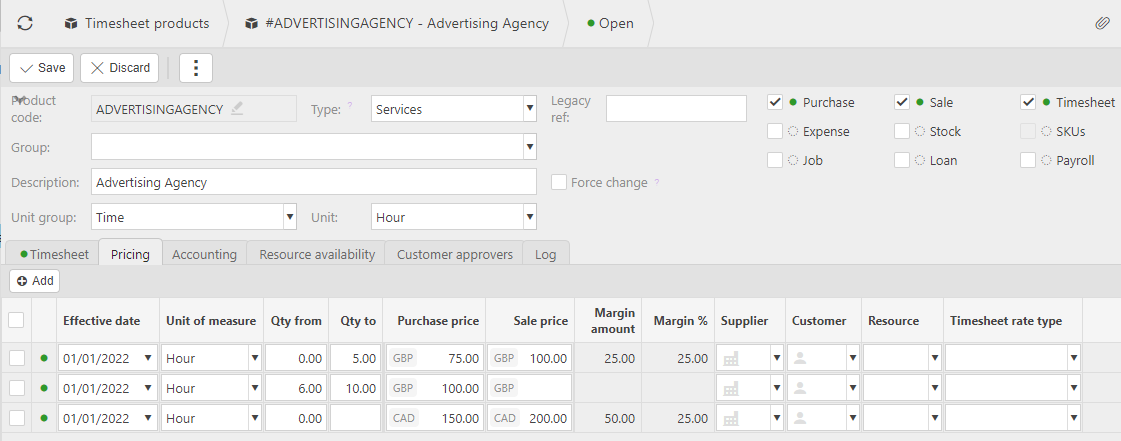
Press Save.
Updated May 2026