Deferred and Prepayment Distribution Profile
A Deferred and prepayment distribution profile typically refers to a setup where distributions (such as dividends, interest, or other payments) are scheduled to be paid out at a later date rather than immediately.
How to view Deferred and prepayment distribution profile
Viewing Deferred and prepayment distribution profile
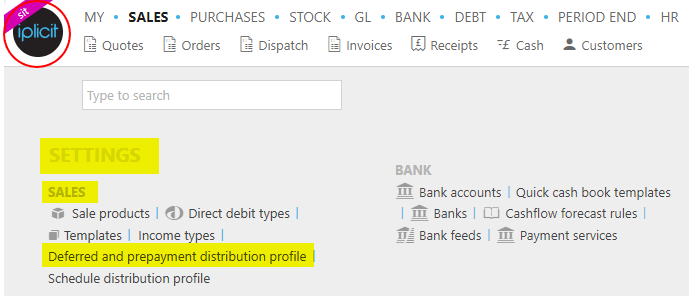
Select Sales / Deferred and prepayment distribution profile from the Settings section of the pulse menu -
Note
This is an example screenshot of the pulse menu.
Position of the menu items within pulse will vary according to available options and dependant on personal screen resolution.
or enter Deferred and prepayment distribution profile in the Quick Launch Side Menu.

This will then show the Deferred and prepayment distribution profile on the system where normal customisation of Sets can be used.
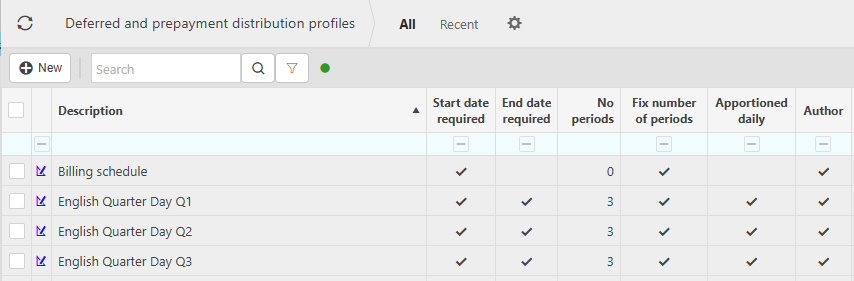
Start date required: If this is ticked, the start date is required.
End date required: If this is ticked, the end date is required.
No Periods: This is the number of periods that the deferred is distributed over. If the value = 0 and the end date is not required, then the end date will be set to the start date. If the value = 0 and the end date is required, then the number of periods must be entered upon entry of the deferred lines on the sales document.
Fix Number of Periods: If this is ticked, the number of periods is fixed.
Apportioned Daily: If this is ticked, the amount will be apportioned by days. If unticked, apportionment will be evenly spread across the periods.
Author: If this is ticked the distribution profile cannot be edited, just locked.
Tip
To modify the columns displayed, select
 on the top right of the page, then tick/untick the information you want to hide or display.
How to edit a Distribution and prepayment distribution profile
Edit a Deferred and prepayment distribution profile
Select Deferred and prepayment distribution profile from one of the options as shown above in Viewing Deferred and prepayment distribution profile.
Select and open the distribution profile that you would like to edit - non Authored ones only.
Press Edit.
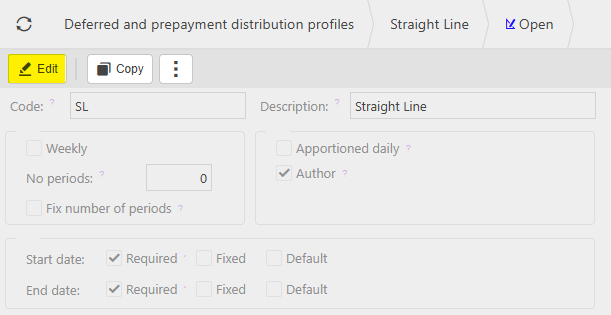
You can now make changed to the distribution setup. Once you are happy with your changes, press Save.
How to create a new Deferred and prepayment distribution profile
Create a Deferred and prepayment distribution profile
Select Deferred and prepayment distribution profile from one of the options as shown above in Viewing Deferred and prepayment distribution profile.
Press New
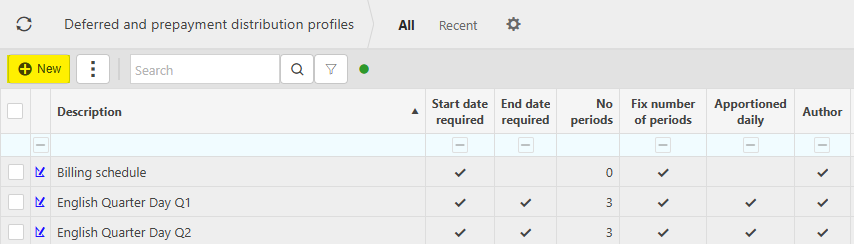
Enter a Code and Description.

Now choose the setup.
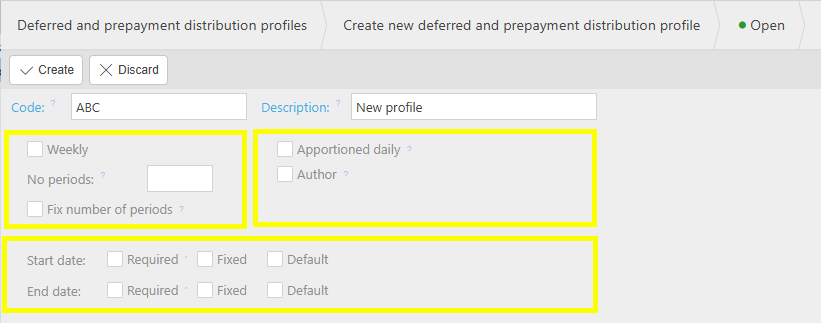
Weekly: If this is a weekly profile, then selecting this option will replace the No Periods option with Every number of weeks - which will be a required field.
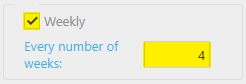
This is useful for non standard periods to coincide with business accounting rules.
Otherwise -
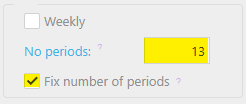
No Periods: Enter a default no of periods (this can be fixed). If the value = 0 and the end date is not required, then the end date will be set to the start date. If the value = 0 and the end date is required, then the number of periods must be entered upon entry of the deferred lines on the sales document.
Fix number of periods: If this is ticked, the number of periods cannot be changed.
Apportioned daily: Tick this checkbox for amount to be apportioned by days. Untick and apportionment will be evenly spread across the periods.
Author: If this is ticked the distribution profile cannot be edited, just locked.
Start date: Tick this checkbox if the start date is required.
End date: Tick this checkbox if the end date is required.
Required: If this is ticked, the start or end date is required.
Fixed: If this is ticked, the start or end date cannot be changed.
Default: If this is ticked, the start or end date is default.
When you are happy with the setup, press Save.
Updated May 2025