Customer Overdue
This feature is a configurable automation that evaluates Customer accounts for overdue debt and automatically applies or removes a Customer stop/on hold based on defined criteria.
The Automation requires a mandatory Overdue days threshold and supports optional filters such as Customer group, individual Customers, Legal entities, and Document types.
It integrates with the scheduler to allow periodic background execution.
The outcome will improve credit control, reduced manual effort, and consistent enforcement of overdue policies.
How to view Customer Overdue
Viewing Customer Overdue
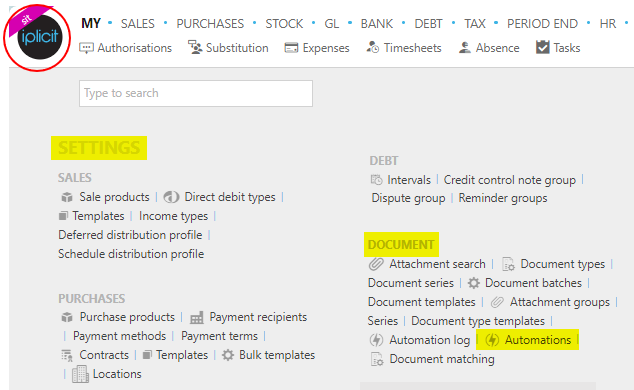
Select Document / Automations from the Settings section of the pulse menu -
Note
This is an example screen shot of the pulse menu.
Position of the menu items within pulse will vary according to available options and dependant on personal screen resolution.
or enter Automations in the Quick Launch Side Menu.

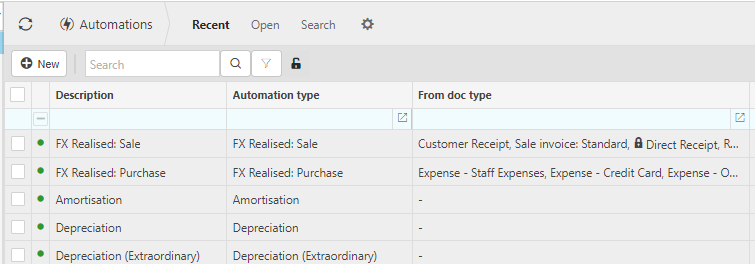
This will then show the Automations on the system where normal customisation of Sets can be used.
Tip
To modify the columns displayed, select  option on the right of the column display, then tick/untick the information you want to hide or display.
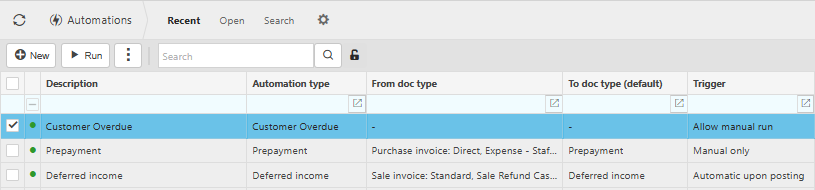
Select Customer Overdue from the list of Automations.
How to run Customer Overdue
Run Customer Overdue
Select and open Customer Overdue from Viewing Customer Overdue above.
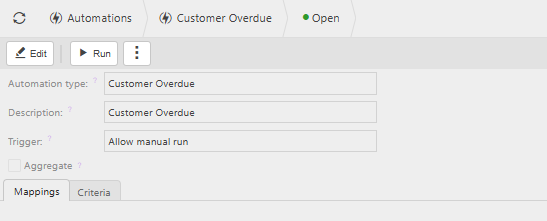
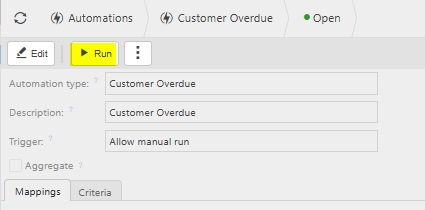
Select Run.
Enter the following data.
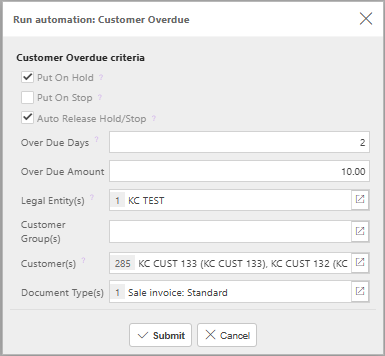
Put on Hold: Tick this box if you wish to put the Customer on hold.
Put on Stop: Tick this box if you wish to put the Customer on stop.
Auto Release Hold/Stop: Tick this box if you wish to automatically take the Customer off hold/stop if they no longer meet the criteria. Customers put on hold/stop manually will not be affected.
Over Due Days: Enter the number of overdue days.
Over Due Amount: Enter the overdue amounts.
Legal Entity(s): Select the Legal Entity(s).
Customer Group(s): Select Customer Group(s). All Customers within the selected groups will be included.
Customer(s): Select Customer(s).
Document Type(s): Select Document Types(s).
Press Submit.
Select OK to continue working. Automation progress will show on the bottom left of the screen showing either In progress or Complete - see details in step 5 of How to run Automations.
Updated July 2026