Banks
Note
To view the legacy version, please select Legacy User Guide.
How to view Banks
Viewing Banks
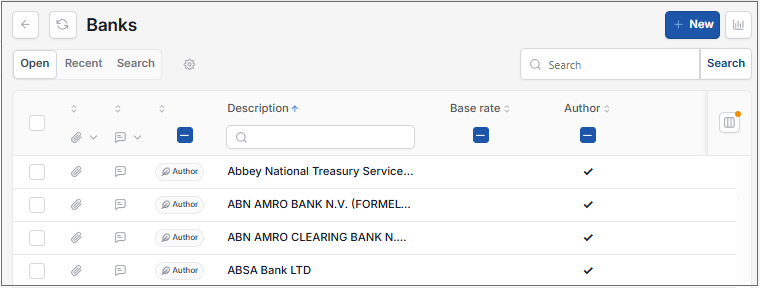
As per Generic Navigation options, either from left-hand navigation panel, expand Settings and select Banks from the Bank folder or enter Banks in the Search option.
This will then show the Banks on the system where normal customisation of Sets can be used.
Tip
To modify the columns displayed, select  option on the right of the column display, then tick/untick the information you want to hide or display.
Only users with access to the Bank Account Admin role will be able to view Banks.
The system has several Bank institutions pre-listed with an Author status, which signifies these cannot be deleted, although they can be Locked.
Each of the banks has the standard ISO codes providing the correct information for bank payment files.
Note
All bank institutes are created as part of iplicit with the correct ISO codes, if additional banks are required this will be undertaken by the development team. Bank are referred to when creating Bank Account attributes on the system.
Lock Bank
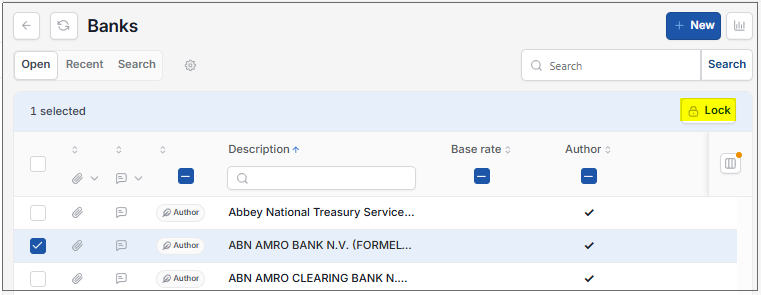
If you wish to reduce the list of available Banks, select the Bank and then select Lock.
Unlock Bank
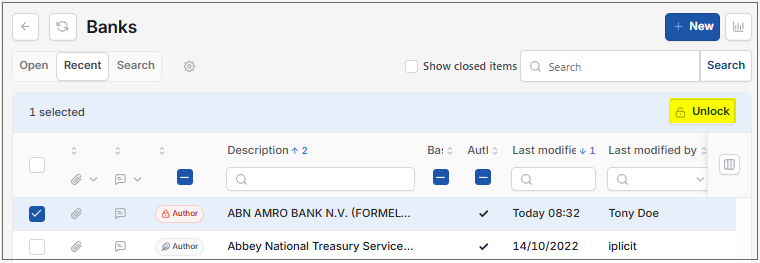
Select the locked Bank to unlock, the select the Unlock button.
Add Branches to a Bank
Entering the branch details is optional, but if completed they can be referred to when setting up a Bank account, which allows the information to be available if required for bank payment files.
Select New
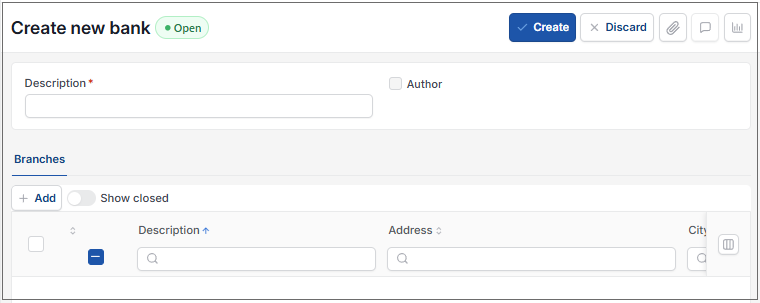
Enter Bank details, then select Create.
Updated September 2026