My Settings
How to view Settings
Viewing Settings
As per Generic Navigation options, either from left-hand navigation panel, select Settings from the My folder or enter Settings in the Search option.
Alternatively, on the bottom left-hand corner of any screen within iplicit will be the User options.
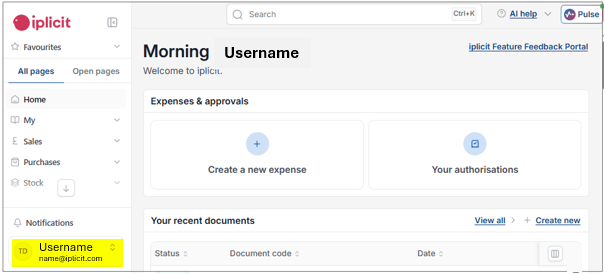
Select Settings
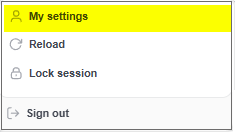
Enter User default options.
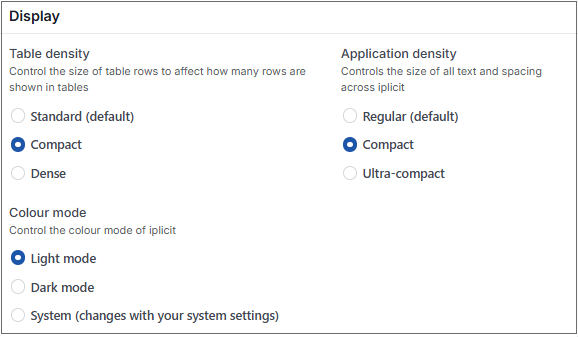
Display
Login

User Security - Manage
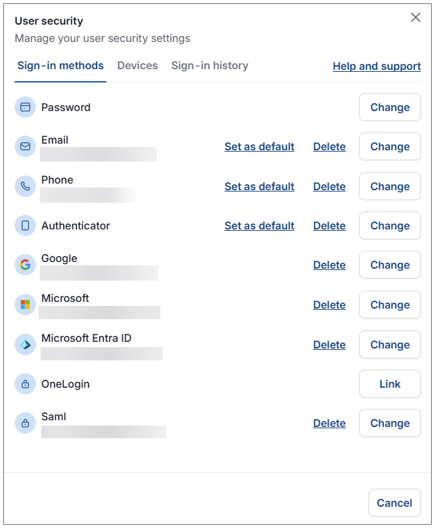
Sign in Methods
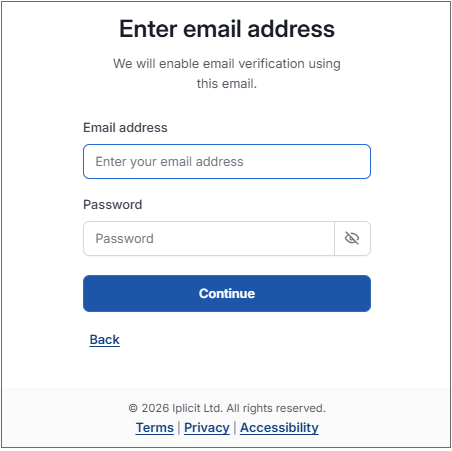
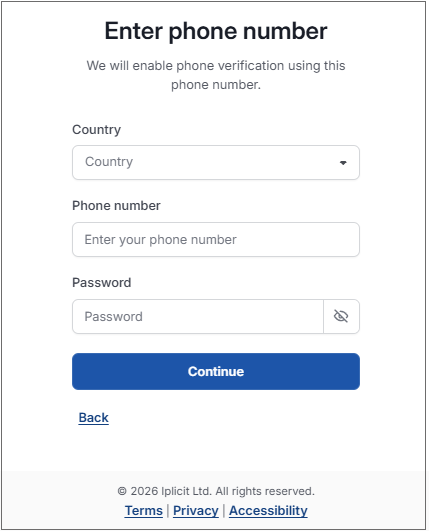
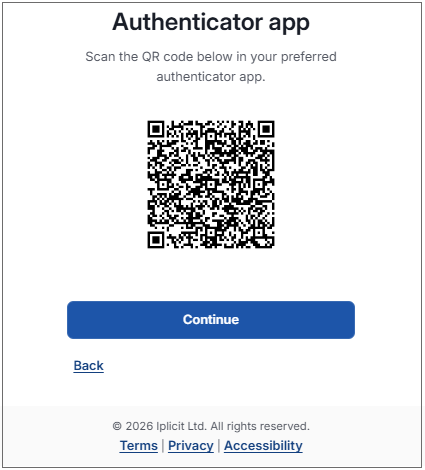
You can change or setup your password, email, and authenticator in this tab by selecting Change or Setup alongside the chosen sign in method.
Note
It is recommended that the minimum security should be Multi-factor authentication (MFA) which will include username and password, followed by a MFA option including email, SMS and authenticator app.
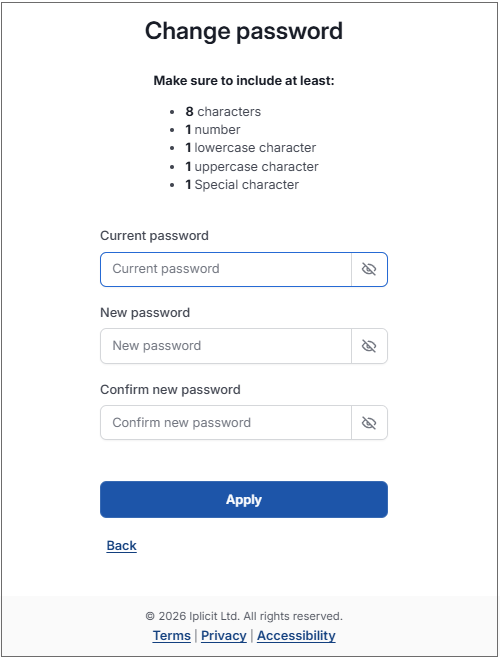
Select Change to change your password.
Note
The Password policy is defined in Environment defaults.
Other Security settings
You can choose your default sign-in method by selecting set as default.
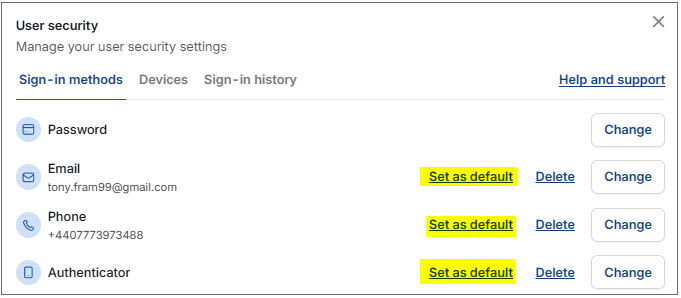
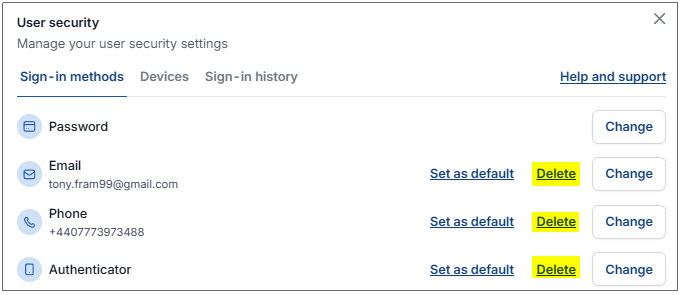
The option to delete a sign-in method is available by selecting delete alongside the sign in method that you are trying to delete.
Devices
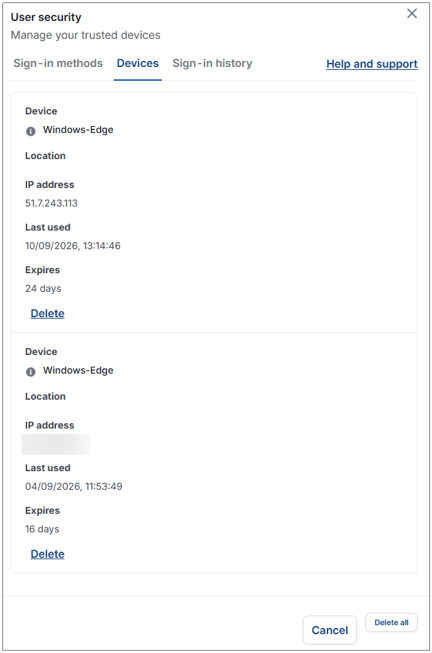
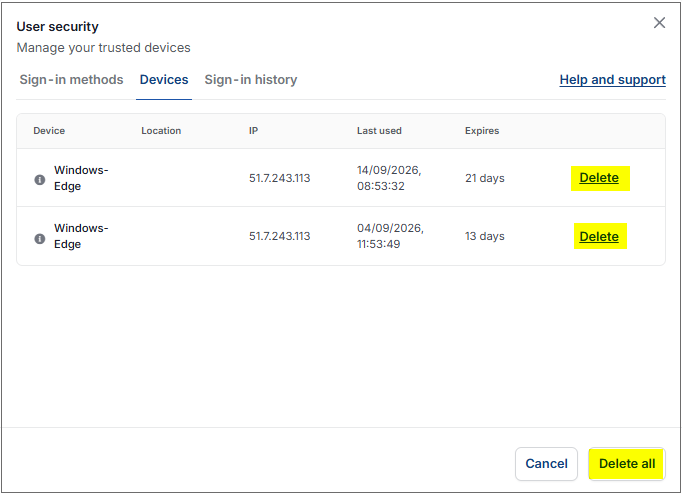
Device: This will show the different devices that your account trusts.
Location: The system shows the geo-location of the Trusted device. It shows devices anywhere in the world.
IP: The internet protocol (IP) is a unique label that shows host or network interface identification.
Last used: This section shows the exact time and date that the device last used the account.
Expires: This section shows the ‘trusted device’ countdown which as default is set to 30 days.
Tip
You can delete all trusted devices to secure your account if necessary. This will remove all devices that are linked to your account, meaning the next time you login to any device, you will have to repeat the multi-factor authentication process to become a trusted device again.
NB. You will also have to repeat the multi-factor authentication process after the expiry date is passed (default 30 days).
You can also delete selected devices rather than all of them. To do this, select delete alongside the device of your choosing, this will force the device to go through the multi-factor authentication process to gain access to your account and become a trusted device again.
Sign in History
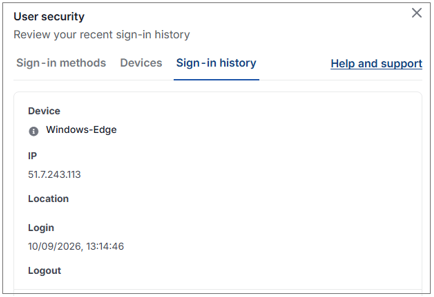
Device: This will show the different devices that has logged into your account. Note that logging into your account using different browsers (e.g., chrome, safari ore Firefox) with the same device, will appear in this section as a different device.
IP: The internet protocol (IP) is a unique label that shows host or network interface identification.
Location: The system uses geo-locations to provide the user with information regarding device locations. This software can show devices anywhere in the world.
Login: This section shows the exact time and date that the device logged in.
- Logout: This section shows the exact time and date that the device logged out.
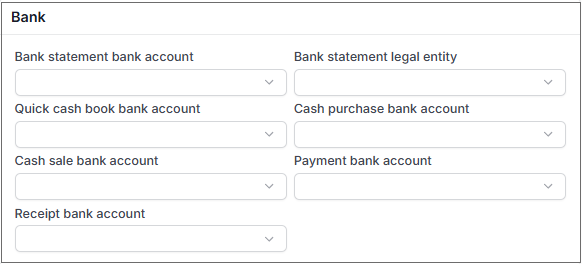
Bank
Contacts

Currency, exchange & rounding

Debt

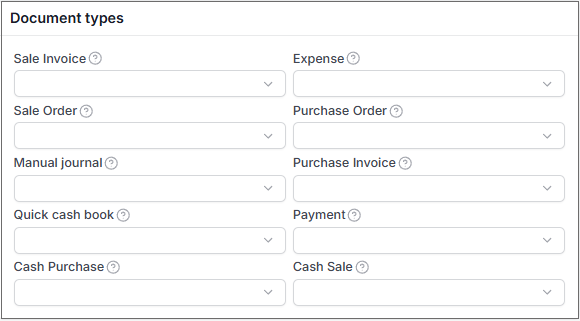
Document types
Expenses

General
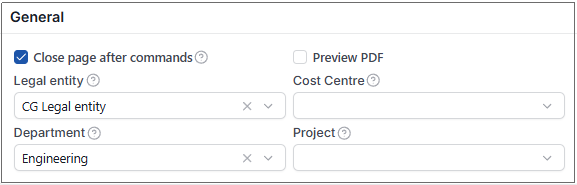
Insider preview

Notifications
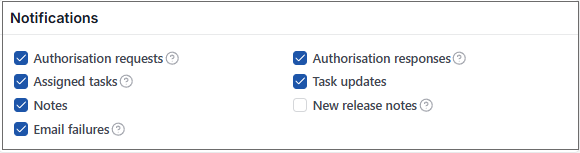
Print

Purchase
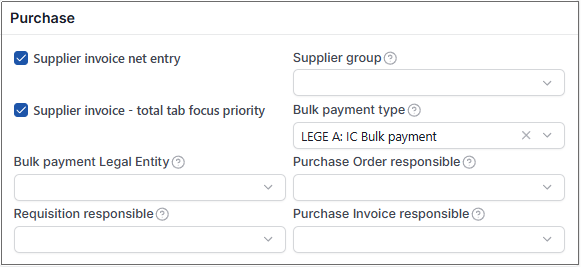
Sales
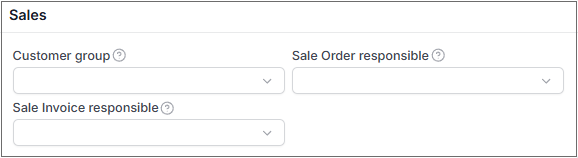
Stock

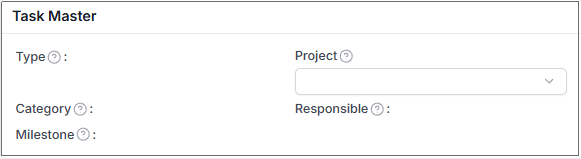
Task Master
User Interface

Updated September 2026