My Security
My Security is used for the User to setup their login security default settings.
Open Security by selecting your name in the top right-hand corner.

From the drop-down bar, select Security.
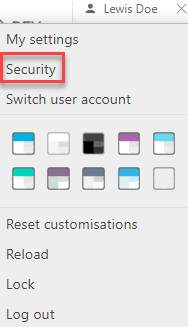
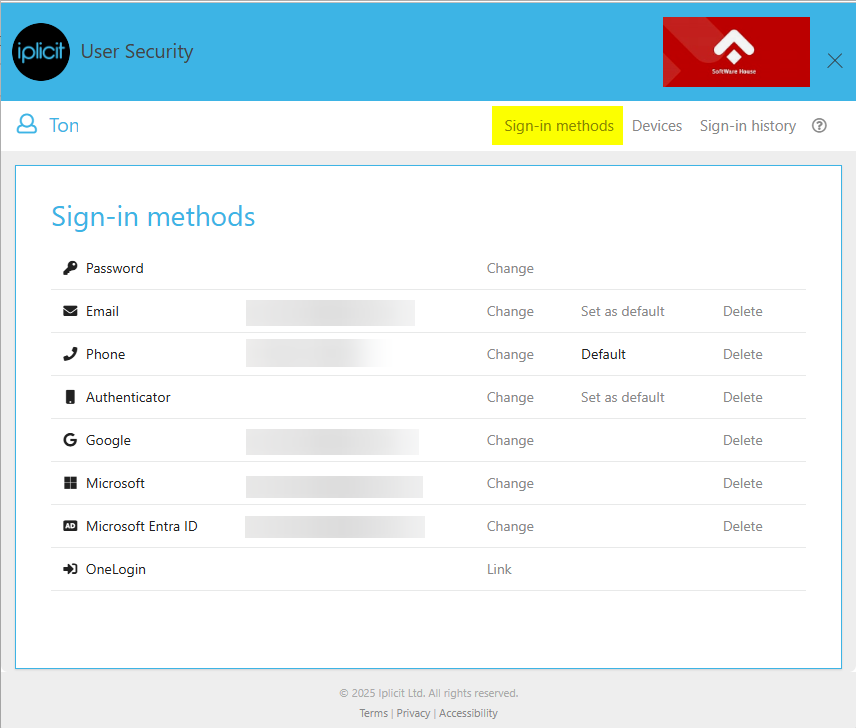
Selecting Security opens the sign-in methods screen.
Note
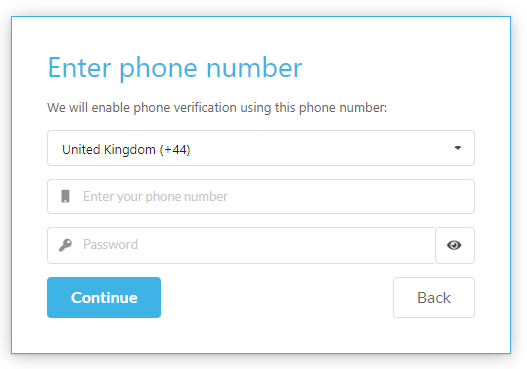
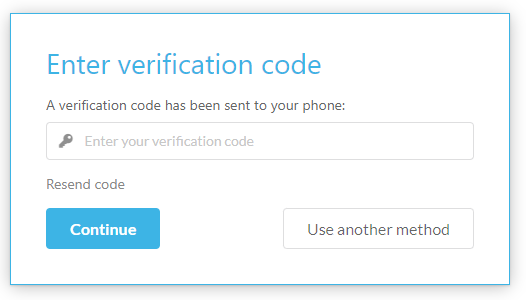
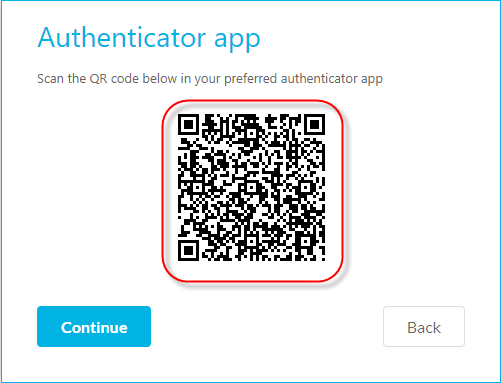
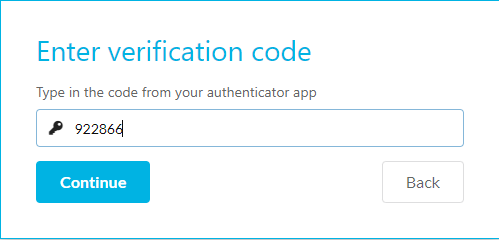
It is recommended that the minimum security should be Multi-factor authentication (MFA) which will include username and password, followed by a MFA option including email, SMS and authenticator app.
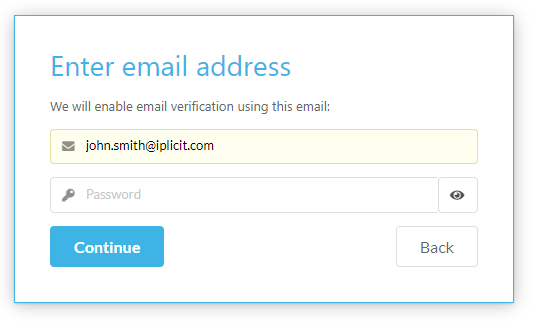
You can change or setup your password, email, and authenticator in this tab by pressing Change or Setup alongside the chosen sign in method.
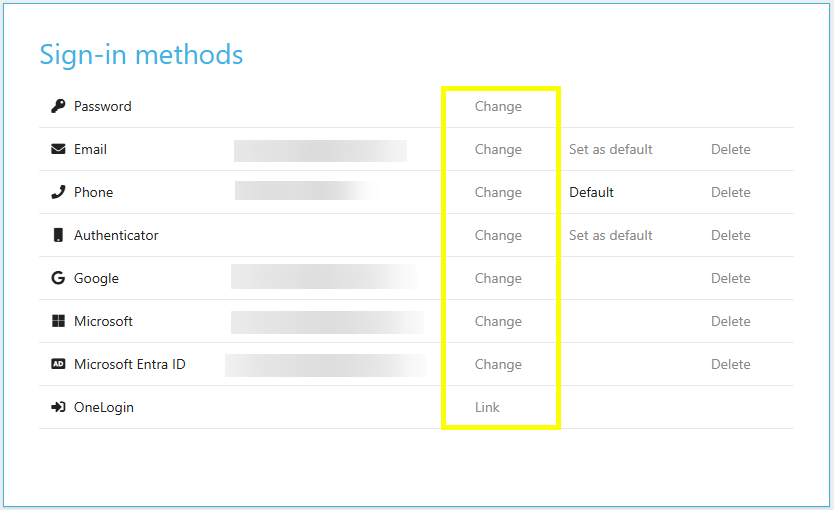
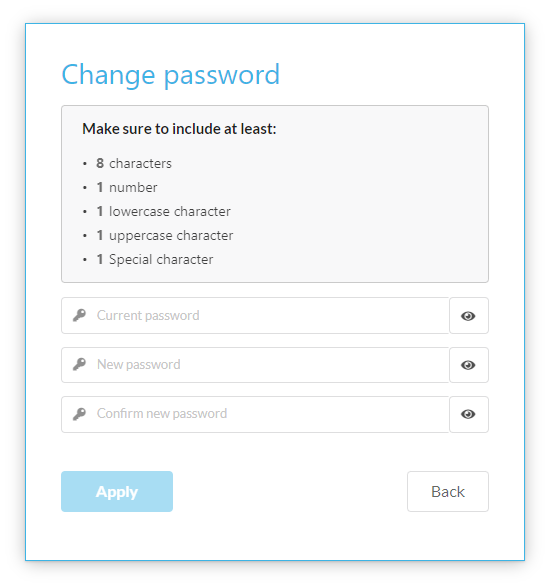
Select Change to change your password.
Note
The Password policy is defined in Environment defaults.

Other Security settings
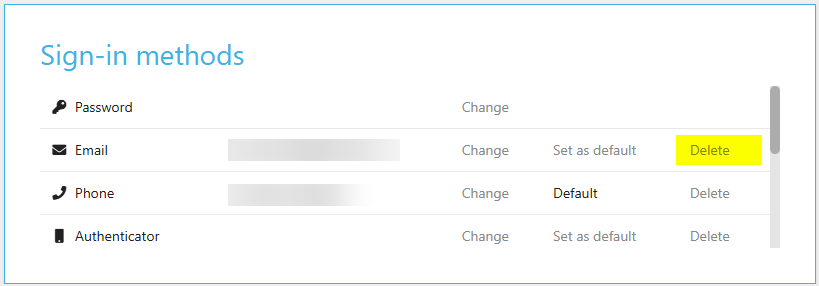
You can choose your default sign-in method by selecting set as default.
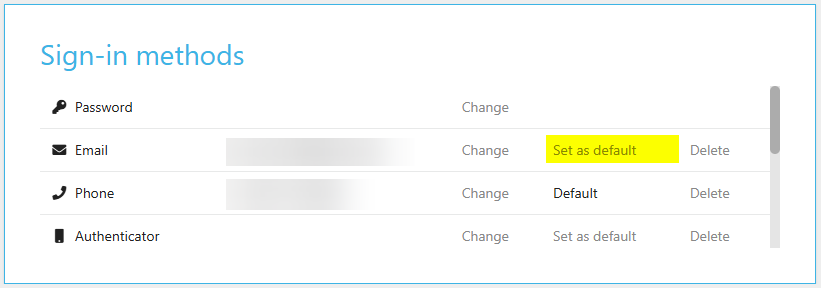
The option to delete a sign-in method is available by pressing delete alongside the sign in method that you are trying to delete.
Change or setup SSO Methods
Open Security by selecting your name in the top right-hand corner.
Click on your account name to activate the drop-down bar. This is where you will find the Security link.
Selecting Security opens the sign-in methods screen.
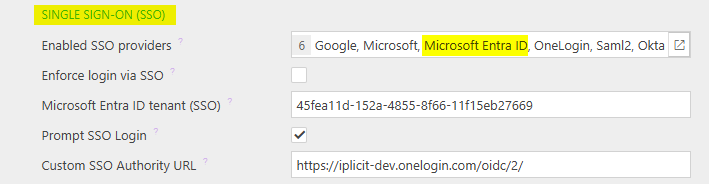
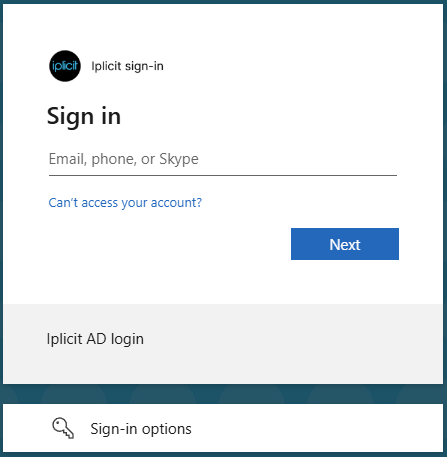
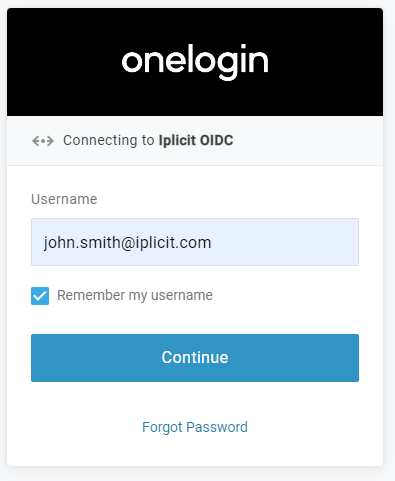
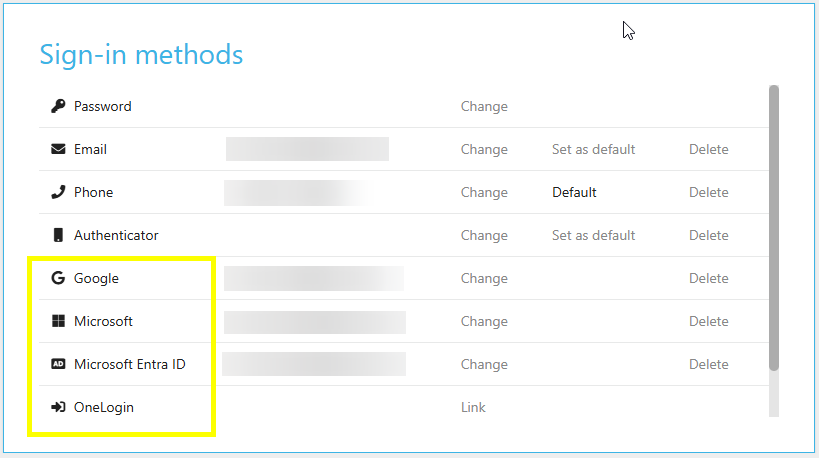
SSO methods that have been setup in the Single Sign-On (SSO) section in Environment defaults to be made available to you will show here.
Link these SSO methods with your login details in this section by pressing Link alongside the SSO option.
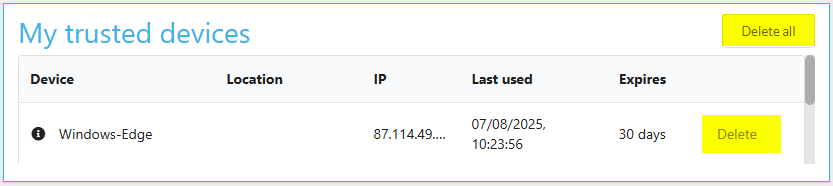
Devices
This tab will present your trusted devices.
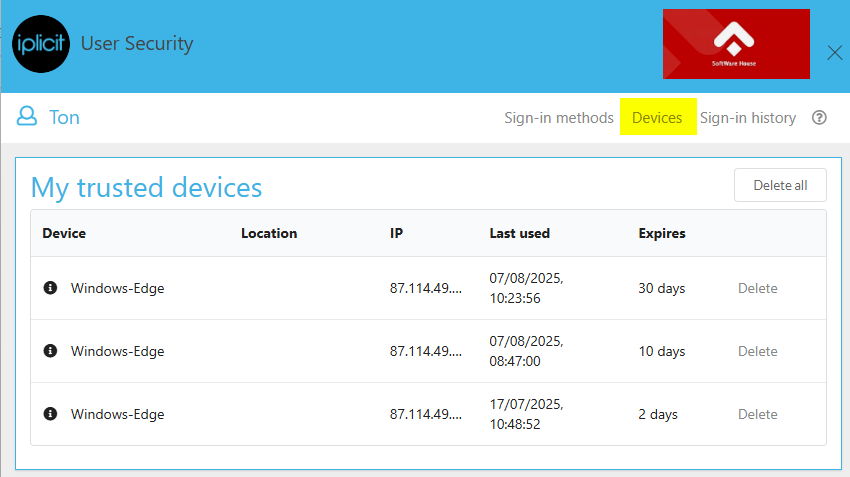
Device: This will show the different devices that your account trusts.
Location: The system shows the geo-location of the Trusted device. It shows devices anywhere in the world.
IP: The internet protocol (IP) is a unique label that shows host or network interface identification or network interface identification.
Last used: This section shows the exact time and date that the device last used the account.
Expires: This section shows the ‘trusted device’ countdown which as default is set to 30 days.
Tip
You can delete all trusted devices to secure your account if necessary. This will remove all devices that are linked to your account, meaning the next time you login to any device, you will have to repeat the multi-factor authentication process to become a trusted device again.
NB. You will also have to repeat the multi-factor authentication process after the expiry date is passed (default 30 days).
You can also delete selected devices rather than all of them. To do this, press delete alongside the device of your choosing, this will force the device to go through the multi-factor authentication process to gain access to your account and become a trusted device again.
Sign-in history
This tab will present your sign-in history.
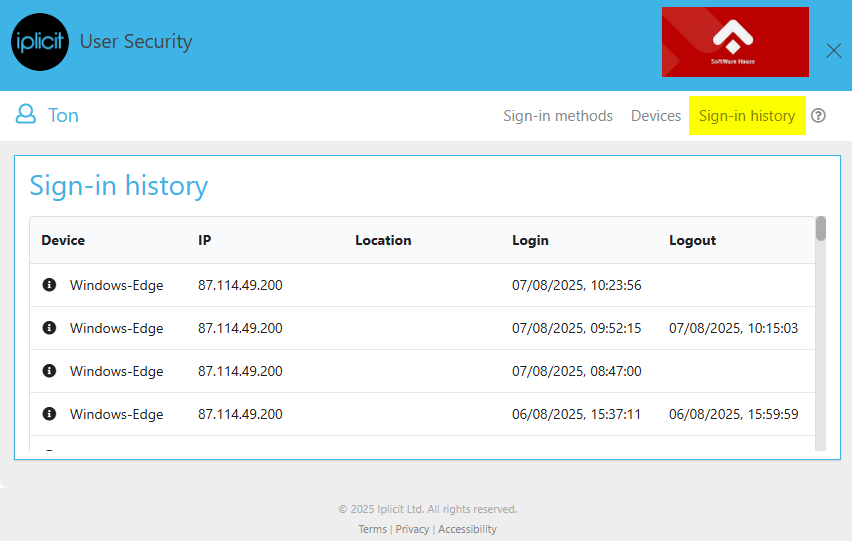
Device: This will show the different devices that has logged into your account. Note that logging into your account using different browsers (e.g., chrome, safari ore Firefox) with the same device, will appear in this section as a different device.
IP: The internet protocol (IP) is a unique label that shows host or network interface identification or network interface identification.
Location: The system uses geo-locations to provide the user with information regarding device locations. This software can show devices anywhere in the world.
Login: This section shows the exact time and date that the device logged in.
Logout: This section shows the exact time and date that the device logged out.
Updated May 2026