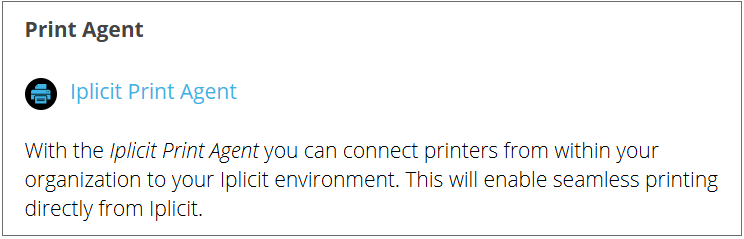
Print Agent
This feature enables local printer(s) to be setup and then made available for printing, including remotely by other web users.
- An example of usage is a printer in the Dispatch warehouse which is then made available to users processing Sales Dispatch documents across the business.
Initially, a Print Agent must be setup which has access to the printer(s). Once this is done, connected printer(s) can be individually made available and even restricted to selected users.
Once Printer(s) are added, User(s) can assign them as default and they can be added to Document Type(s).
The screenshot below shows a sample grid of the print agent finder.

How to Setup a Print Agent
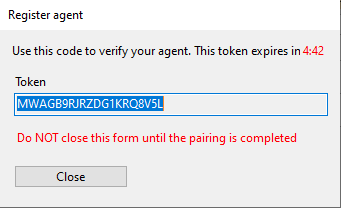
Setup a Print Agent
Install the print agent from https://apps.iplicit.com/.
From the Windows Start menu, open the print agent app.
Select the Register button which will provide you with a token.
Copy the token to the clipboard.
Head back to your iplicit and press New in the print agent finder.
Paste the token from the Clipboard into the Token cell and then select Apply.
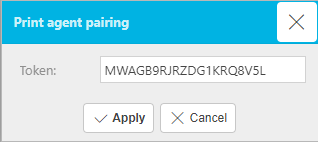
Refresh the Print Agent finder to see the newly added Print Agent.
How to add Printer(s)
Adding Printer(s)
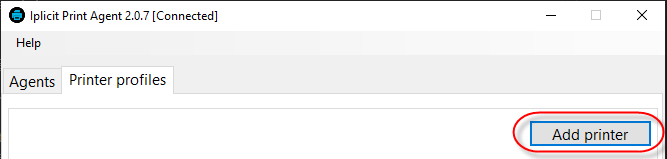
Reopen the print agent app.
Select the newly created Print Agent.
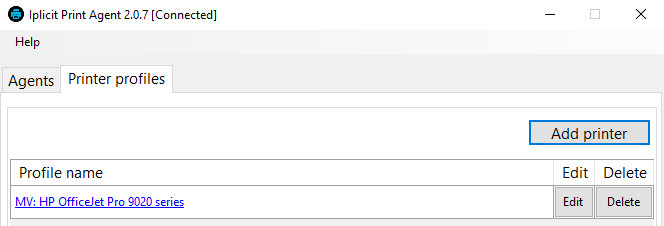
Go to the Printer Profiles tab.
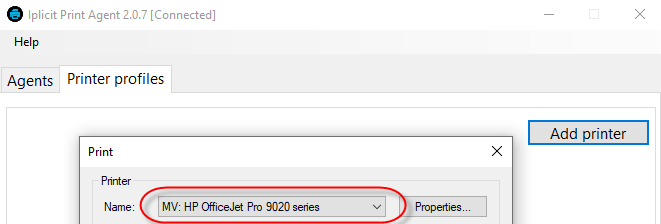
Select Add printer.
Select the printer, then select OK.
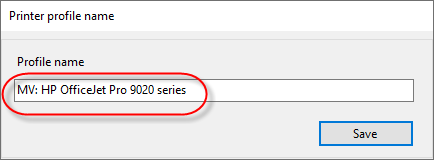
Name the printer then select Save.
Note
The printer can be seen within the Print Agent.
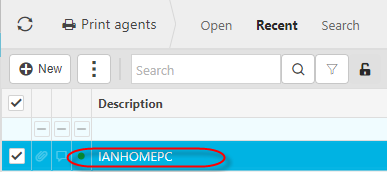
Go back to iplicit and reopen the Print Agent finder.
Load the Print Agent in the editor.
Press Refresh and the newly created printer(s) will be shown in the grid below.
How to restrict user(s) who can print to selected printer(s)
Restricting Users
Follow these steps to restrict which user(s) can print to the selected printer.
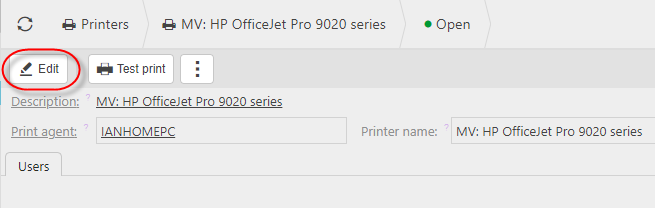
Open the Printer and select Edit.
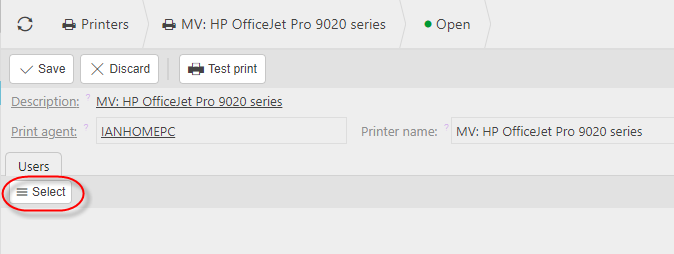
Press Select.
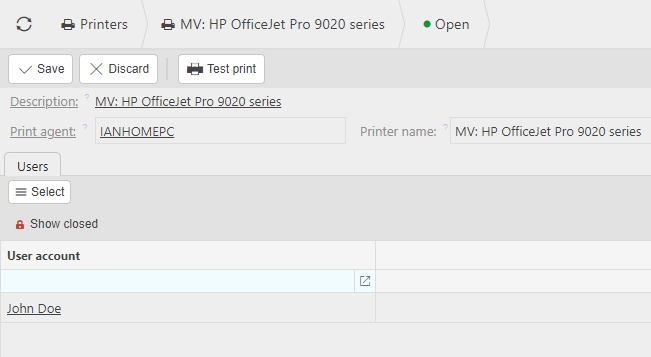
Add user(s) who you wish to be able to use the Printer.
Select Save.
How to view Print jobs
Viewing Print Jobs
Upon print, a row will be entered into the Print job. This is useful to be able to interrogate if, for example, a printout has not happened.
Updated March 2026