New Mobile App
How do I install the New Mobile App
Installing the New Mobile App
The iplicit New Mobile App is available for any Apple (IOS) or Android device and can be found in both Apple’s and Google Play app stores. The app should only be installed from your device’s official app store.
Go to the appropriate App store and search for the name iplicit.
Follow the instructions for your download option to load and install the New Mobile App.
How to Sign in to the New Mobile App
Sign in to the New Mobile App
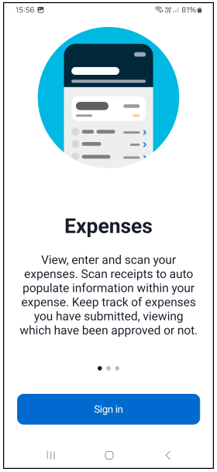
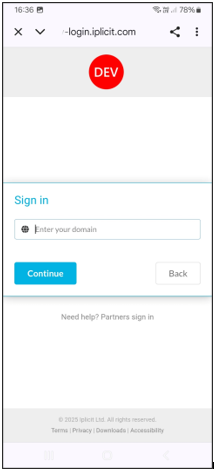
Select and open the New Mobile App - You can scroll through the options available.
Select the  option.
Enter your Domain then select the  option.
Enter Username and Password then select the  option.
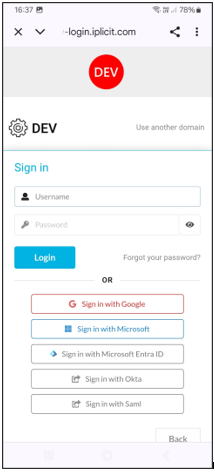
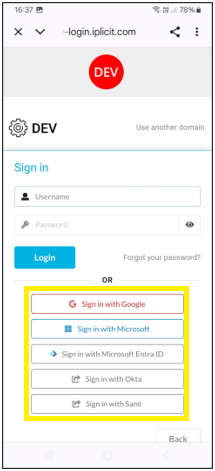
Note
If your organisation allows, you can login using any of the alternative methods listed on the screen.
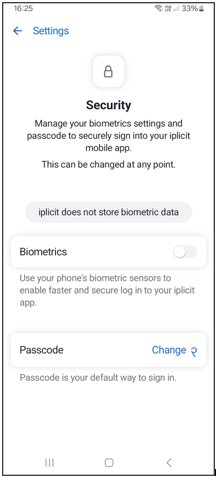
Next there is the opportunity to enable biometrics depending on the device, such as face ID or fingerprint.
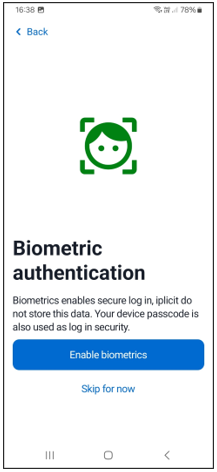
This option can be skipped if it is not required.
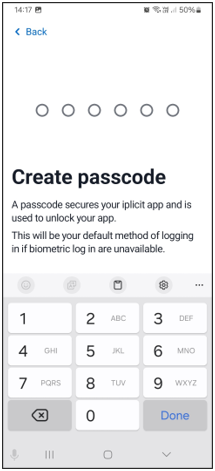
The next step requires the User to create a passcode.
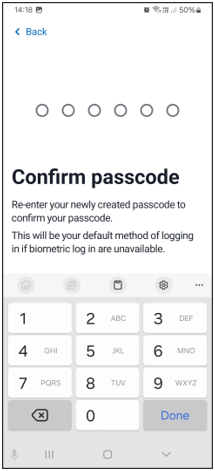
Followed by having to confirm the passcode.
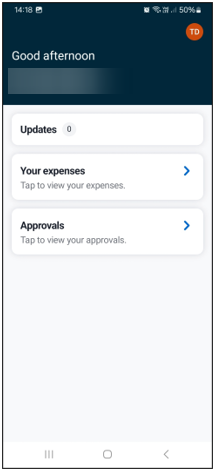
Once in, there will be a welcome message ...

followed by the Users homepage.
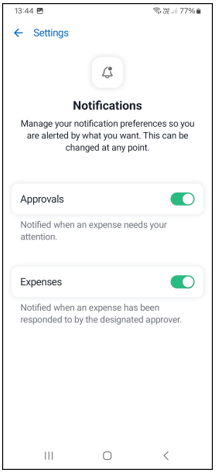
How to change settings
Changing settings
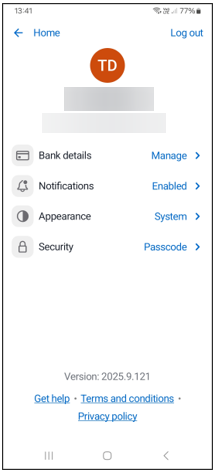
To make changes to the Users settings, select the orange initials button in the top righthand corner on the homepage.
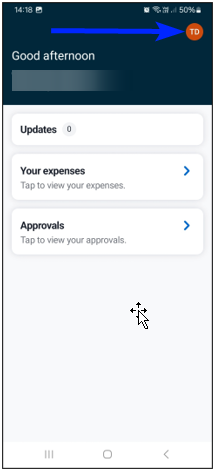
This then shows the settings that can be edited or changed.
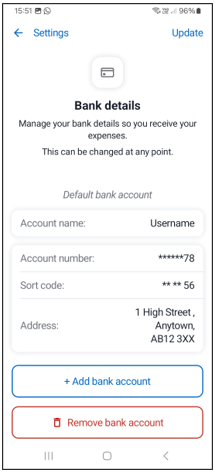
Enter the Bank details of the bank where the Expenses are to be paid into. Select the green Add bank button to save the details once complete. There will be a temporary message that appears at the bottom of the screen to say that the Bank details have been added.
Other Bank details can be added by selecting + Add bank account. One bank account must be assigned as the default account.
Use the Update option to amend bank details. Use the Save button at the bottom of the screen to save any changes - There will be a temporary message that appears at the bottom of the screen to say that the Bank details have been updated.
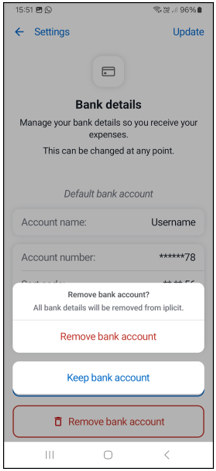
Select Remove bank account button at the bottom of the screen to remove a bank account. There will be another screen to confirm removal, or the option to keep the account.
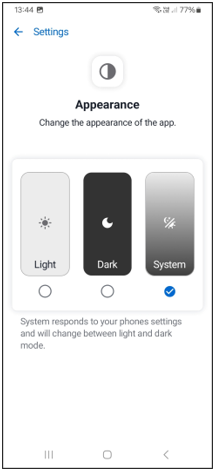
- Ability to change to Light Mode, Dark Mode or the default System Mode.
At the bottom of the screen there are further links to -
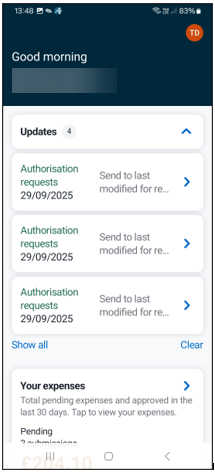
Homepage Options
Homepage Options
Select Updates from the homepage.
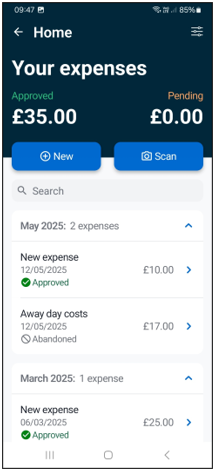
How to show Expenses
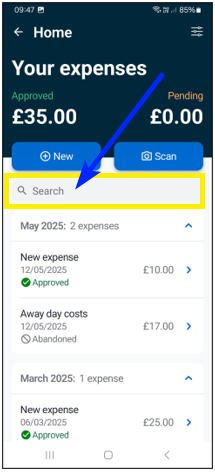
Select Your expenses from the homepage to show all your expenses.
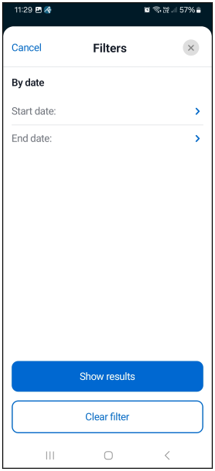
To filter this list, select the filter icon in the top righthand corner of the screen ...
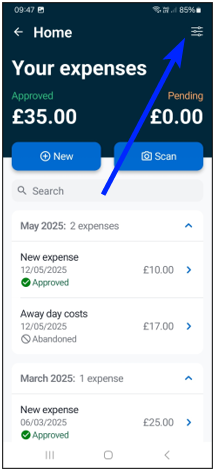
... to allow you to filter by Status of the Expense ...
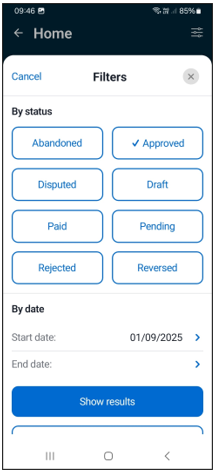
... and/or By dates.
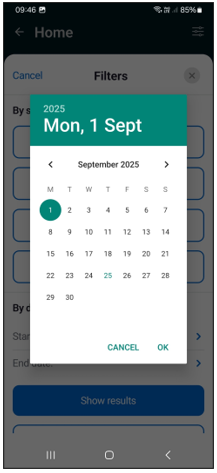
Select Show results to display your Expenses using these filters or select Clear filter to revert to showing all Expenses.
Alternatively, there is a free text Search option to narrow down your Expenses.
How to add a new Expense manually
Select Your expenses from the homepage and select the New option.
Start adding header details by entering Expense title.
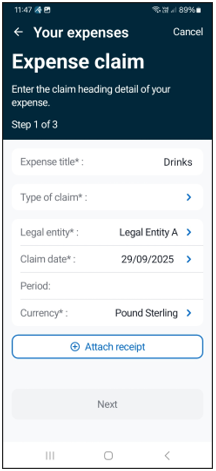
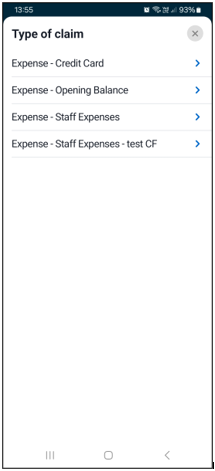
Enter Type of Claim - available options will be displayed.
Base on this option, further fields will be pre-loaded Information in header screen
Based on type of claim, other fields will be pre-loaded based on the Users environment. Some of these fields can be changed as required if the values are available to the User.
Fields shown in grey text are fixed default values and cannot be changed.
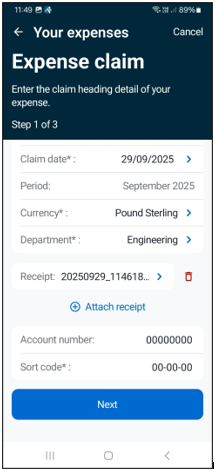
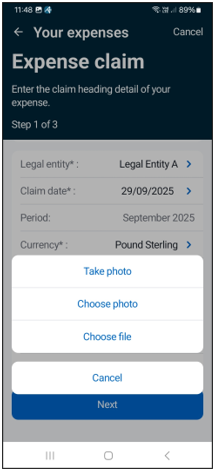
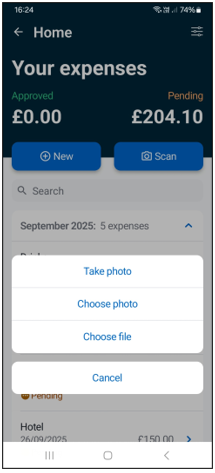
If available you can add a receipt either via taking a photo on the device camera, select a saved photo or a saved file.
Select Next to add Expense lines.
Add details for individual items.
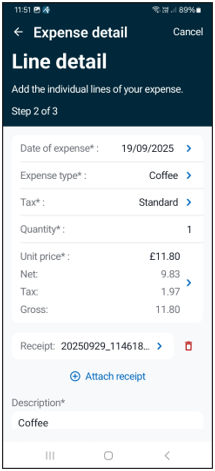
There is also the option to add a receipt for this item in the same way as added in the header section.
Note
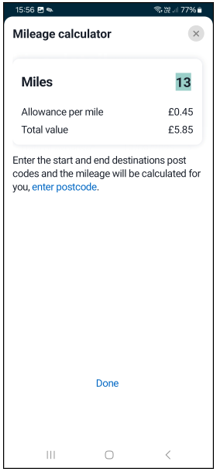
If Travel is selected in Expense type, then a Mileage calculator will calculate the mileage between two points and a map will be displayed.
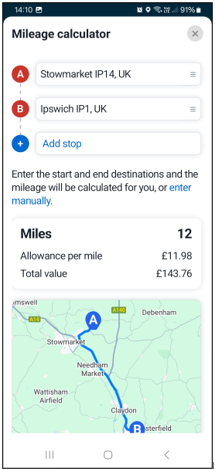
But there is the option on this calculator to enter the mileage manually.
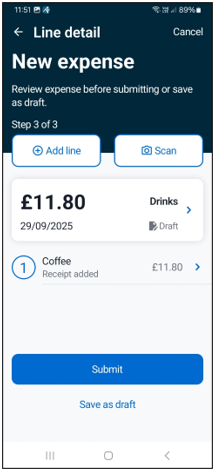
Save as Draft or Submit.
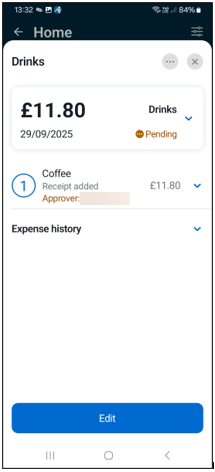
Once Submitted the Expense is sent to be Authorised and will show as Pending.
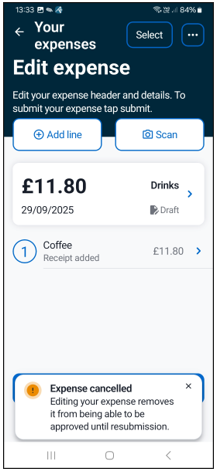
If editing a Submitted Expense, it will be removed from Pending state and returned to a draft state - A warning message will be displayed to say the Expense has been cancelled. The Expense will have to be re-Submitted after editing.
Saving as Draft allows further editing and/or additions.
How to add a new Expense via Scan
Select Your expenses from the homepage and select the Scan option.
Select Take photo option to capture the receipt using the device camera.
The receipt will now be scanned ...
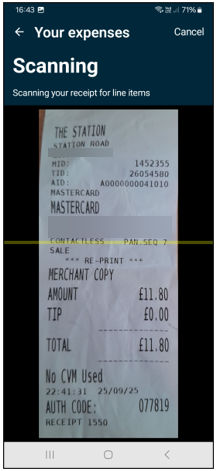
... and will extract data the best it can.
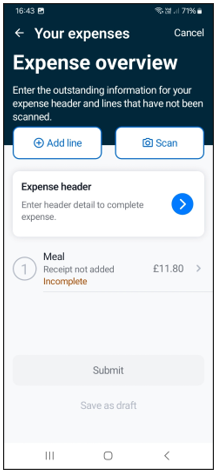
Continue adding required missing data as shown in previous section.
Note
The receipt will be added automatically.
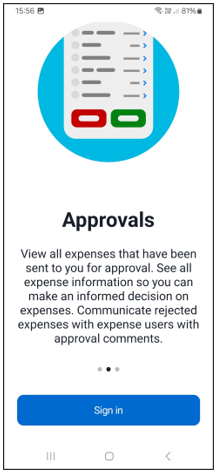
How to Approve Expenses
Select Approvals from the homepage.
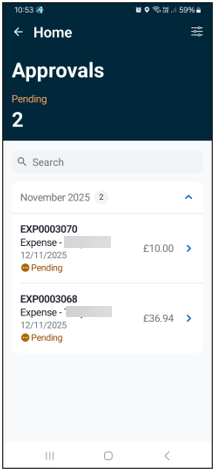
This shows any Expenses that are Pending approval.
Using the filter icon in the top righthand corner, allows you to filter by By date.
To Approve/Reject an Expense, select the Expense.

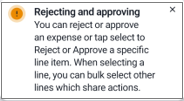
Note
This will show you a message about how to Approve or Reject the whole Expense or individual lines only.
Check the header details by expanding with the  icon.
icon.
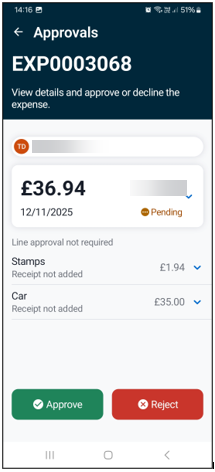
Similarly check the line details by expanding with the icon.
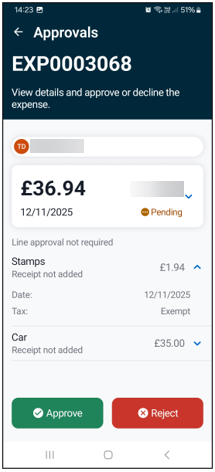
Once details have been checked, select either the Approve button or the Reject button.
Selecting Approve will approve the whole Expense unless individual Expense lines are selected, if allowed.
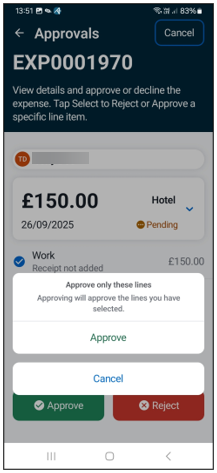
Once selected, the line/s selected will have the following message.
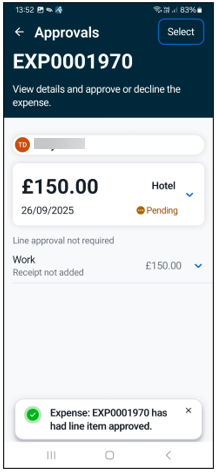
There could be other lines in the Expense that do not need approval - normally due to there being multiple Approvers.
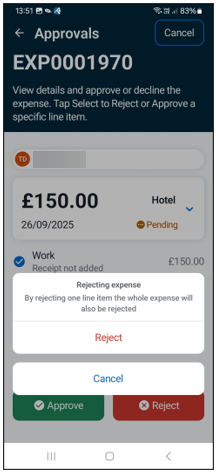
Selecting Reject prompts the approver to confirm that this will reject the whole Expense.
Some Approvals or Rejects may need a note added and if so, a prompt will appear.
Updated December 2025